The Mamma Meets the Cucina: The Feast of the Seven Fishes

From the Mamma…
Christmas Eve’s Feast of the Seven Fishes or “La Vigilia” comes from a long standing Catholic tradition of avoiding meat on the vigil of (vigil = the night before) the Feast Day of Christmas. Tilapia is a favorite meatless dish in our house, which is why I chose to highlight it for this blog post. Now, our family might not have ALL seven dishes include fish, but we will throw on some shrimp fra diavolo, even if it is served sans capellini as an appetizer. But the tilapia and the pasta dish are a staple for us on Christmas Eve. It’s yummy enough to impress the crowds of friends and family, but easy enough to handle as we quickly end the game of Scopa and rush to Midnight Mass! So give these a try – even if it’s not for La Vigilia – they make a great accompaniment to each other.

PARMESAN CRUSTED TILAPIA
This recipe is one of easy, healthy , and tasty all at the same time. Even kids are huge fans – whaddaya know?! A kid-pleasing fish dish without the word “stick” in the title!
1/4 cup grated parmesan cheese
1/4 cup grated romano cheese
1/4 cup yellow cornmeal
1/2 cup Italian seasoned bread crumbs
1/2 cup melted butter
4-6 tilapia loins
Coat the tilapia in the melted butter. Mix all dry ingredients. Season with salt & pepper to taste. Coat the tilapia i the bread crumb mixture. Place on parchment lined baking sheet and bake for 15-20 minutes at 400 degrees. Serve immediately with a side of GEMELLI PASTA!!
 CHRISTMAS EVE GEMELLI
This dish is so simple, yet full of flavor. The red and green of the tomatoes and the arugula make a great addition to the Christmas tablescape.
1 lb. Gemelli pasta
1 can crushed tomatoes
6-8 cloves garlic, minced
e.v.o.o.
1 bag arugula
salt
pepper
crushed red pepper
Add 2-3 tbsps of e.v.o.o. to a large, deep skillet. Saute the garlic until light caramel in color. Add the arugula and cook until slightly wilted. (NOTE: you could use spinach here if you do not like arugula. The idea is to get the green color and an added distinct flavor) Remove and set aside. Add the crushed tomatoes, crushed red pepper, salt & black pepper to taste. Simmer for 20 minutes or so. Boil the gemelli till al dente. Just before draining, add the arugula back in. Drain the pasta and toss with the sauce. Serve immediately.
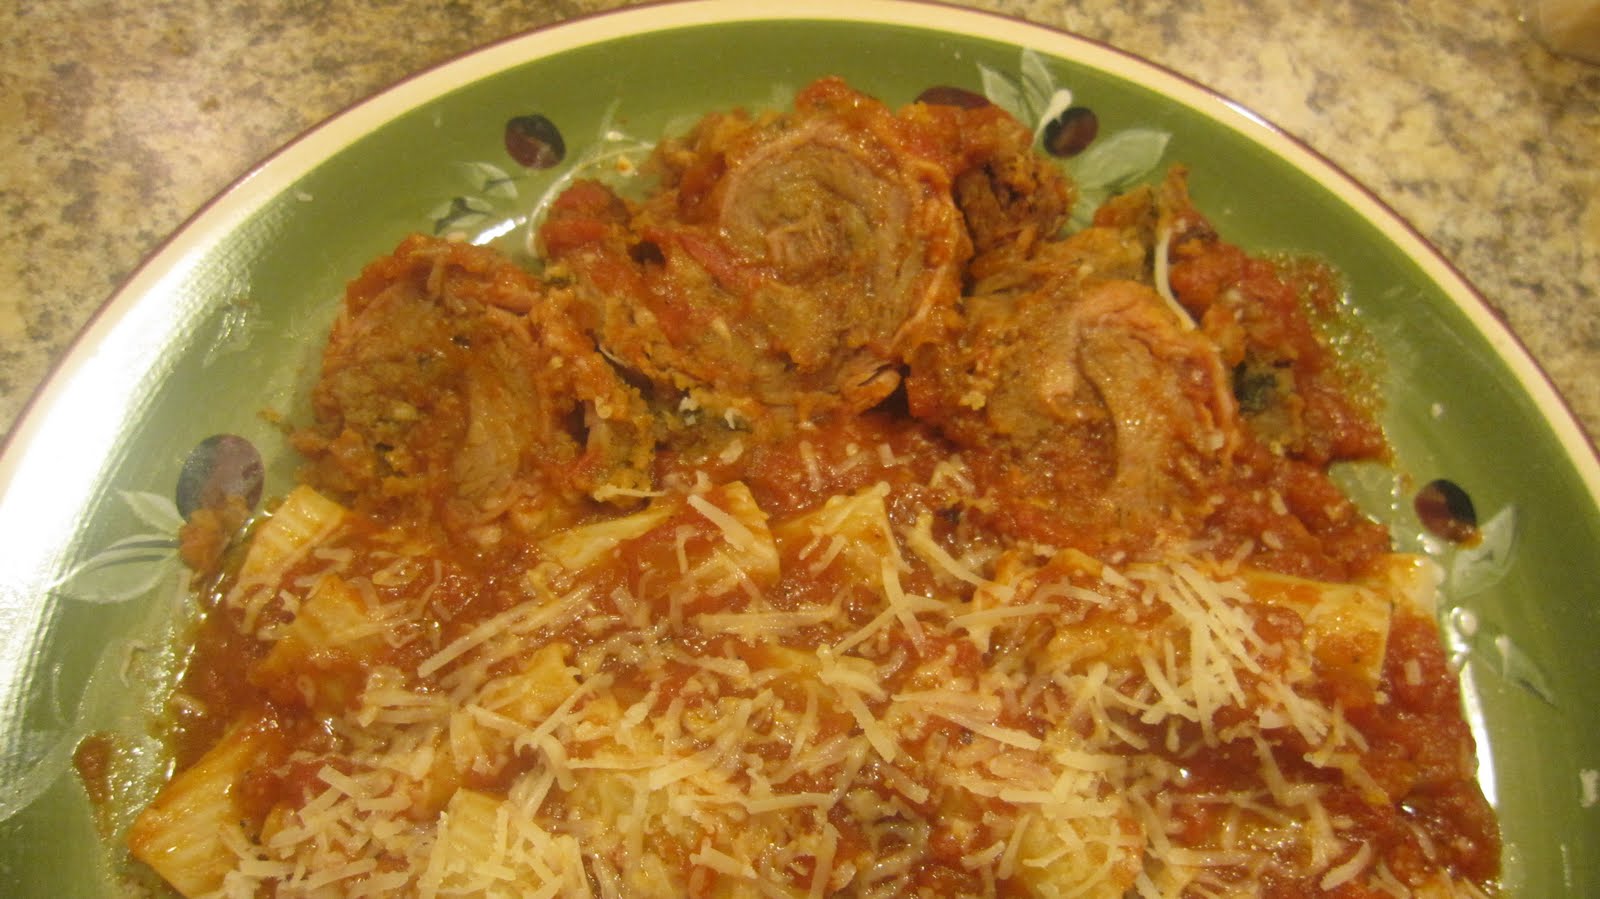
This year I am very proud and honored to be taking over one of the crown jewels of the table, stuffed calamari. Now chances are that many of you are only familiar with the more popular Italian eatery appetizer, fried calamari. Unlike the fried rings, stuffed calamari is actually using the whole calamari tube, stuffed with a breadcrumb and cheese filling, and cooked slowly in a pot of red sauce (I don’t use the word gravy here because there is no meat involved). When cooked, they resemble a stuffed shell, and they are tender enough to cut without a knife!
If you have never tried stuffed calamari, I encourage you to do so. Whether you serve it along with pasta or on its own, I guarantee you it will make for a special part of your meal, especially if you are planning to celebrate a traditional Italian Christmas Eve.
 STUFFED CALAMARI
Makes 8-10 pieces
1 lb. calamari tubes, cleaned (you can purchase cleaned calamari tubes in the freezer section of your grocery store)
1/2 cup breadcrumbs
1/4 cup parmesan cheese
2 teaspoon parsley
salt and pepper to taste
1 teaspoon garlic powder
Olive oil (enough to add to mixture until proper consistency)
* you can also chop the unused calamari tentacles and place them in the stuffing mixture for extra texture and flavor. Uncooked shrimp will also work well
Sauce Ingredients
1 29oz can tomato sauce, plus 1 can water
2 cloves garlic, minced
1 teaspoon sugar
salt and pepper to taste
1/4 cup grated parmesan cheese
In a large pot, sauté garlic in heated olive oil. Add tomato sauce and sauce seasonings. Add water until desired consistency. Bring to a slow boil, then lower the temperature to simmer.
Mix stuffing ingredients, add oil and mix with hands until you get a nice, meatball-like consistency. Using a spoon, loosely stuff each calamari tube. You don’t want to pack the tubes, because the stuffing will expand and the calamari will shrink when cooked. Secure the open ends of the tubes with a toothpick. Add the tubes to the sauce, cook on a medium-low simmer for 2 hours. You’re looking for a string cheese consistency when you slice into the calamari. Serve and enjoy!