For years, a big part of our Easter tradition has involved baked goods. We would make Easter bread, Italian rice pie (which Ava has since taken over and now claims as her own), fiadone cheese pockets, and pizza rustica—also known as pizza chena, or simply Easter ham pie.
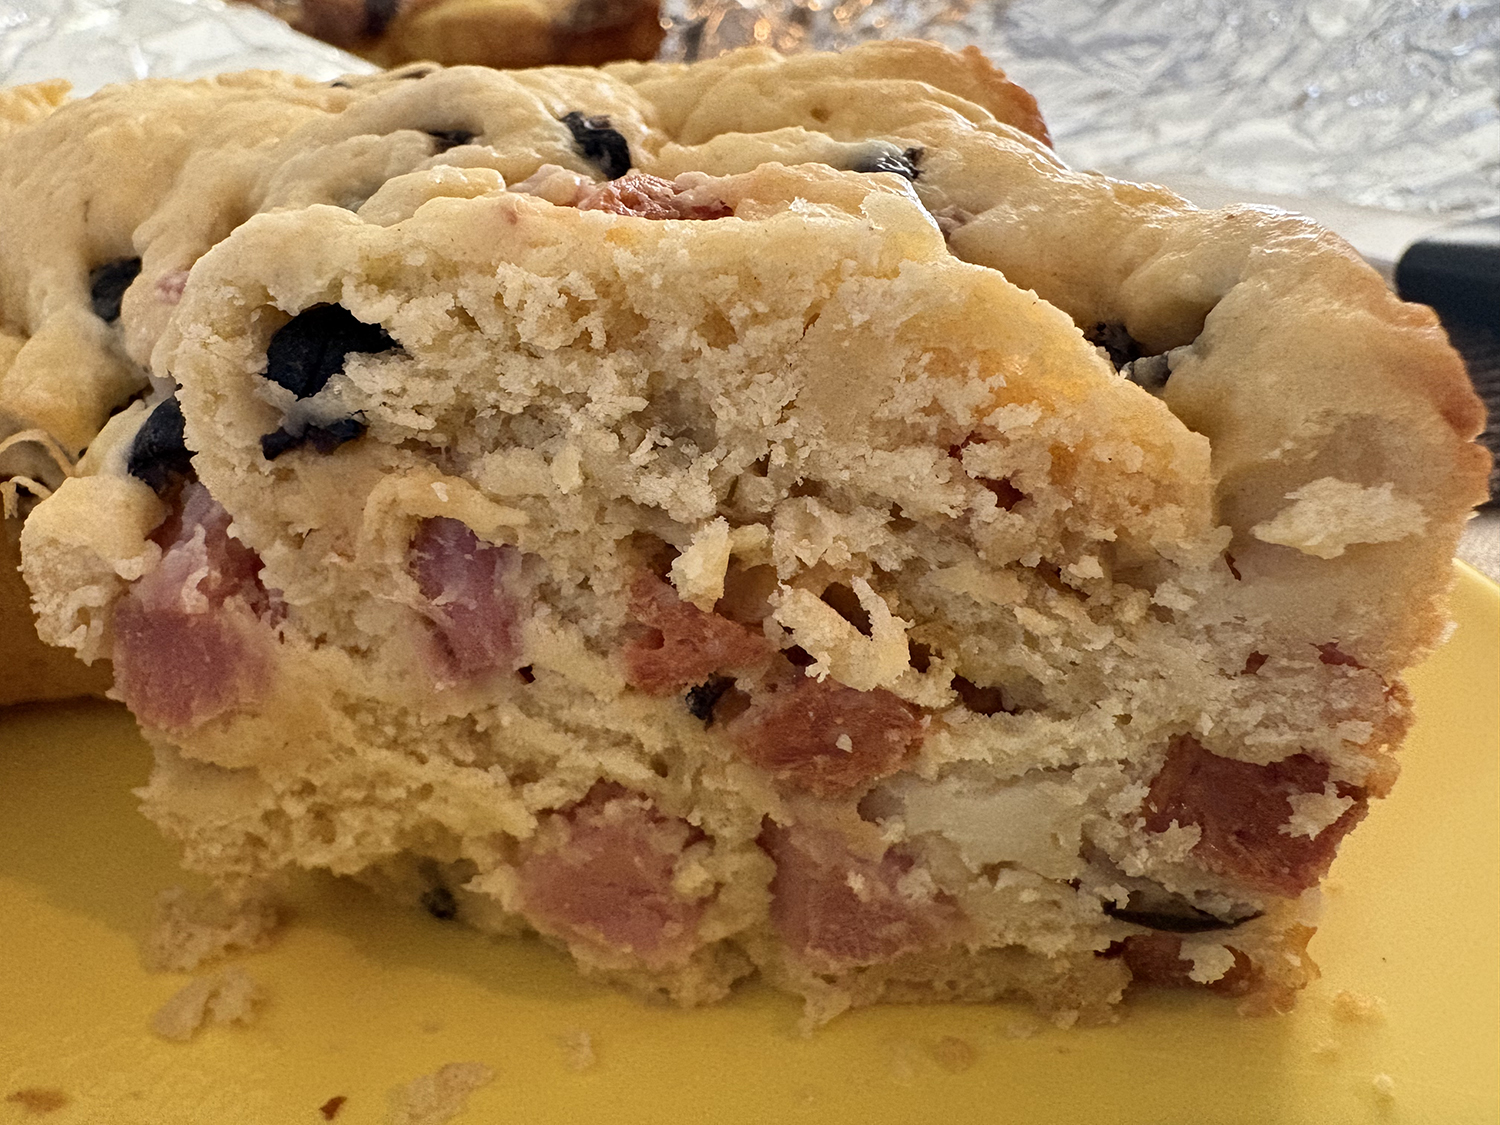
Pizza rustica, as I prefer to call it, is a rustic pie made with eggs, various meats such as ham, salami, pepperoni, or mortadella, and cheese—provolone being my choice. I also like to add black olives, simply because I love them, and they complement this dish beautifully.
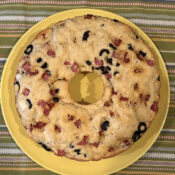
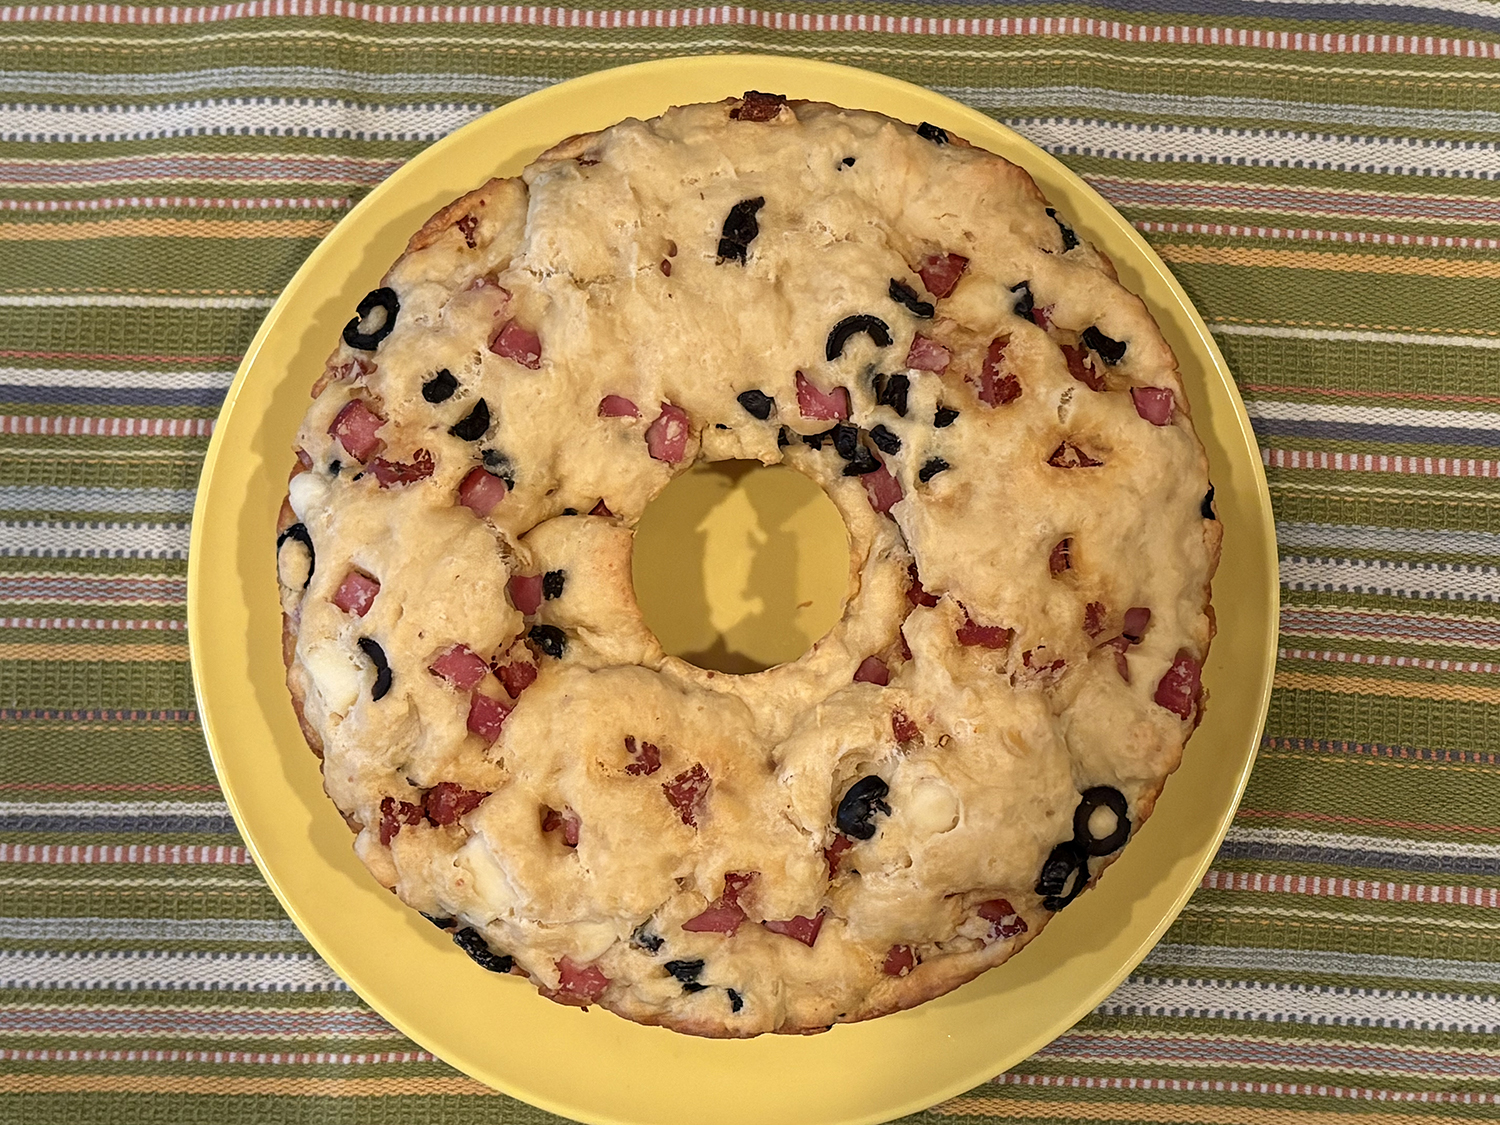
This year, I discovered an interesting variation called Ciambella Rustica, courtesy of Giovanni Siracusa. The concept and ingredients are basically the same, with the addition of flour and olive oil, which transforms it into more of a bread or savory cake. It can be baked in either a tube pan or a Bundt pan (cue My Big Fat Greek Wedding). I was intrigued and decided this was the recipe I would follow this year.
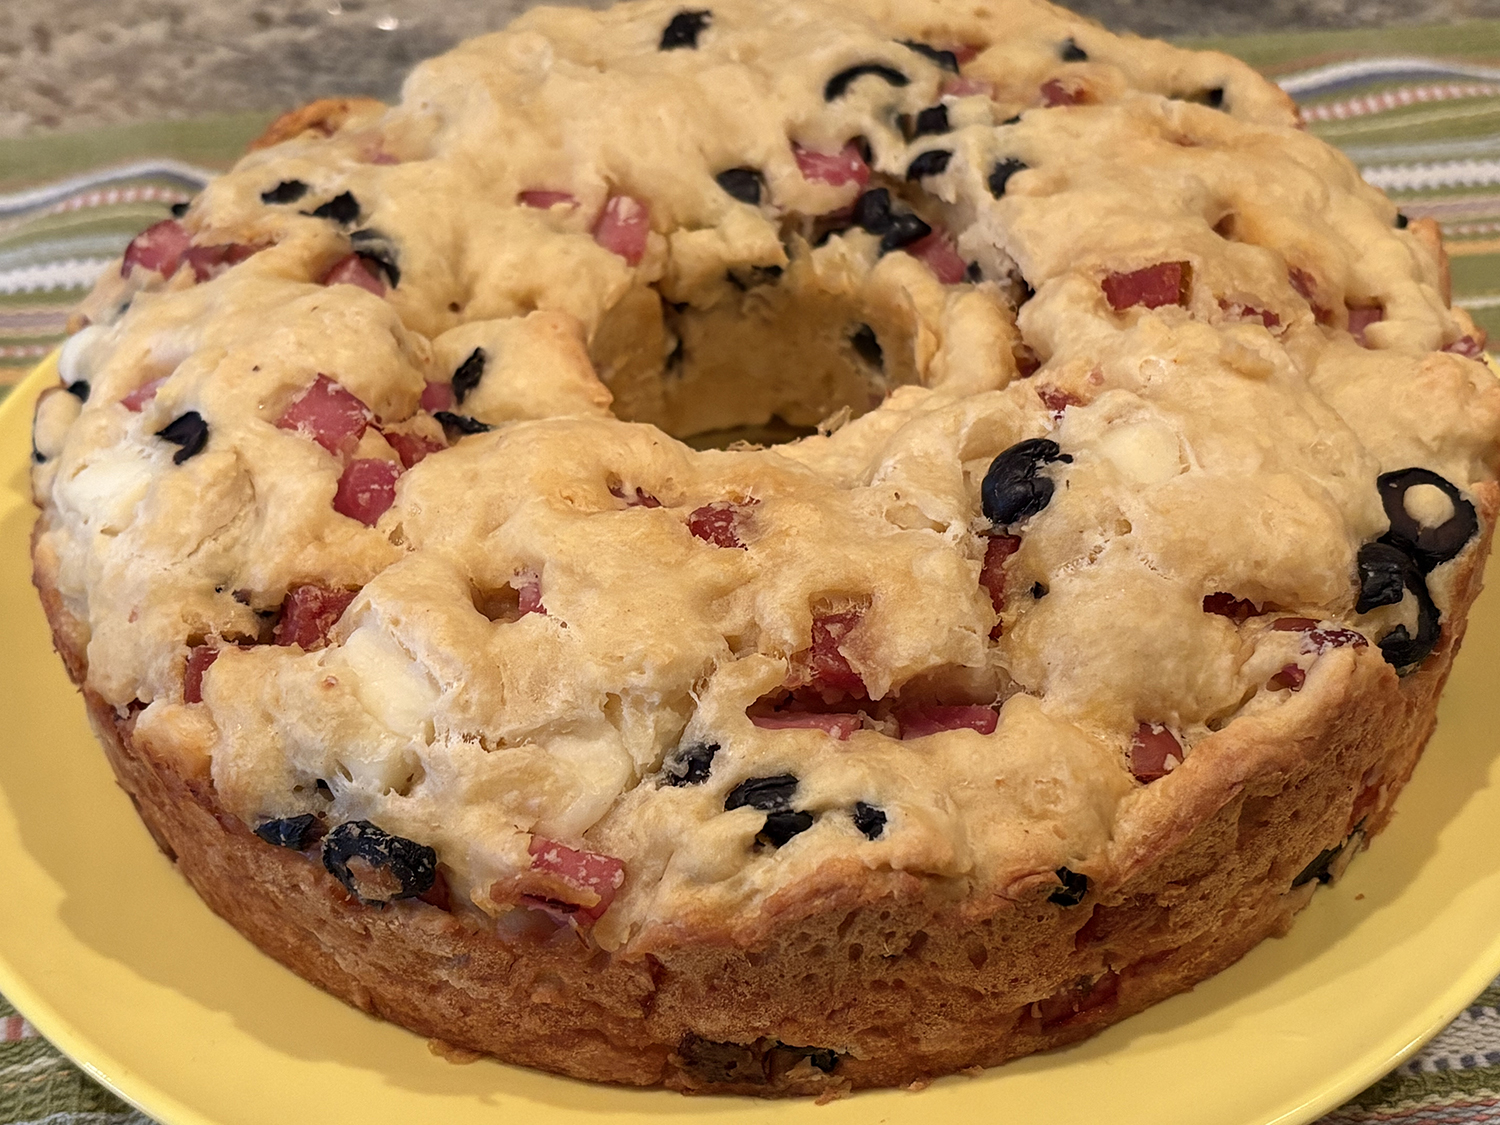
The process was wonderfully simple—everything mixed in one bowl, poured into the pan, and baked. The result had the same savory flavors as traditional pizza rustica, but with a more bread-like texture that was surprisingly complementary.
The beautiful part of traditions is the comfort of revisiting moments we love. Another wonderful part is allowing ourselves to update them—carrying the original meaning forward in a new and special way. This recipe does exactly that.
I realize I’m sharing this a bit late for Easter, but honestly, it’s a dish worth making any time of year. It’s far too delicious to enjoy just once.
To watch Giovanni Siracusa’s process and to get his recipe, click here.
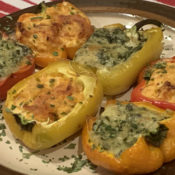
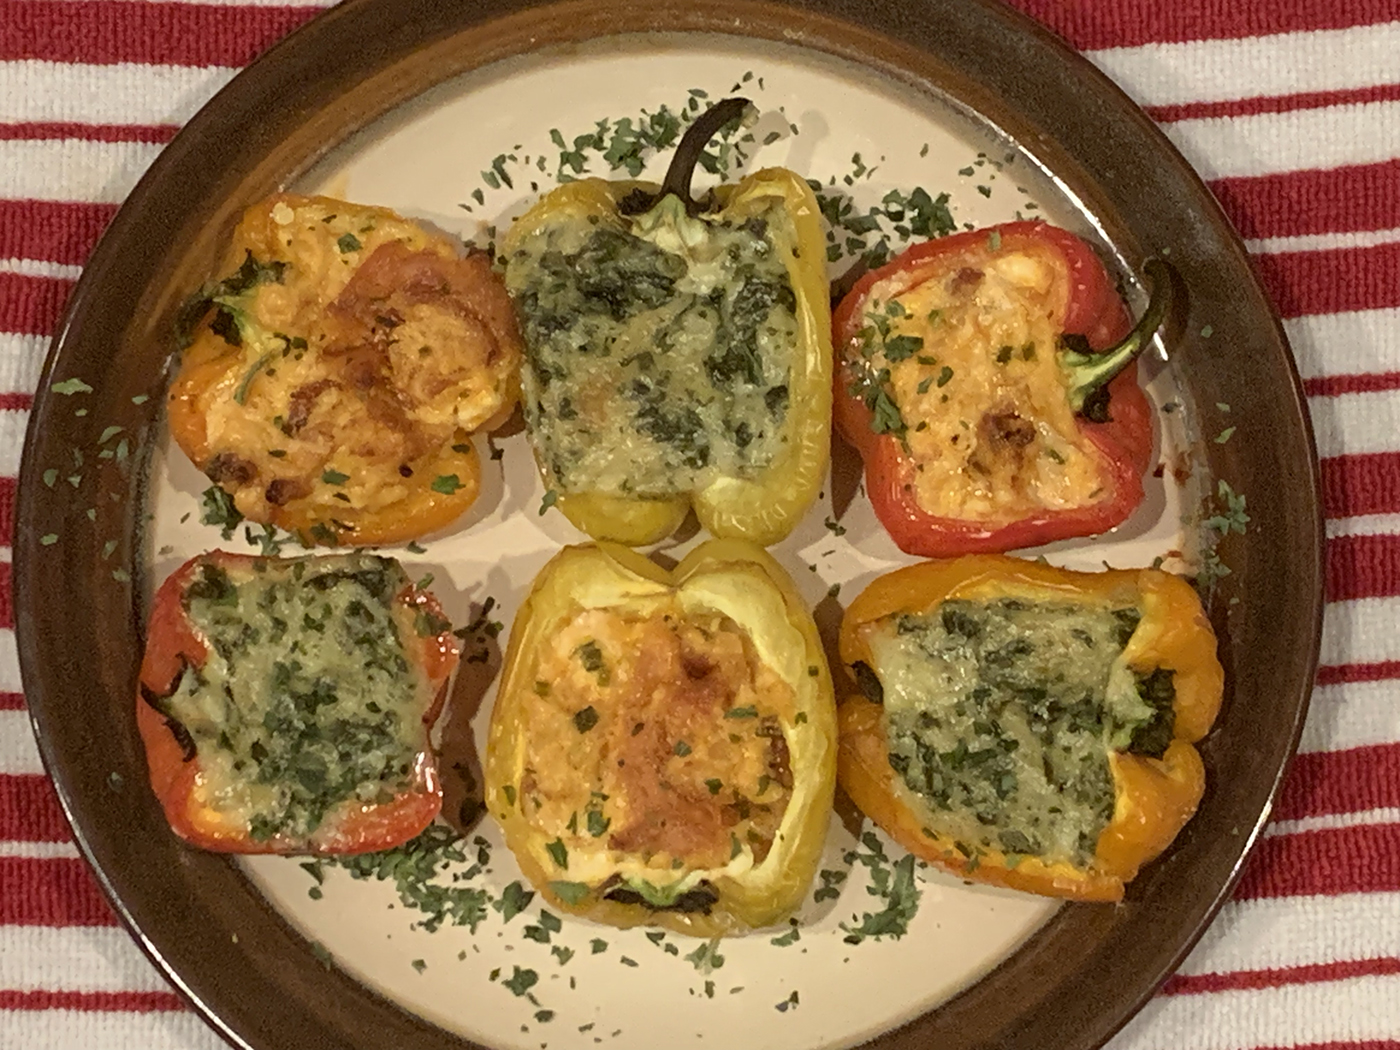
A few weeks back, my daughter Ava and I were trying to figure out what we wanted to have for dinner. Instead of making a full meal, she suggested we have ourselves a fun picky food dinner made up of different party dips. It was a rainy Saturday and we had no plans for the night, so we went ahead with this fun idea. Two of the dishes that Ava requested were Buffalo chicken dip and spinach artichoke dip, served with toasted bread. While this did sound fun and appetizing, I was in the mood for just a bit more. Something just a step beyond party dips. What I decided to do was use these dips as a stuffing with mini peppers. Not only did this combination kick the party meal up a few notches, it also became a fun way to actually serve the party dips.
With New Year’s Eve literally just a few days away, what better time to share this idea with you. It really is not so much of a recipe, but rather an idea, a concept and a fun presentation. While we went with Buffalo chicken and spinach artichoke, I could see a bunch of party dips working well with this presentation. Anything from smoked salmon and clam dip, to French onion, hummus and crab dip would make an excellent pairing with a pepper. I’m even thinking Italian hoagie dip would be pretty amazing….although I’m not sure I would serve those warm. The crunch of a fresh stuffed pepper may be the better choice there.
The dip recipes that I used were found online, and believe me there are a ton of them out there for you to follow. If you are not into making a dip of your own, use a container of store bought dip. Again, this is more about presentation and not so much about making it from scratch. The suggestions that I can offer are to use mini peppers, sliced in half and seeds removed. Use about a tablespoon of your dip, making sure to not overstuff. Bake in a 400 degree pre-heated oven for 35-40 minutes. And there ya go.
I encourage you to take this idea and run with it. Make it your own, and it will become the hit of the appetizer table. Or just have it for dinner like we did…either way, you will enjoy!
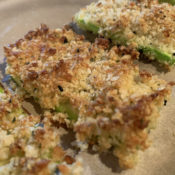
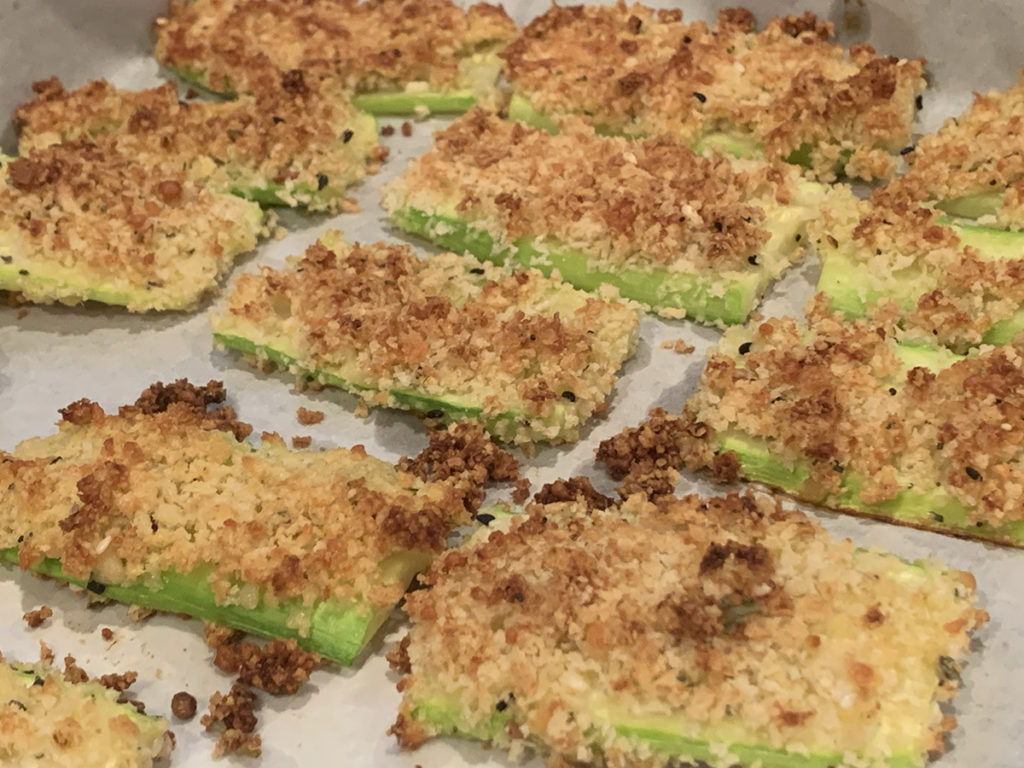
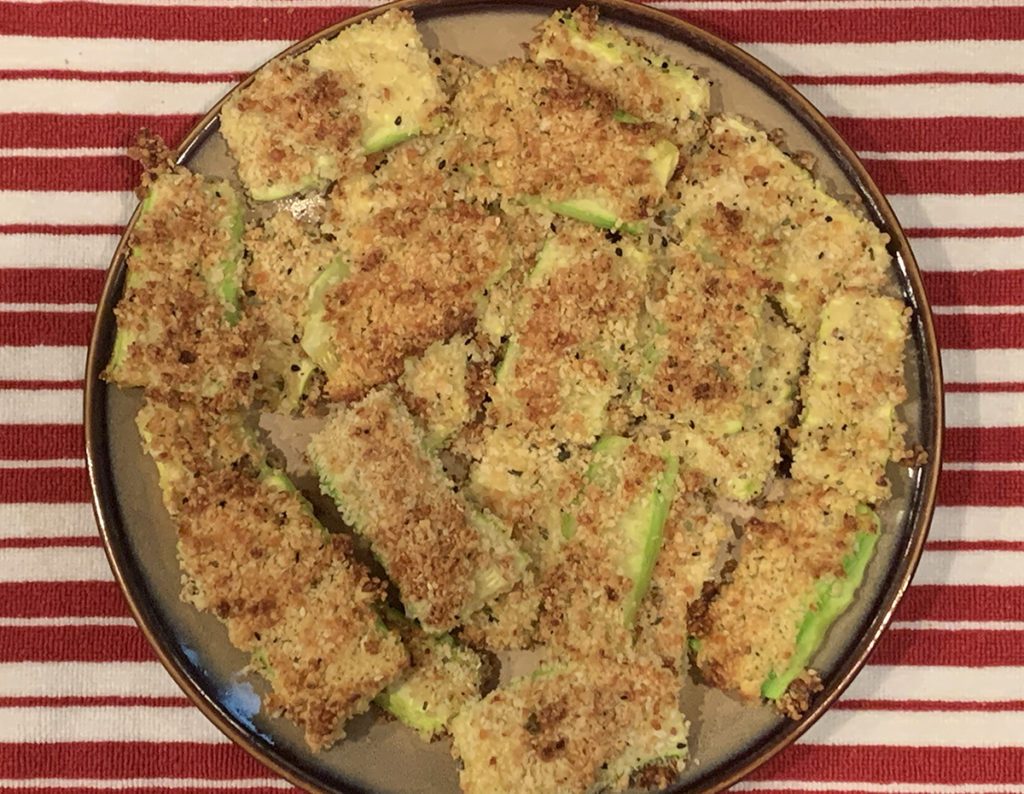
This past weekend my daughters and I were invited to a wedding celebration for our cousin Anthony and his beautiful new bride, Amanda. Anthony and Amanda were actually married back in December in a breathtaking outdoor ceremony out on the west coast. So this was a celebration for family and friends who live here on the east coast. Of course, the biggest highlight of the day was honoring the new bride and groom while also spending time and celebrating with our amazing family. Being the foodie enthusiast that I am, I was taking note of the many dishes that were served to us. Luckily, this trait has also carried on to my daughters. We weren’t very far into the appetizer course when both Jules and Ava asked if we could try making the crispy and delicious breaded zucchini that we all just finished scarfing up. Which brings us to today’s post!
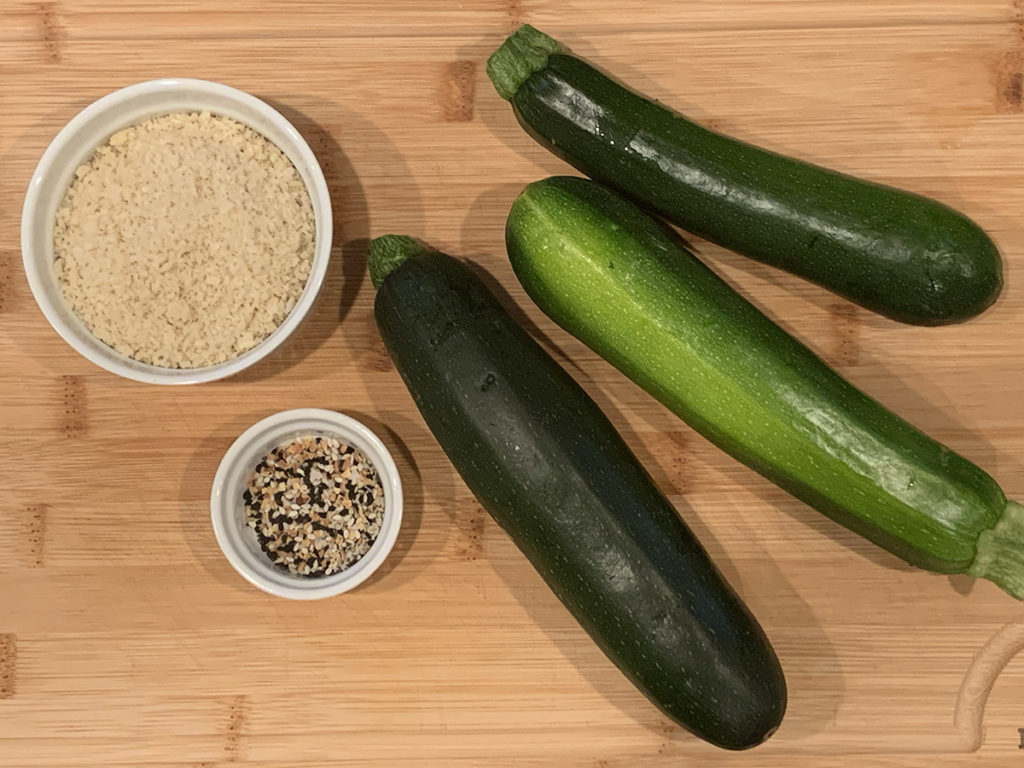
Breaded zucchini is a tasty and nutritious dish that is very simple to make. Just a few basic ingredients are all you really need: zucchini, breadcrumbs, eggs for egg batter and some seasoning. My breadcrumb of choice for this dish is Panko. Unlike traditional breadcrumbs, Panko is a bit more flaky and airy, which gives more of a crispy texture to the breaded food. Panko also holds up well when fried, however I prefer to bake as often as I can as opposed to frying, and this dish bakes up very well!
Before we get into the recipe, I thought I would share some of my tips and tricks when using Panko. I like to add grated Parmesan or Pecorino Romano to the breadcrumbs for a nice, nutty flavor. For every cup of Panko, I add 1/4 cup of grated cheese. I also like to add additional seasonings. Italian seasoning and garlic powder are always perfect seasonings of choice. For this dish, I decided to use Everything Bagel Seasoning. It has a nice combination of onion, garlic and sea salt flavoring, along with the texture of poppy and sesame seeds. If you don’t have Everything Bagel Seasoning on hand, a mixture of Italian seasoning, garlic and/or onion powder, or your favorite seasoning of choice will work just fine.
When breading with a Panko mixture, I find that it works best to use the mixture in small batches as opposed to dipping the battered food into one big bowl of the breadcrumb mixture. Because Panko is more crispy and airy than traditional breadcrumbs, I find that they can become soggy and mushy when combined with too much of the wet batter. Think rice crispies after they have been sitting in a bowl of milk for a while. What I like to do is mix up the breadcrumbs and seasonings in one bowl, then add it to another bowl in portions. Just enough to use what you need, adding more as you need it. This will help prevent the breadcrumbs from turning into a pile of mush that will not stick to the battered food. Patting the food dry with a paper towel before battering and adding breadcrumbs is also a good idea to help make the breadcrumbs stick and stay crunchy.
BREADED ZUCCHINI
Makes about 24 pieces
3 small zucchini, sliced length-wise about 1/4 inch thick. You can keep the skin on or peel it ahead time. Keeping the skin intact will give a bit more firmness to the slices. You can also slice the zucchini into round chip shapes if you prefer. salt for seasoning 1 cup Panko breadcrumbs 1/4 cup grated Parmesan or Pecorino Romano cheese 2 tablespoons Everything Bagel Seasoning (or your choice of seasonings, such as Italian seasoning, garlic or onion powder) 2 eggs, beaten
Preheat oven to 350 degrees. Mix the Panko, grated cheese and seasonings in a bowl. Add the breadcrumb mixture in small batches into another bowl, which you will use for applying the breadcrumbs.
Pat the sliced zucchini dry to remove any excess moistrure. Lightly season the sliced zucchini with salt on both sides.
Dip the sliced zucchini into the egg batter one slice at a time, making sure that the zucchini slice is fully coated. Toss the battered zucchini into the small-batch bowl of breadcrumb mixture, lightly pressing the breadcrumbs to make sure they stick. Place the breaded zucchini onto a parchment-lined baking sheet in a single layer. Continue this process, adding breadcrumbs to the small batch bowl as needed, until all zucchini slices are breaded.
Bake until the breadcrumbs turn a golden brown, about 15 minutes. Serve on its own, or with a dipping sauce such as marinara or ranch.
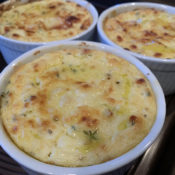
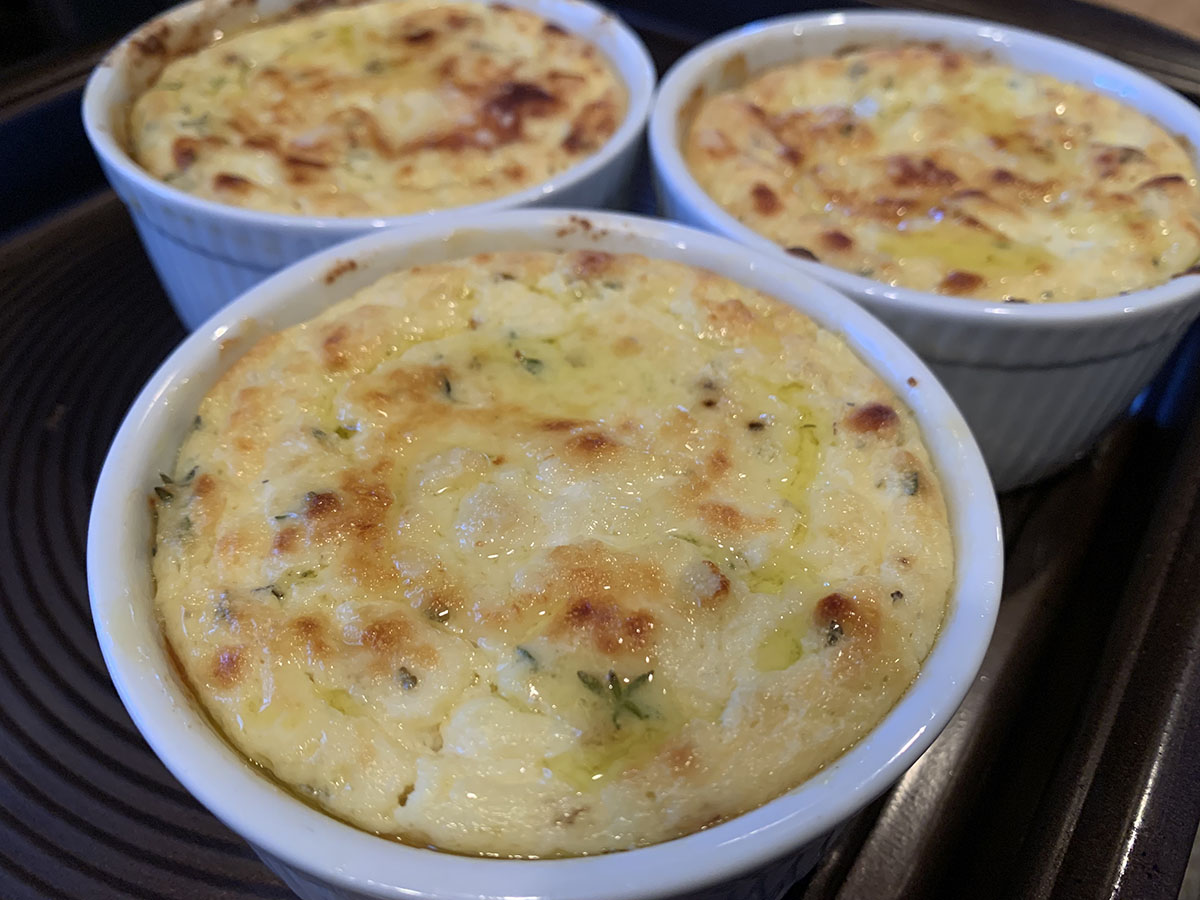
If you are a fan of spreadable baked cheese appetizers, like a baked brie, then you must give baked ricotta a try! It’s a very simple recipe with just a few basic ingredients. The key to really making this recipe special is fresh herbs. The herbs that I prefer using are fresh thyme and oregano, along with grated parmesan for that slight nutty flavor, and salt and pepper to taste. This alone would work well as nice appetizer spread over crostini or used as a dip for crackers. But the real fun happens when you start to incorporate some toppings. Ricotta is a versatile cheese, compatible with fruits and vegetables, drizzles of honey or glazed balsamic, or additional fresh herbs. Anything from apples and strawberries, to tomatoes, sage and rosemary would all work beautifully. My personal favorites are crisped prosciutto, sun dried tomatoes and drizzled honey.
You can bake the ricotta in either one baking dish, or separate into three to four ramekin dishes. I’ve done it both ways and both work well. The baking dish may work better as a party appetizer, where your guests could help themselves. The ramekins offer more of a personalized touch that you can place out for two to three people to share at a time. Yo could also refrigerate any unused ramekins and reheat it when ready. For this post I am using three ramekins, but the recipe measurements will also work well in a small sized baking dish.
Baked Ricotta
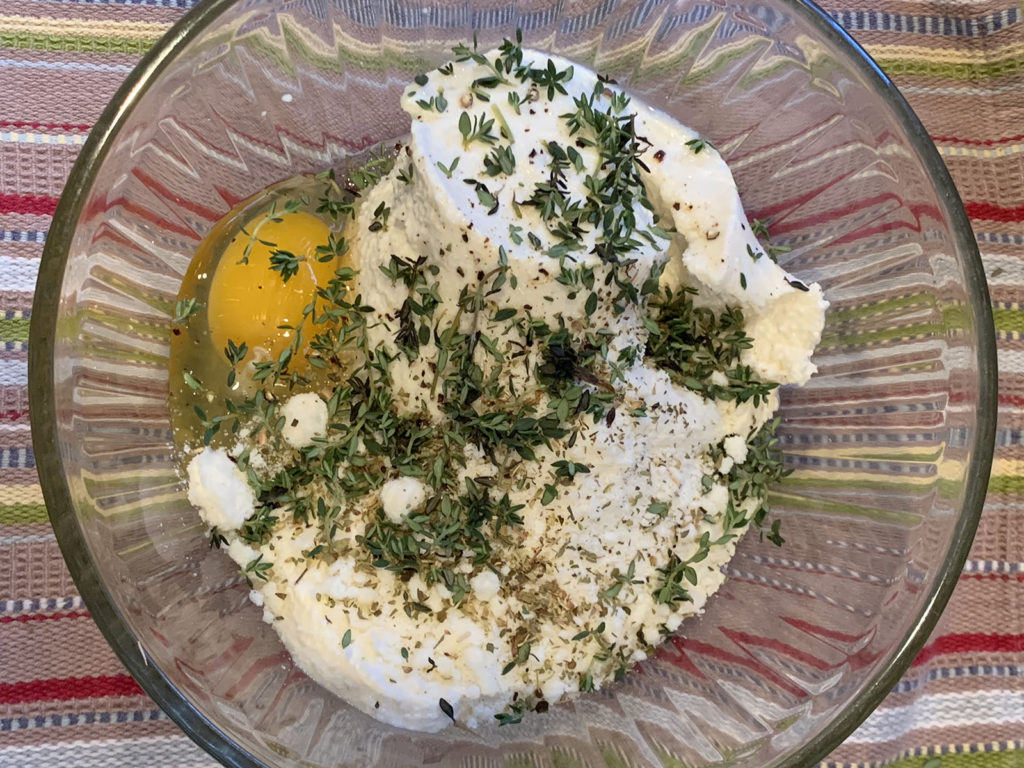
1 16 ounce container whole milk ricotta 1 large egg 1/4 cup grated parmesan cheese, plus 1 tablespoon for topping 1 teaspoon fresh chopped oregano (or 1/2 teaspoon dried oregano) 1 teaspoon fresh thyme (or 1/2 teaspoon dried thyme) 1 tablespoon olive oil Salt and pepper to taste
Preheat oven to 400 degrees. In a medium bowl, mix the egg, ricotta, 1/4 cup parmesan cheese, herbs and salt and pepper. Mix well.
Divide the mixture between three to four ramekin dishes, or spoon it all into one baking dish. Sprinkle the top with the remaining 1 tablespoon of parmesan cheese. Bake for 30 minutes or until golden brown. Remove from oven and drizzle the top with olive oil. Serve warm with toasted crostini (see below) or crackers.
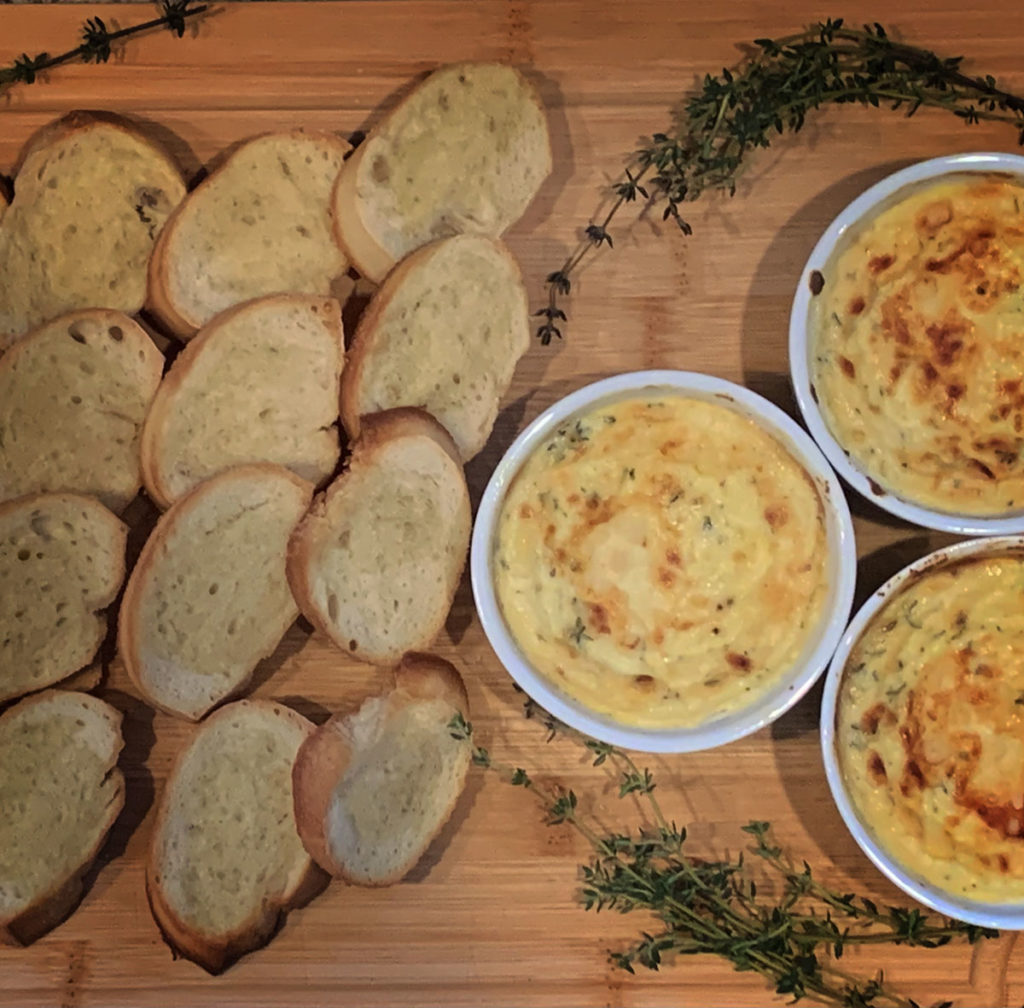
Toasted Crostini
To prepare toasted crostini, slice a French baguette into 1/4 to 1/2 inch slices. Place the sliced bread on a baking sheet and lightly drizzle with olive oil. Place the tray in the oven during the last 15 minutes that the ricotta is baking. Remove when golden brown, making sure the crostini doesn’t burn. You can either plate the crostini loose, allowing everyone to add the baked ricotta spread themselves, or you can top the crostini with the ricotta before serving.
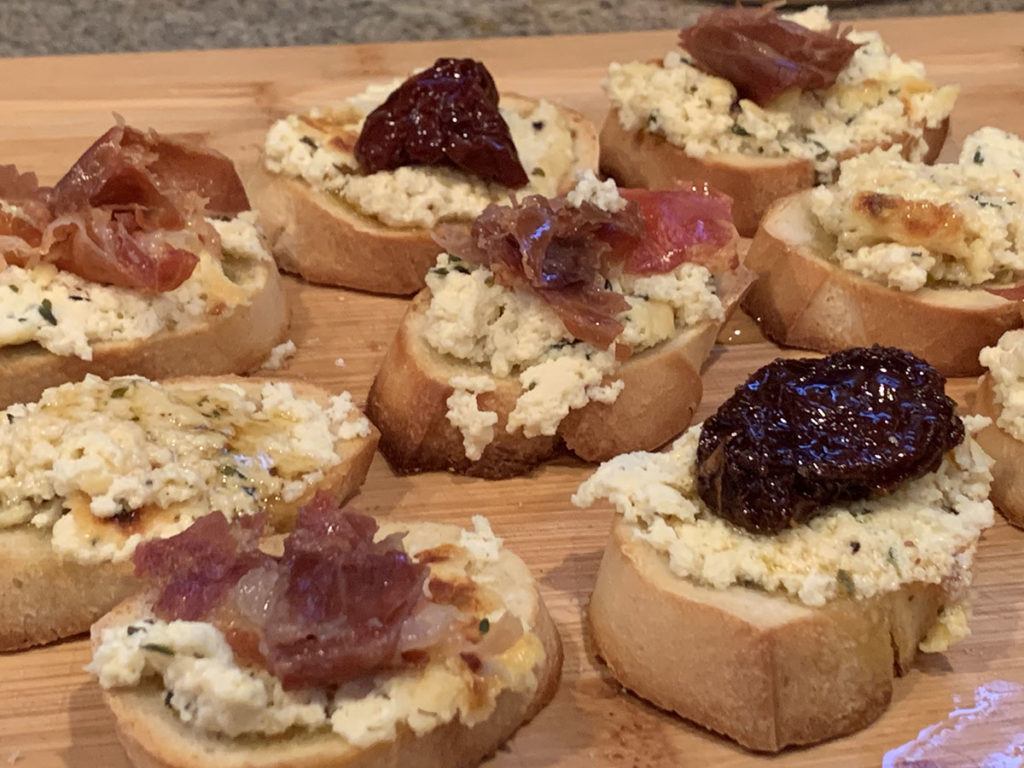
Crisped Prosciutto
One of my favorite toppings for baked ricotta is crisped prosciutto. Tear about 4-6 slices of prosciutto into pieces. Place the pieces onto a small baking sheet and place in the oven during the last 10 minutes that the ricotta is baking. Crisp it up to your liking, making sure it doesn’t burn. Spread the crostini with the baked ricotta, then top with a piece of prosciutto, or whatever other toppings you prefer! Pictured below are my favorite varieties: crisped prosciutto, sun dried tomatoes and drizzled honey.