Breakfast is a big deal in my house—we love everything from breakfast sandwiches and omelets to French toast and, of course, pancakes. Recently, I found a Mediterranean diet-friendly banana pancake recipe that quickly became a staple for us. What makes it special? There’s no flour or added sugar. The pancakes are made with ripe bananas, oats, baking powder, cinnamon, vanilla extract, eggs, and a splash of milk. The bananas provide all the sweetness you need, making these pancakes both healthy and delicious. I make them so often that I keep a batch ready in the freezer, and even my dog gets to enjoy one or two!
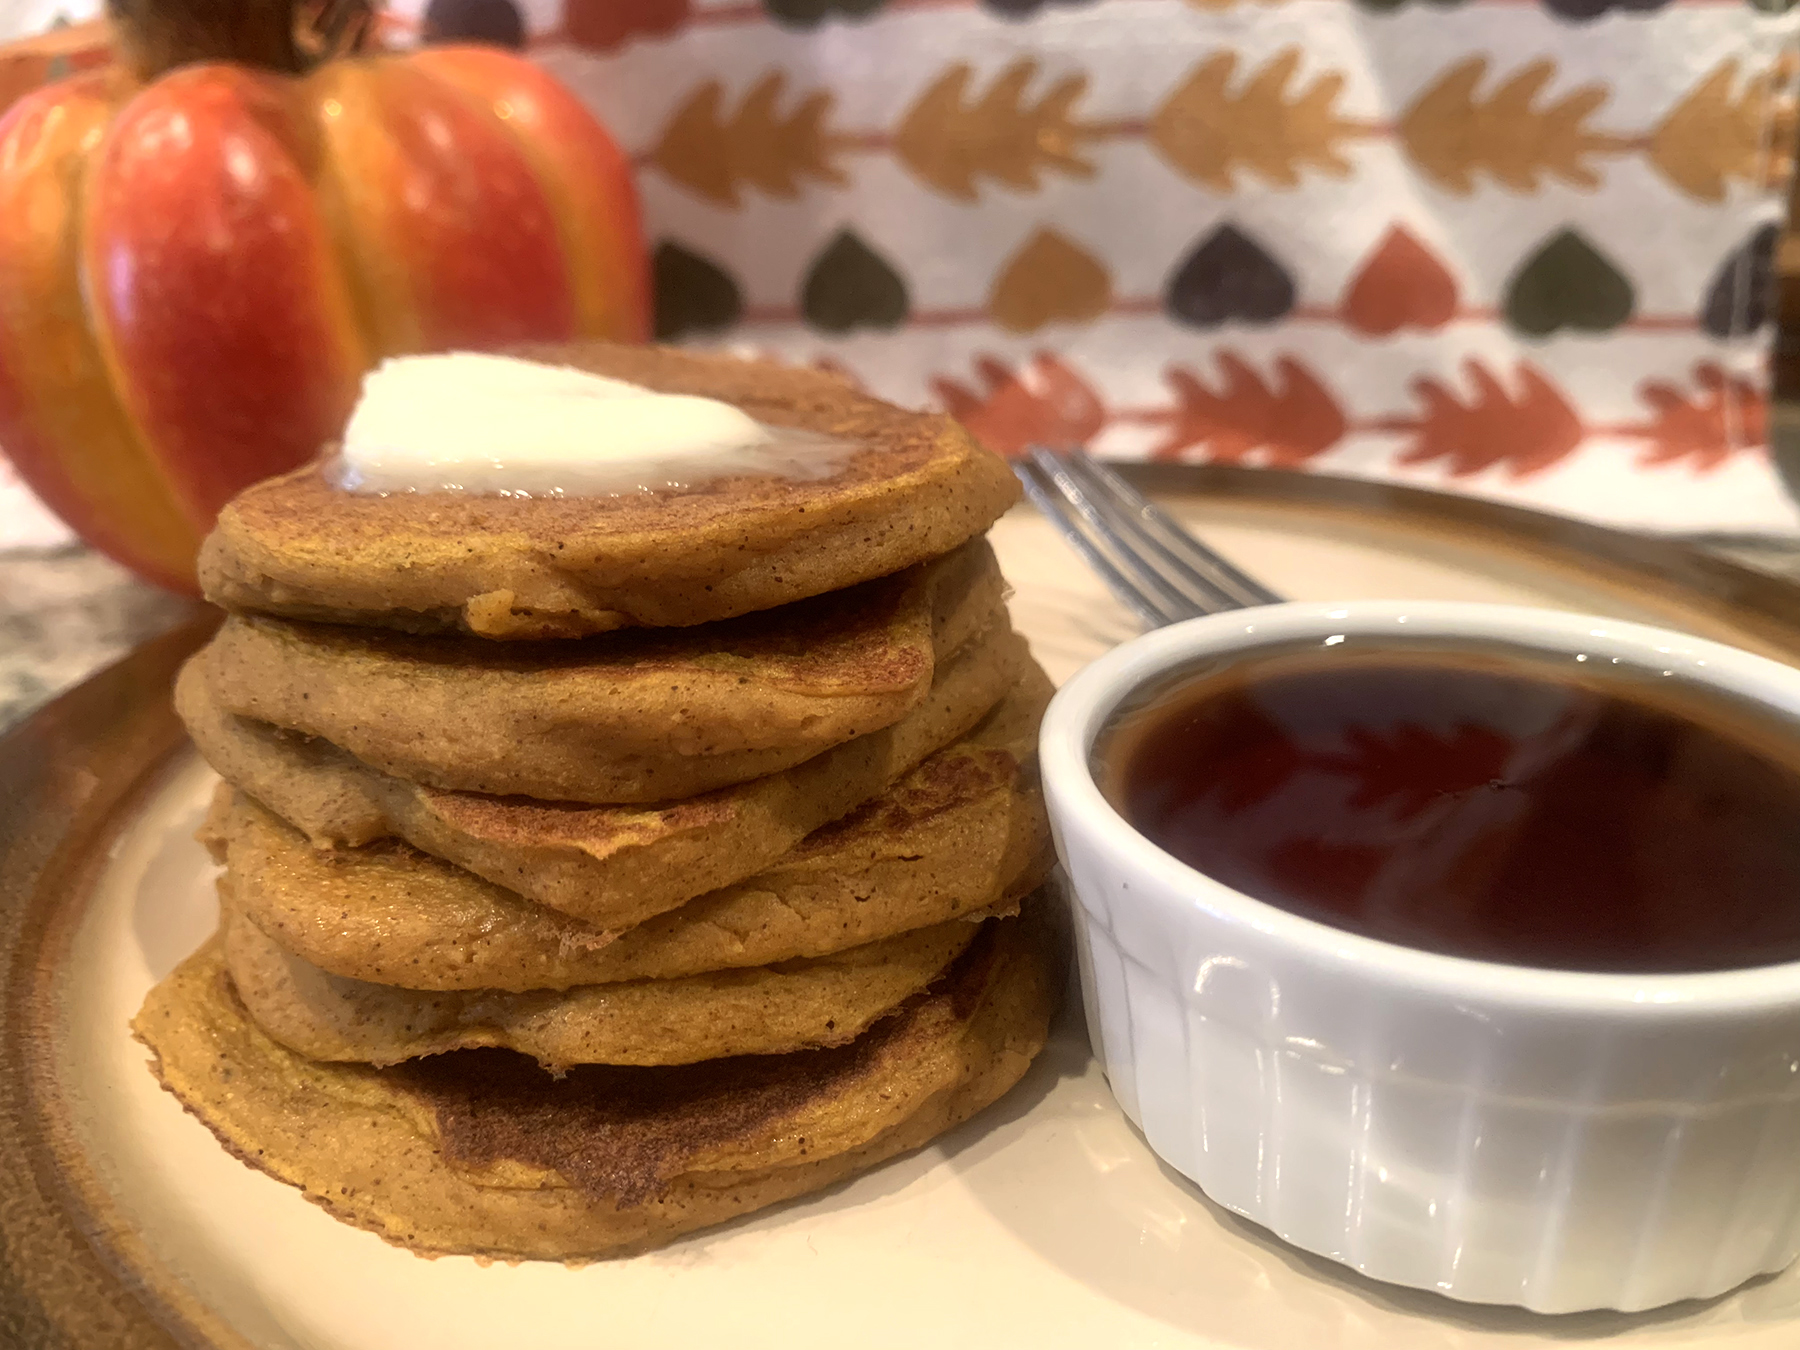
When fall arrived, I started thinking about how to adapt this recipe for pumpkin pancakes. I love cooking with pumpkin, but most recipes leave me with leftover pumpkin purée that ends up forgotten in the fridge. I wondered if I could use pumpkin butter instead, since it’s one of my favorite autumn treats. Unfortunately, that experiment didn’t work out—pumpkin butter is too runny and already sweetened, which led to mushy pancakes. Lesson learned: pumpkin butter is best as a topping, not an ingredient. Still determined, I tried adding a third cup of pumpkin purée and a half teaspoon of pumpkin pie spice to the original recipe. Success! The result was a batch of fluffy, flavorful, and healthy pumpkin pancakes. They were so good, I made another batch just to use up the rest of the purée—problem solved!
Pumpkin Banana Oatmeal Pancakes
Adapted from the Healthy Oatmeal Banana Pancakes recipe at ambitiouskitchen.com
2 medium ripe bananas (best when they have lots of brown spots)
2 eggs
1/2 cup milk of your preference (I like to use almond milk)
1 teaspoon vanilla extract
1 ½ cups quick oats
2 teaspoons baking powder
1/2 teaspoon ground cinnamon
1/4 teaspoon salt
1/3 cup pumpkin purée*
1/2 teaspoon pumpkin pie spice*
Olive oil, for cooking *omit if you do not want pumpkin pancakes
Add all of the ingredients (except for the olive oil) to a blender and blend on high until completely smooth, about 45 seconds. Let the batter sit in blender for about 3-5 minutes while you heat up your pan or griddle to medium heat.
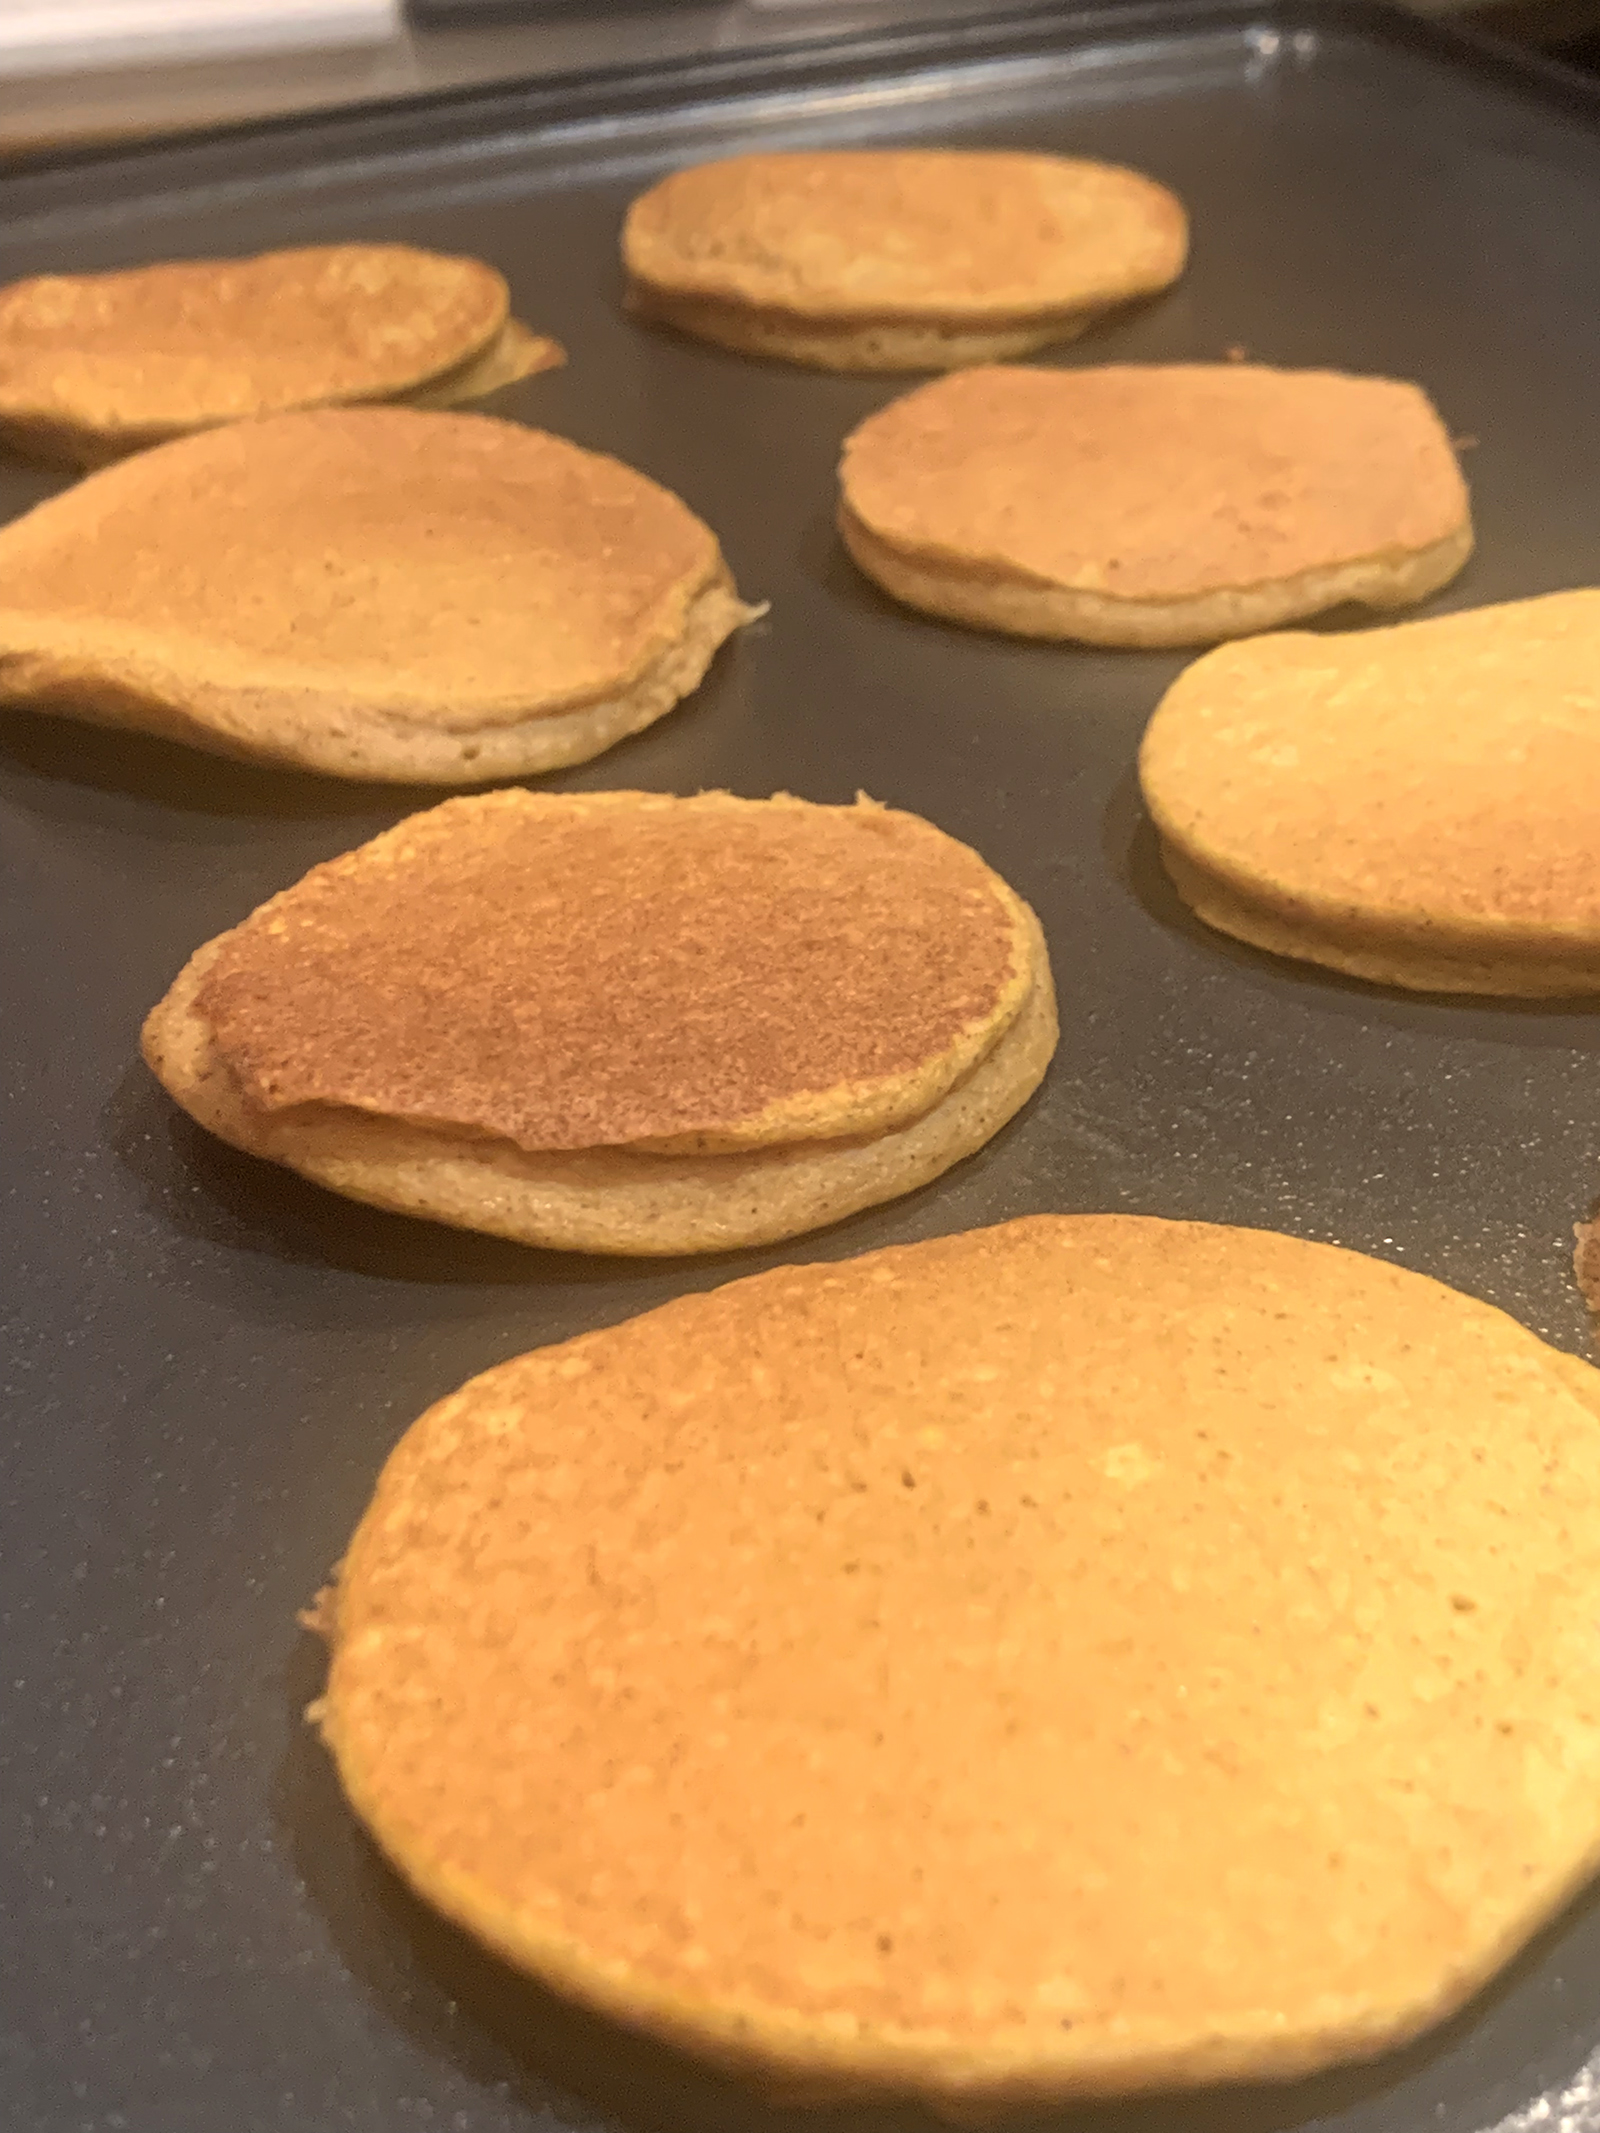
Lightly coat your pan or griddle with olive oil and place over medium heat. Once the surface is hot, add 1/3 cup of the batter to the griddle for each pancake and cook for 2-4 minutes until pancakes slightly puff up and you see a few bubbles along the edges.
Flip the pancakes and continue cooking for another two minutes or until golden brown. Serve immediately.
The batter will make approximately 7-9 regular size pancakes, or about 12-15 silver dollar size pancakes. You can also half the batter if you wish.
Refrigerate leftover pancakes in an airtight container for up to 5 days, or you can freeze them in a freezer bag for up to two months. To freeze leftover pancakes, place them individually on a baking sheet and place the baking sheet into the freezer. This will help avoid the pancakes from sticking together. Once frozen, you can place them into a freezer bag.
The big debate at my family’s Thanksgiving dinner has never been about wanting a leg or a wing, white meat or dark meat, or should the potatoes be sweet mashed or twice baked. Rather, it’s always been about what dessert would you like to try and how big of a piece? The dessert table can quite honestly get to the point of insanity. A tasty and enjoyable insanity, but insanity, nonetheless.
Years ago, my Mom would make two homemade apple pies for Thanksgiving. One we would have for breakfast while we watched the Thanksgiving Day parade on the television, the other we would enjoy for dessert. There would also be the occasional coconut custard pie added to the mix. As I started to develop my passion for cooking and for all things pumpkin, it became my tradition to make the pumpkin pie for our dessert table. When my daughter, Julianna, learned how to make a pumpkin pie from scratch in her home economics class, she asked to take over the pumpkin pie duties. My brother, on the other hand, took over the apple pie responsibilities a while back, making not only the traditional lattice crust version that my Mom would make, but also an apple cider cream pie that is beyond amazing. Not only do we have pumpkin pie and two variations of apple pie represented, but there are also holiday cookies, candies and chocolate covered cherries thrown into the mix for the grandkids who are not fans of the traditional Thanksgiving desserts.
It has become an annual pre-holiday conversation, trying to figure out how we can scale this all back a bit. The argument is always that we don’t need all this dessert…but, it’s only one time of year and it all tastes so good. So, every year we have this dessert extravaganza that we all enjoy and appreciate, but honestly are only able to sample just a tiny bit of each. We are just coming off the biggest meal of the year, and now we are trying to enjoy little bits of these delicious baked goods to satisfy our sweet tooth and our curiosity. The coveted ‘sliver’ as my wife Daria would always say.
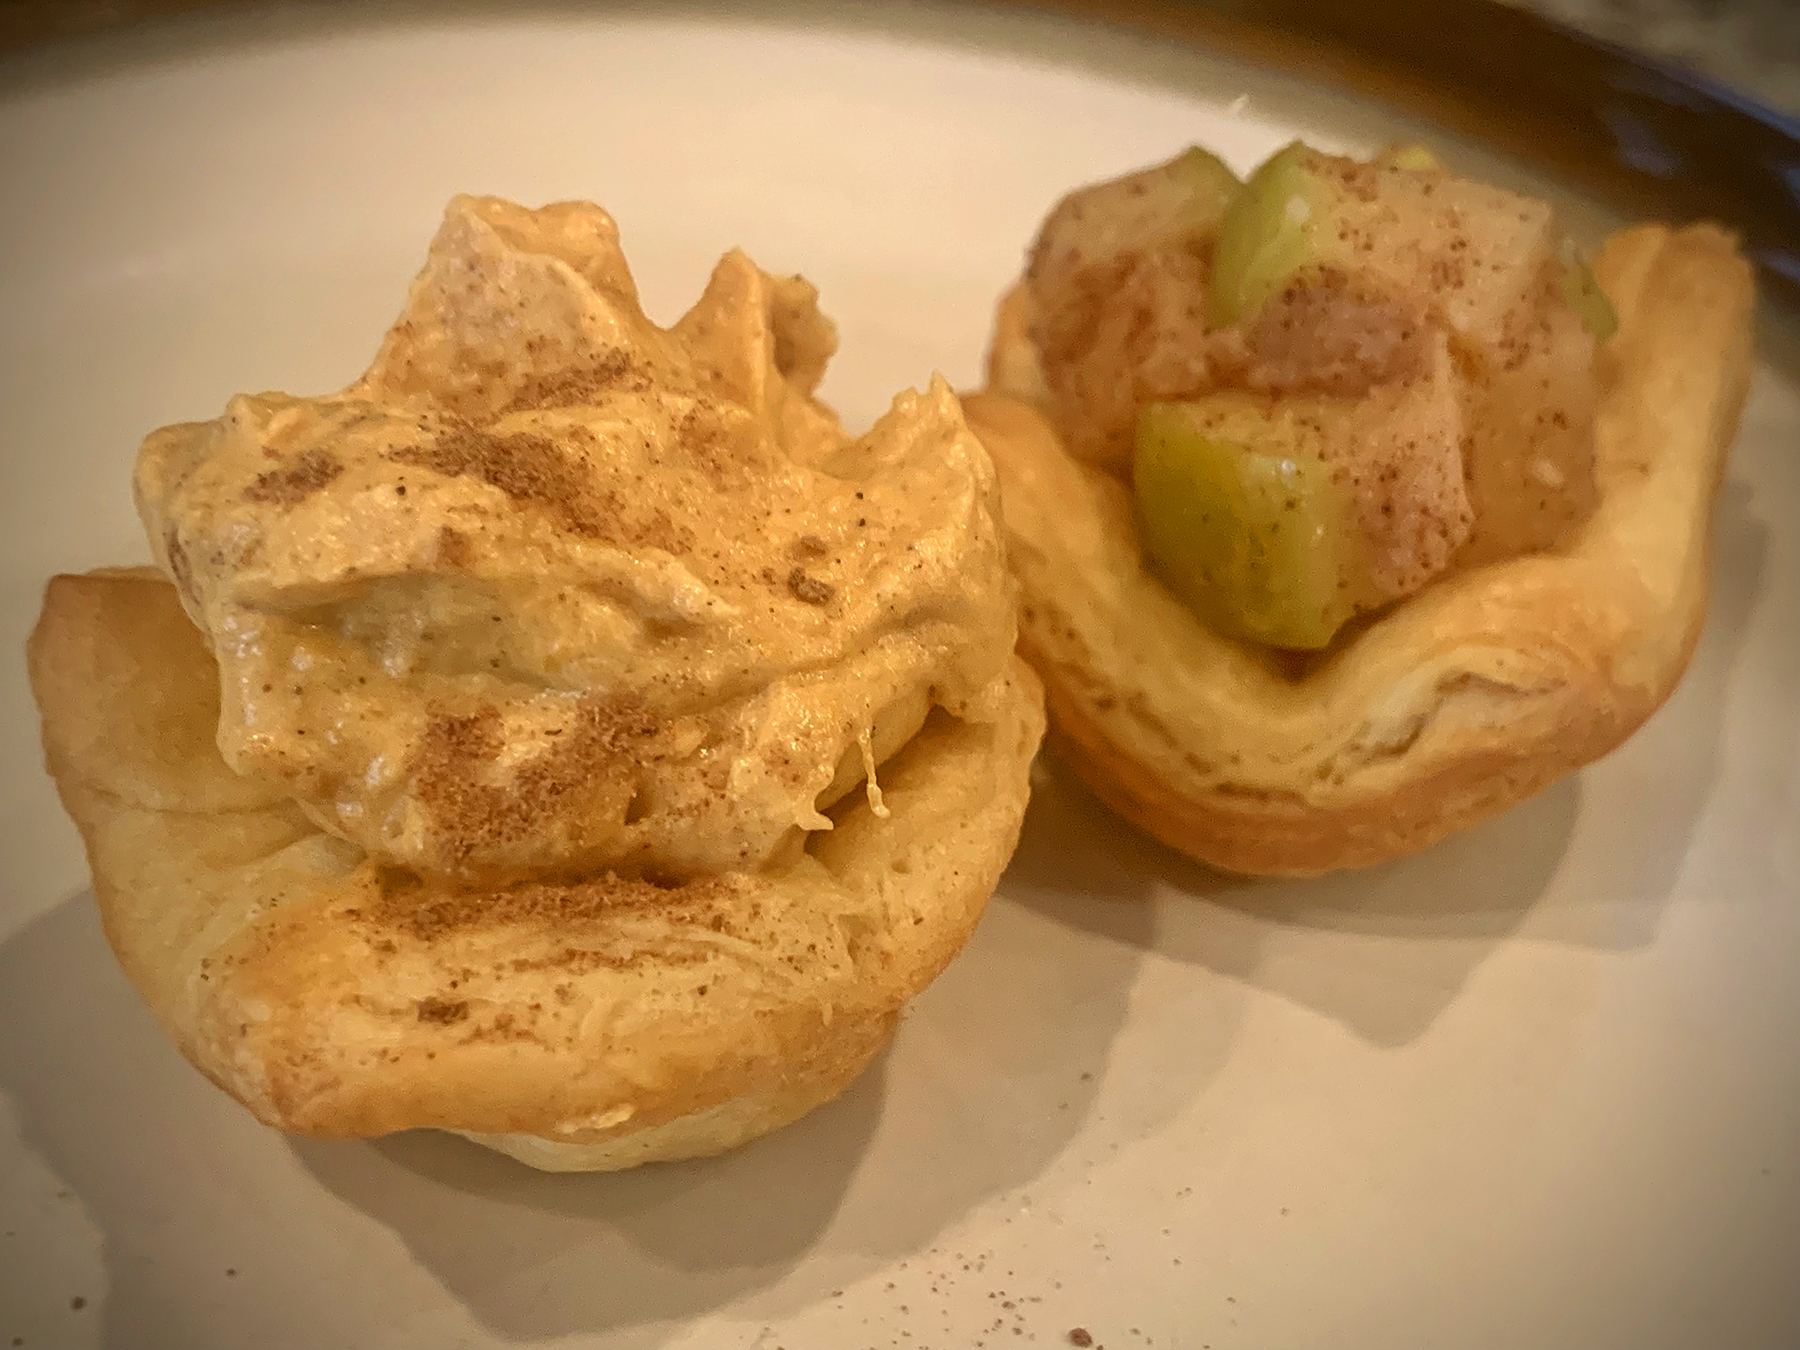
This past summer, during one of the many get togethers that my close friends and I enjoy, I had made a dessert using crescent rolls cut into 24 individual pieces and baked in a mini muffin tray. The individual pastry cups were topped with whipped mascarpone cheese and berries. The dessert was a big hit, not only for the combination of flavors but also for the simplicity of it being one bite. One piece may have been plenty, but if you wanted more you could take another single serving. No slivers, no samples. It was a nice way to enjoy dessert in a small portion. This, of course, got me thinking about applying this approach to Thanksgiving. With a little bit of research, and a test batch shared with a good friend of mine who has always been one of my favorite taste-testers, I came up with what I think will be the perfect compromise for my family’s Thanksgiving dessert table.
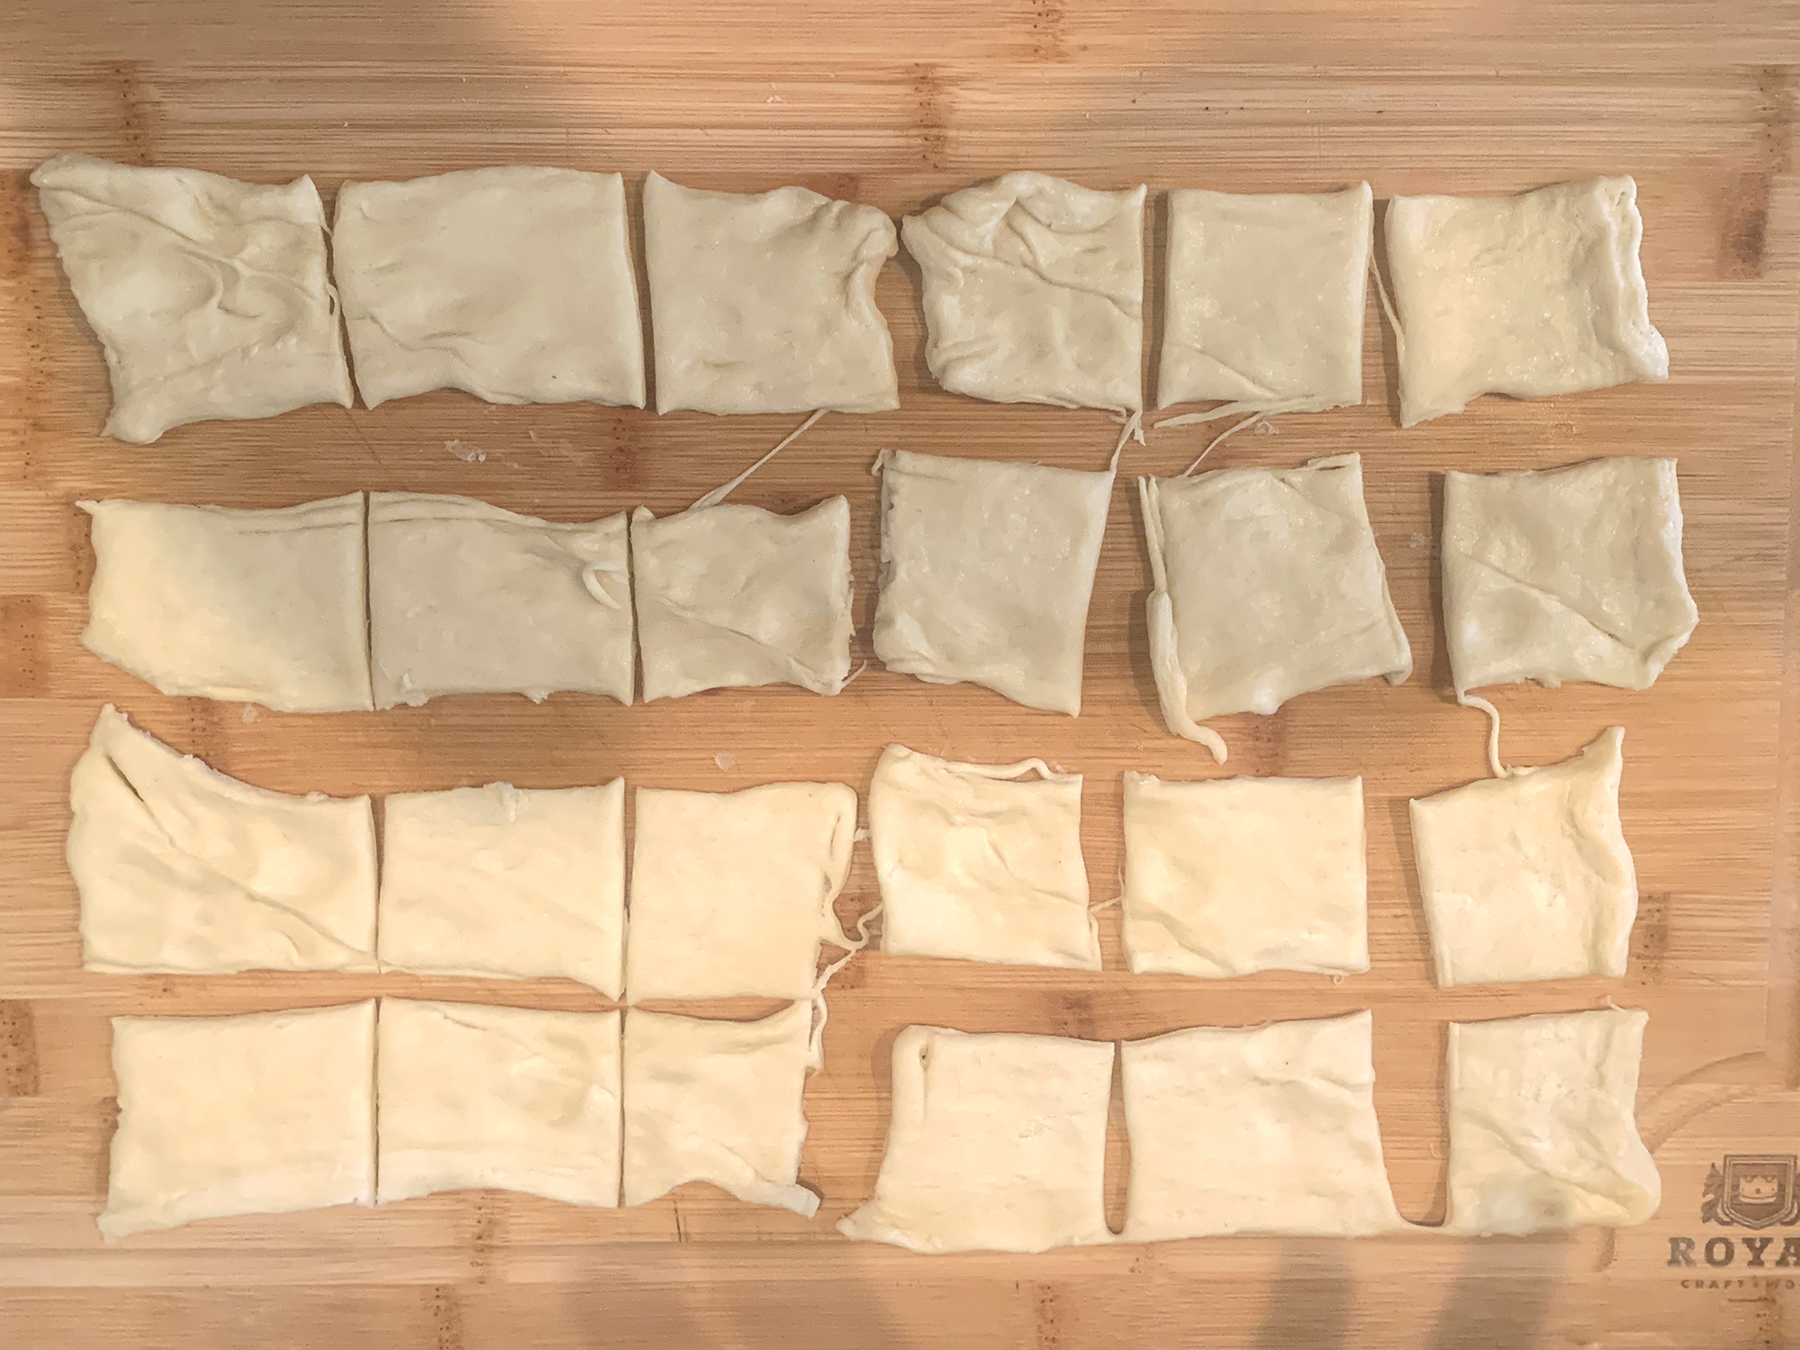
The recipe below will make 24 individual bite sized servings. You will need one container of crescent rolls for the crust. The dough will get rolled out into one sheet, then cut into 24 individual pieces. Grease a mini muffin tray and place each pastry square into a cup. Bake at 350 degrees for 10 minutes, or until the pastry starts to turn golden brown. Remove from oven and let cool for 10 minutes. The pastry cups taste best immediately after being baked and cooled, and should be filled just before serving. I would not recommend filling the pastry cups too far ahead of time, because they may get soggy. You can bake the pastry cups ahead of time and place them, unfilled, into a container and then refrigerate. You can then warm them up in the oven before adding any filling and serving them.
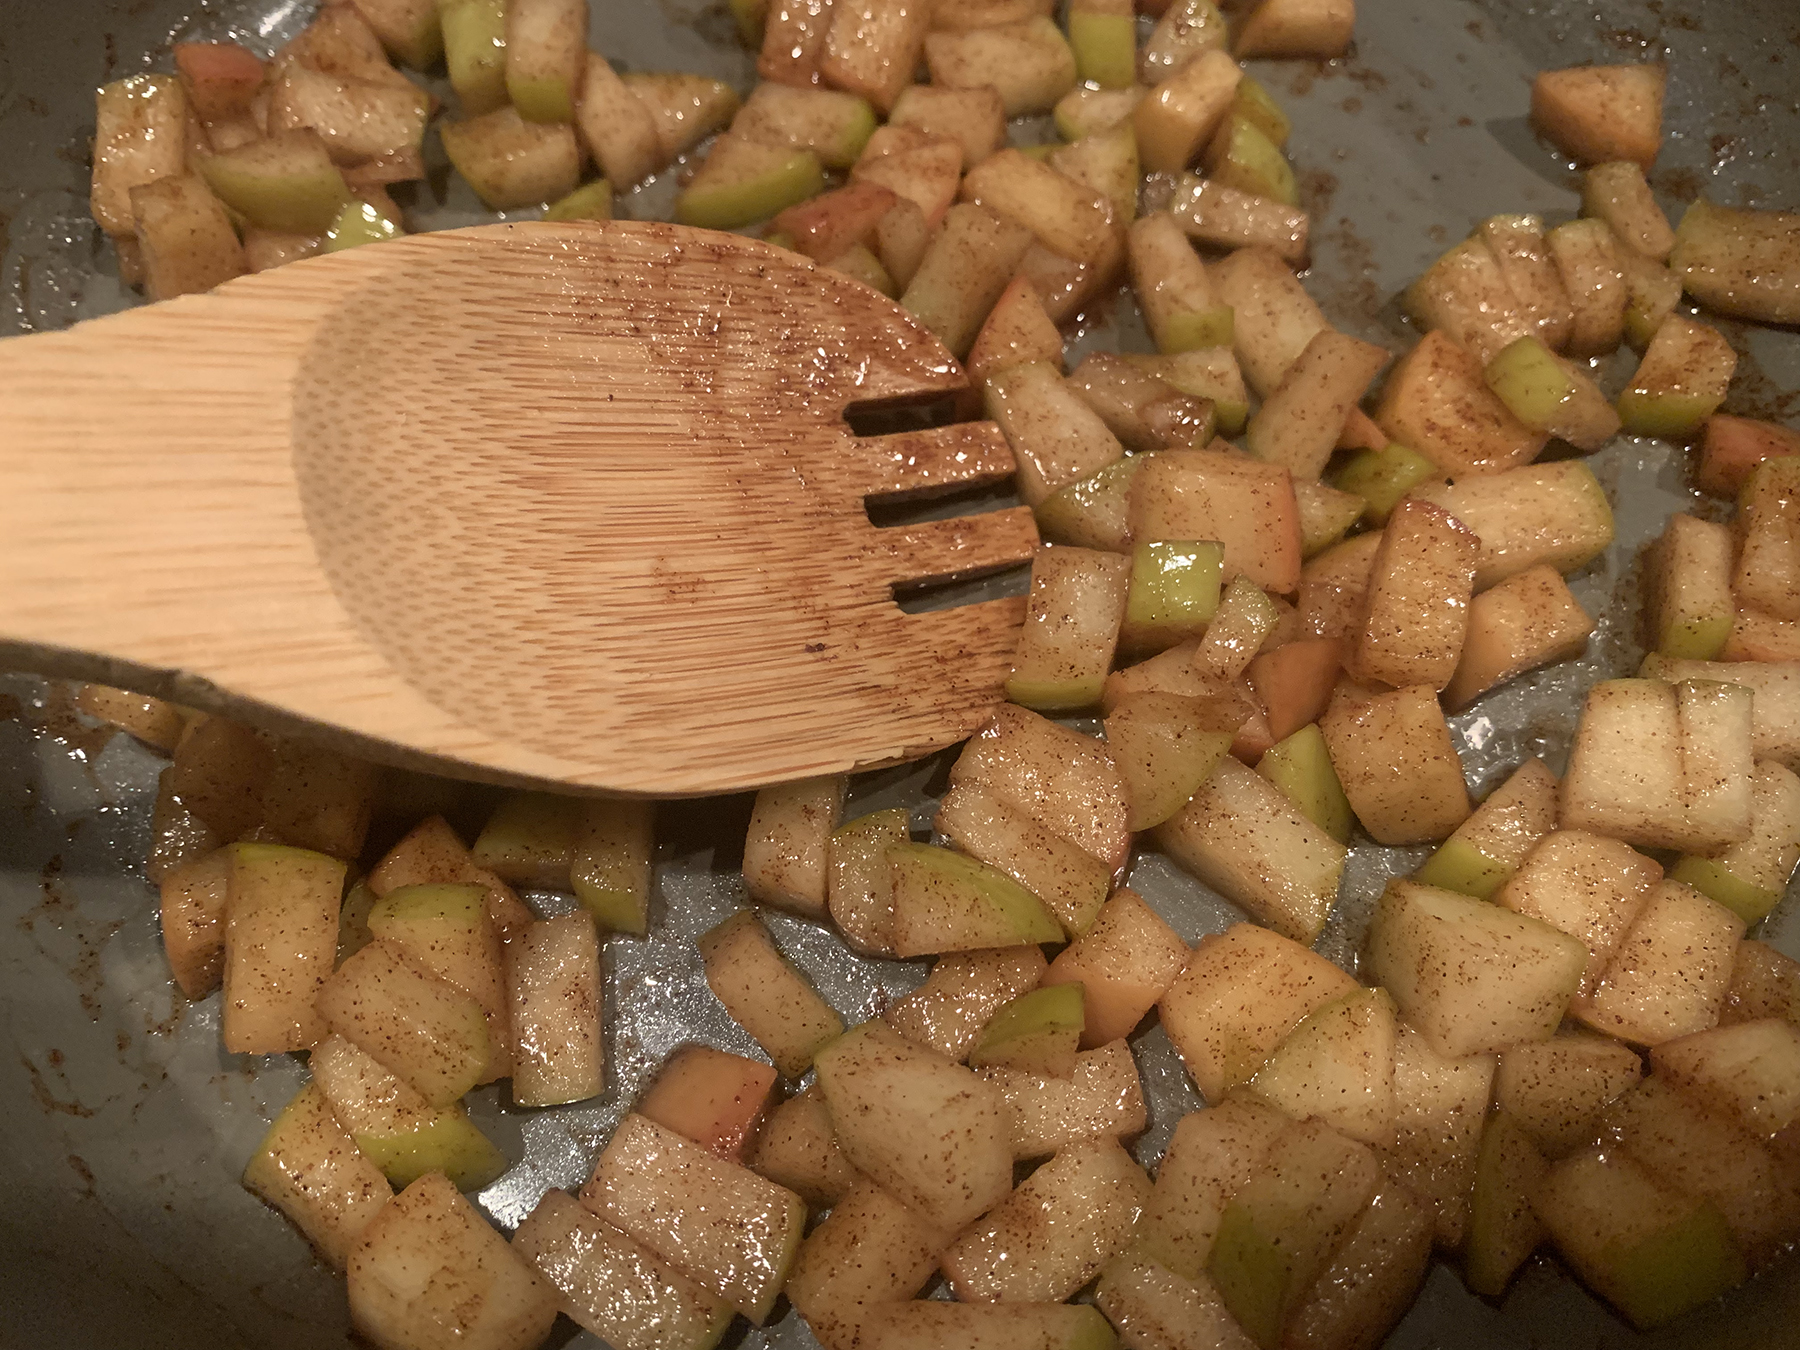
The apple pie filling sautéing in the pan.
The two pie fillings that I made are not only Thanksgiving approved, but they are also simple to make and very versatile. The measurements for each filling will make enough for 24 individual pastry cups of each, most likely with leftover filling that can be used in several ways.
The apple pie filling, inspired by a recipe that I found online, is made by cooking diced apple pieces tossed with cinnamon, sea salt, vanilla extract and maple syrup in butter on the stove top for 15 minutes. These spiced apples make for a great pie filling, and they also work well as an addition to yogurt and oatmeal, as a topping for pancakes, waffles or ice cream, or even just on their own as a snack.
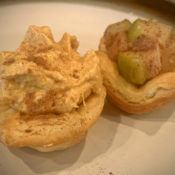
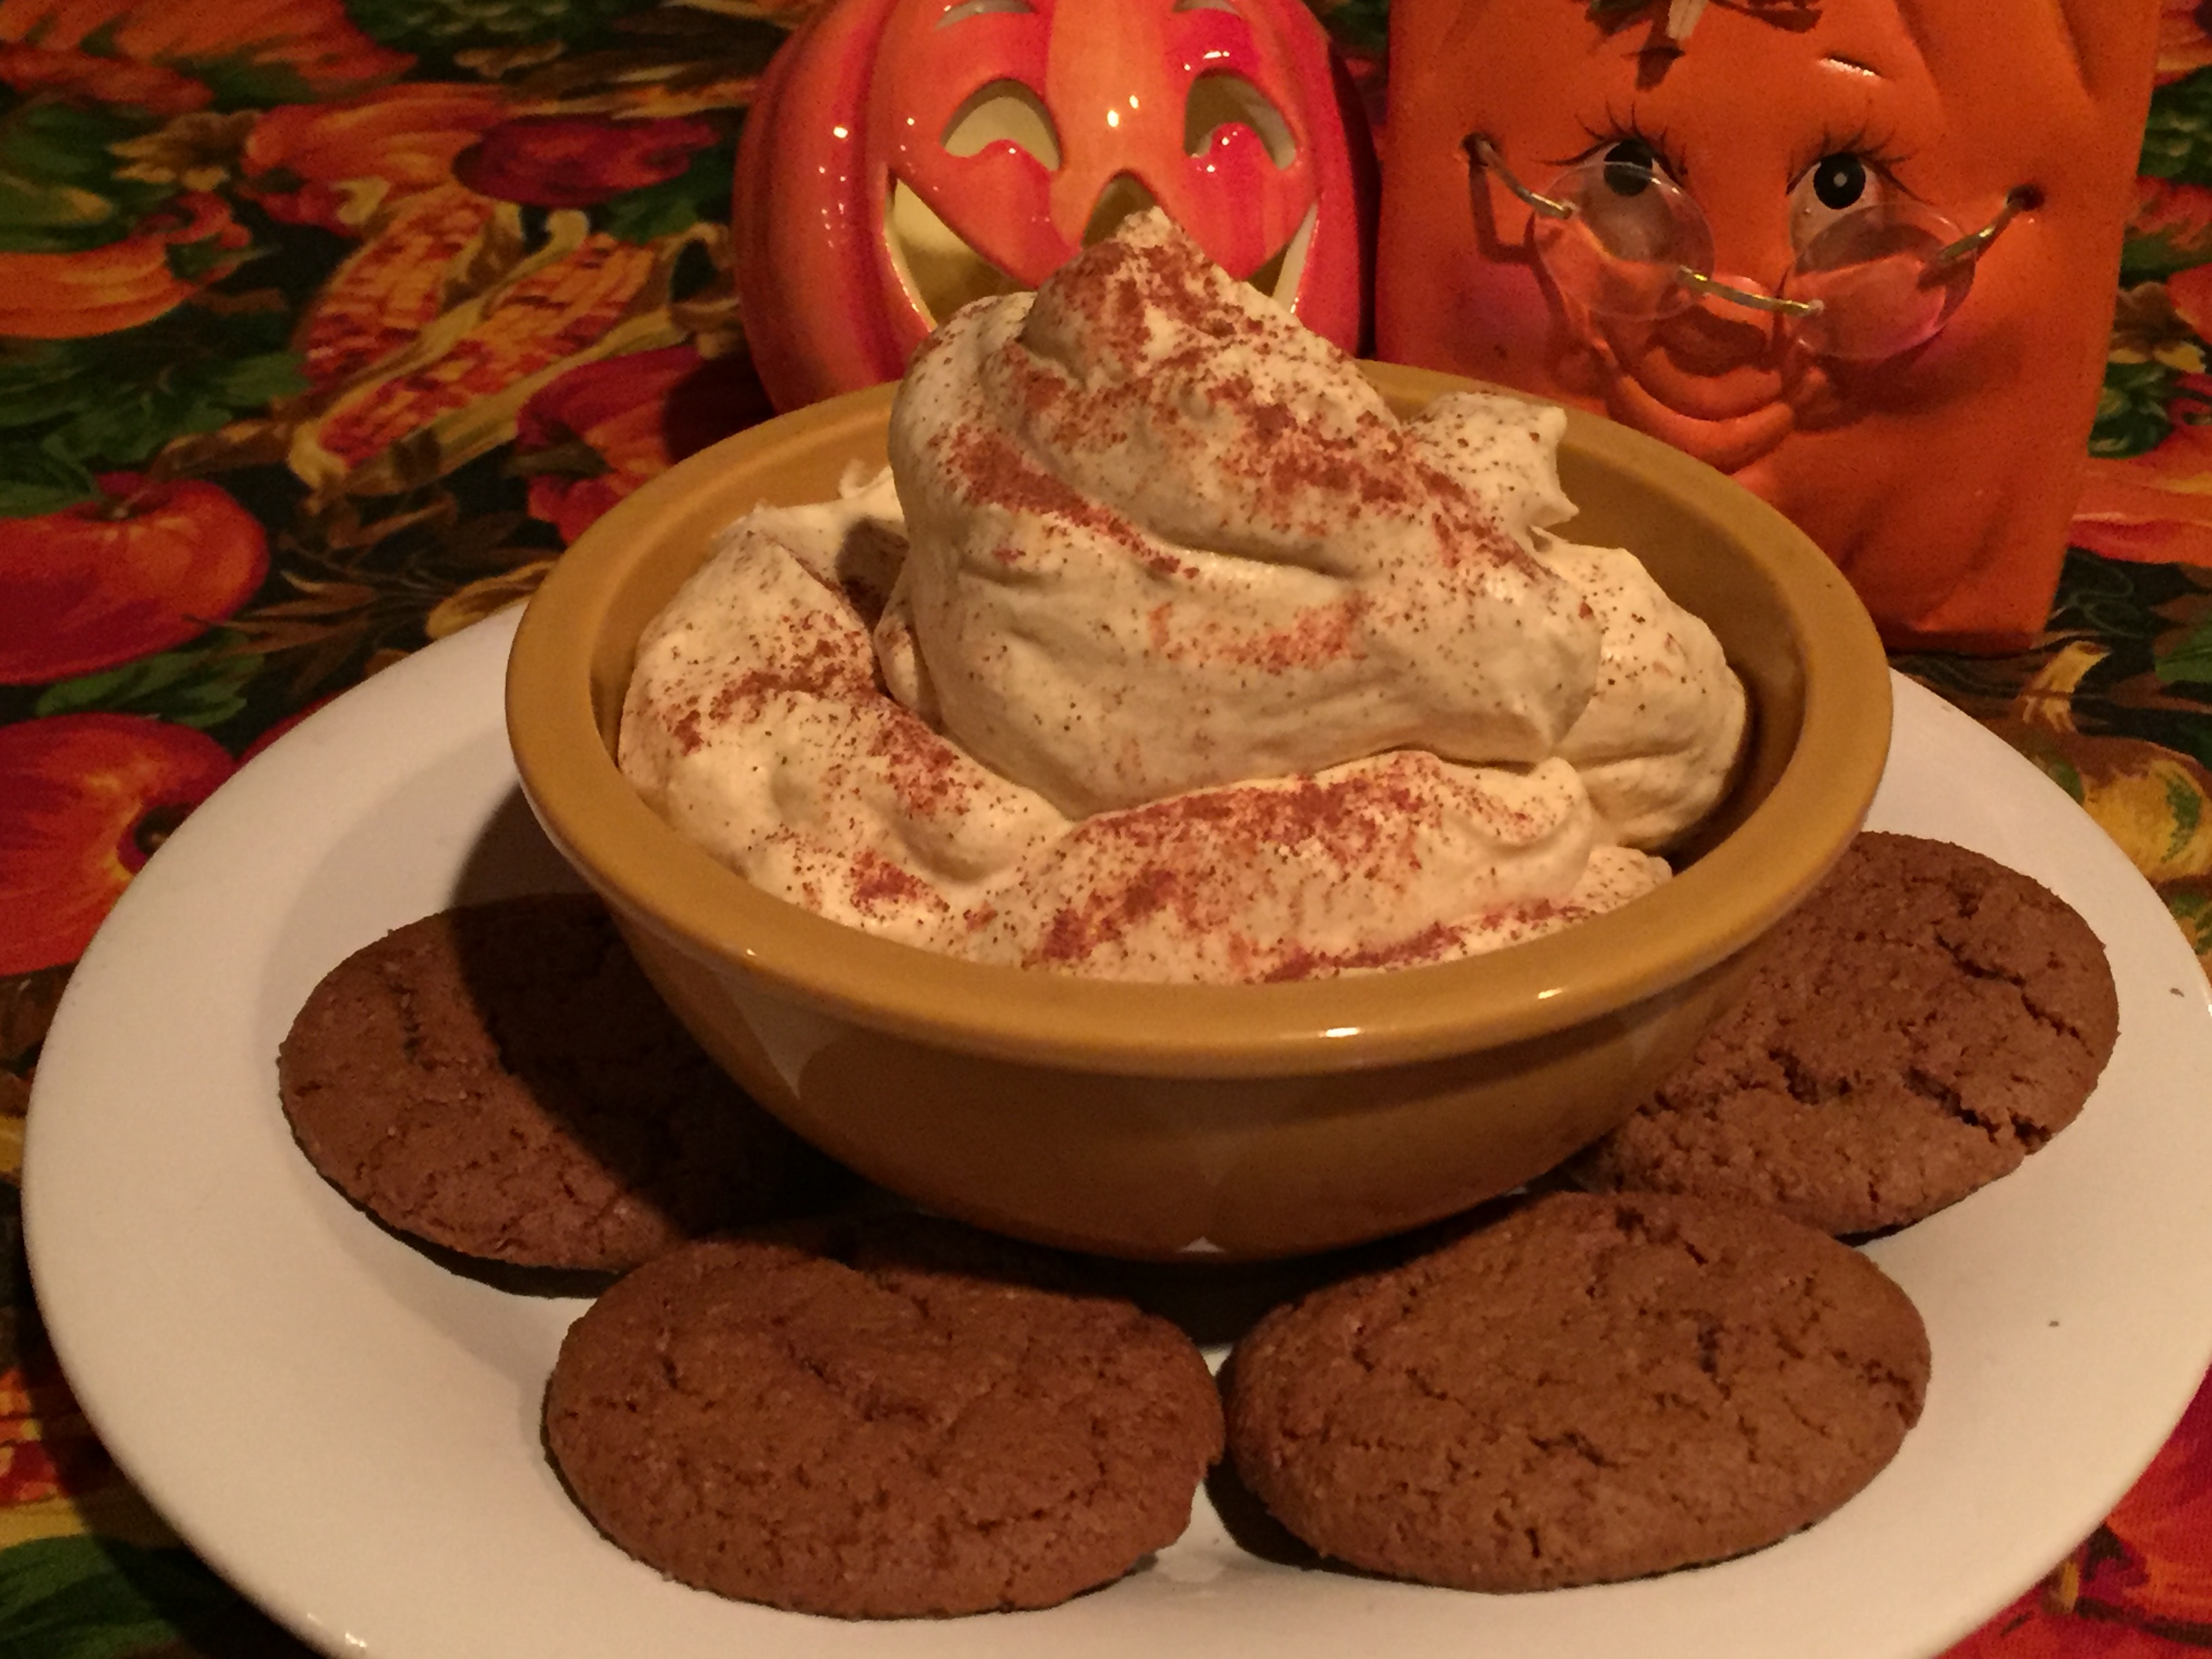
The pumpkin pie filling is a no-bake filling that combines canned pumpkin with cinnamon, pumpkin pie spice, milk, vanilla pudding mix and whipped topping. The recipe for this pie filling will make more than enough needed. The leftover filling can be used in a no-bake graham cracker crust (chilled for 4 hours, if so), served as a dip alongside spiced wafers, or simply enjoyed on its own as a pumpkin spiced pudding. During my test run, I made 12 apple and 12 pumpkin, with plenty of extra leftover filling of both to enjoy.
Whether you choose either of these suggested pie fillings, or come up with your own individual dessert filling (coconut custard, chocolate or banana cream…just to name a few), this presentation will make dessert fun and manageable for everyone.
To serve, you could either assemble the pastry cups before presenting them ready to eat, or you could place the empty pastry cups and a dish of the fillings that you make on the table and allow your guests to make their own bite sized treats. Whatever method you choose, don’t forget the whipped cream topping!
3 apples, diced (suggested apples: Granny Smith, Gala, Pink Lady, Golden Delicious. A variety works very well) 2 tablespoons water 1 tablespoon butter 1 tablespoon maple syrup 1/2 teaspoon ground cinnamon 1/8 teaspoon fine sea salt 1/4 teaspoon pure vanilla extract
Cut apples into small, 1/2 inch cubes. Put apple pieces into skillet with 2 tablespoons water. Cover, cook over medium heat for 5 minutes, stirring occasionally until apples become slightly soft and water is absorbed. Add butter to the pan, stir until apples are evenly coated. Continue to cook for another 5 minutes, stirring occasionally, until apples are softened. Add maple syrup, cinnamon, salt and vanilla extract. Stir until well mixed. Continue to cook for another 5 minutes. Remove from heat. Serve warm or chilled!
No-Bake Pumpkin Pie Filling
1 15-ounce can pure pumpkin puree 1 3.4-ounce box instant vanilla pudding 1 teaspoon ground cinnamon 1 teaspoon pumpkin pie spice 1/4 cup milk 1 8-ounce container whipped topping
Using a hand mixer or stand mixer, combine the pumpkin puree, vanilla pudding mix, cinnamon, pumpkin pie spice and milk in a mixing bowl until well combined (you can follow the suggested mixing time on the pudding box). Fold in the whipped topping one tablespoon at a time, until you get the desired taste and texture. You can use as much whipped topping as you prefer, up to the entire 8 ounces. Chill for four hours before serving.
Recently, I shared with you my recipe for Whipped Mascarpone and Greek Yogurt, served with puffed pastry and fresh fruit. Today, we’re going to add a little fall flavor to this recipe! All you will need are two additional ingredients that are autumn staples…pumpkin puree and pumpkin pie spice (a dash of cinnamon wouldn’t hurt either). The pumpkin flavor is not too overpowering…it’s just enough to put you into the autumn mood. Whether you decide to use my mascarpone and yogurt recipe, or the more traditional heavy whipping cream version, this delicious topping will go perfect with any fall dessert. Serve it over your favorite slice of pie, or along with spiced wafers or graham crackers. If you’re using the heavy whipped cream version, add a dollop in your cup of coffee, hot chocolate or apple cider. Or just eat it with a spoon!
Pumpkin Spiced Whipped Cream
Mascarpone and Greek Yogurt version
1/2 cup mascarpone cheese
1/2 cup non-fat plain Greek yogurt
2 tspn powdered sugar
2 tspn vanilla extract
1/2 tspn pumpkin pie spice
1/3 cup pumpkin puree
dash of cinnamon
Combine mascarpone, yogurt, powdered sugar, vanilla extract and pumpkin pie spice in a chilled mixing bowl. Using a hand mixer or a stand mixer, mix until thick and creamy. Fold in the pumpkin puree. Cover and refrigerate until ready to use. Top with a dash of cinnamon.
Heavy Whipping Cream version
1/2 pint heavy whipping cream
1 tbspn powdered sugar
1 tspn vanilla extract
1/2 tspn pumpkin pie spice
1/3 cup pumpkin puree
dash of cinnamon
Combine cream, powdered sugar and vanilla extract in a chilled mixing bowl. Using a hand mixer or a stand mixer, mix together until soft peaks form. Add the pumpkin pie spice and continue to mix until stiff peaks form. Fold in the pumpkin puree. Cover and refrigerate until ready to use. Top with a dash of cinnamon.
Holidays play an important part in my family’s deep-rooted traditions. A holiday wouldn’t be the same if we weren’t spending time together, most likely while enjoying a beautiful, home-cooked meal. While the ‘big’ holidays are always special, we also look forward to the casual, summertime holidays that are celebrated over grill-outs, cold beers and fireworks. Not only are these holidays fun and exciting, they are also stress-free! We’ve started the tradition a few years back of spending these summer holidays with our close friends, Chrissy, Carl and their son Lucas, who are as near and dear to us as our own family.
A few months back, as we were enjoying a Sunday dinner with our friends, we shared conversation about how much we love Thanksgiving dinner, and how it’s a shame to enjoy such a great meal only once a year. This immediately led us to deciding on having a Friendsgiving Dinner on Memorial Day weekend. The timing would be perfect – it would be exactly 6 months until the actual Thanksgiving holiday, and we would have the rest of the summer to grill up burgers and hot dogs. From there, the wheels were in motion and the menu was planned between all of us…and a new holiday tradition was born!
The Menu
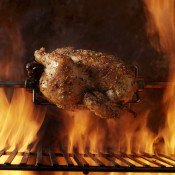
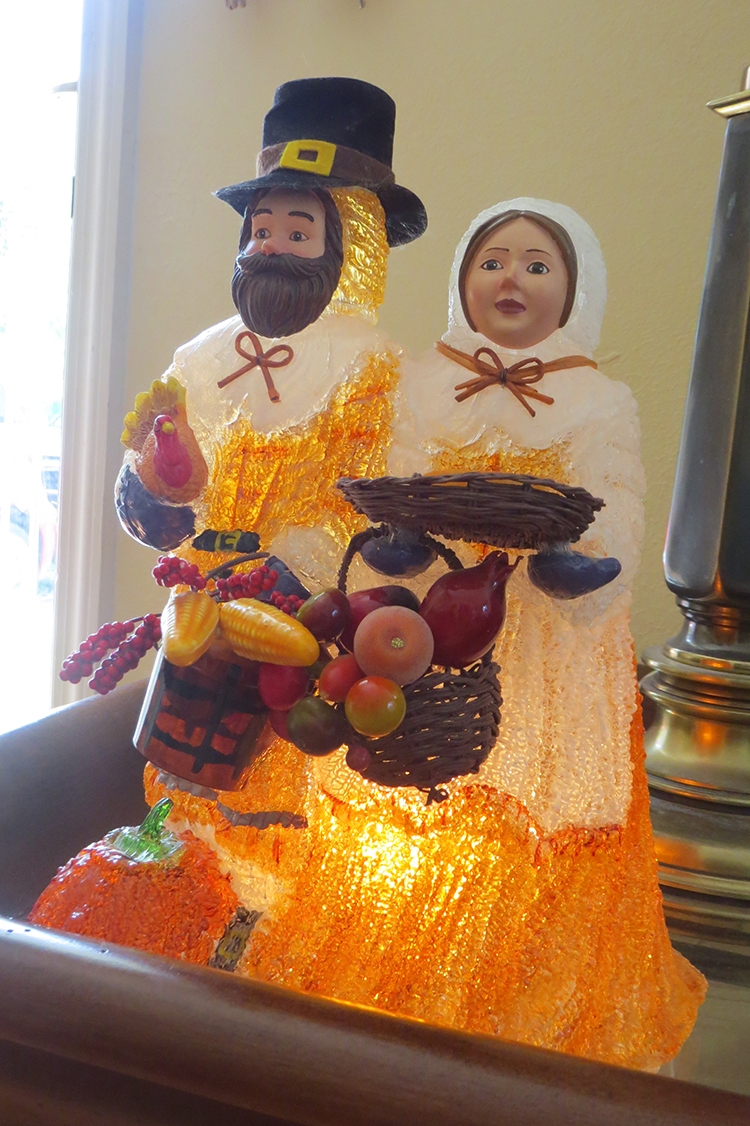
We decided to stick with a traditional Thanksgiving menu: stuffing, mashed potatoes, sweet potato casserole, cranberry sauce, cold apple cider, a pumpkin dessert and, of course…the turkey. Chrissy and Carl also kicked the mood up a notch by digging out their Thanksgiving decorations and playing A Charlie Brown Thanksgiving DVD…complete with popcorn as a snack. Since Memorial Day is the official kick-off to summertime (Carl’s awesome mojitos were a nice reminder of this), I thought it would be fun to cook the turkey on the grill. I have always heard that grilled turkey is fantastic, so what better opportunity to give it a go?
*Note – there was one additional item added to the menu, which I will be sharing in the future. Trust me, it’ll be worth the wait!
The Turkey
The first thing that I learned right out of the gate was that whole turkeys aren’t cheap this time of the year (and the local supermarkets aren’t giving away free turkeys with your bonus points). To not risk over-grilling a $45 bird, I decided to just go with a 6lb turkey breast. An additional benefit to going this route is that you can always purchase legs and wings separately, so you can prepare as many as needed. Being that this was my first try at grilling a turkey, I spent a good amount of time doing my research on the proper cooking methods. One of the key steps that I followed was to soak the turkey overnight in a brine. Not only does brining add flavor to the turkey, it also adds extra moisture to avoid the turkey from getting dried out while on the grill.
Brine Recipe
1-1/4 cups coarse salt
1 cup packed light-brown sugar
1 gallon cool water
Place water, salt and sugar into a large pot, bring to a slow boil. Remove from heat, let cool completely. Place turkey breast into pot, be sure to cover completely with brine. Cover the pot tightly with a lid, refrigerate for 8-12 hours. Rinse brine off of turkey breast before seasoning.
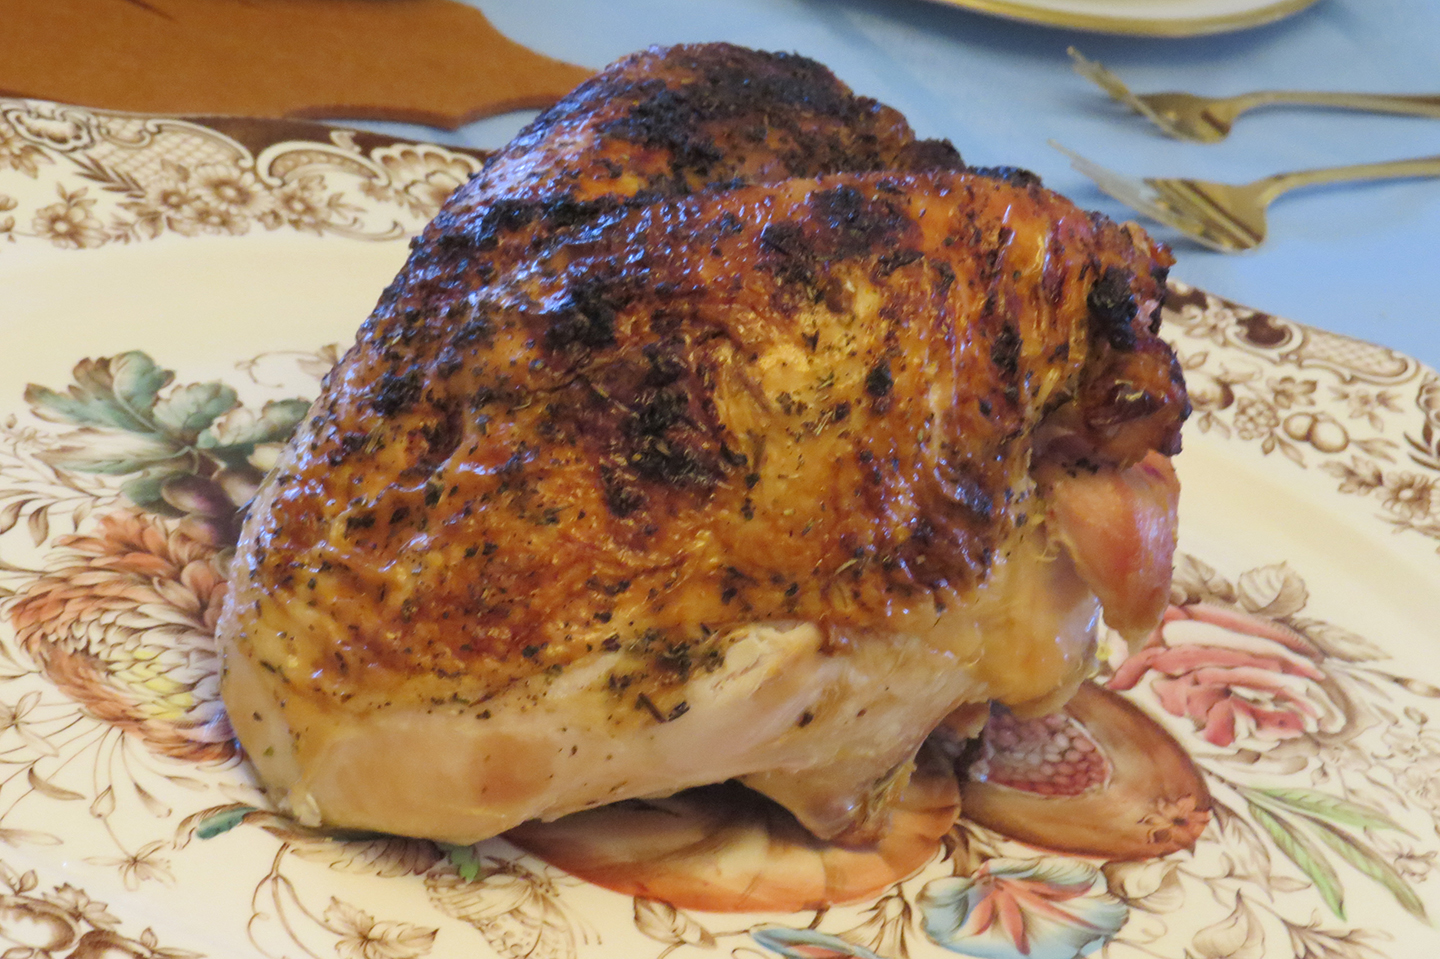
After rinsing the brine off of the soaked turkey, I brushed it with 1 cup vegetable oil, then coated the entire bird, inside and out, with 1 tbspn Italian seasoning and some salt and pepper.
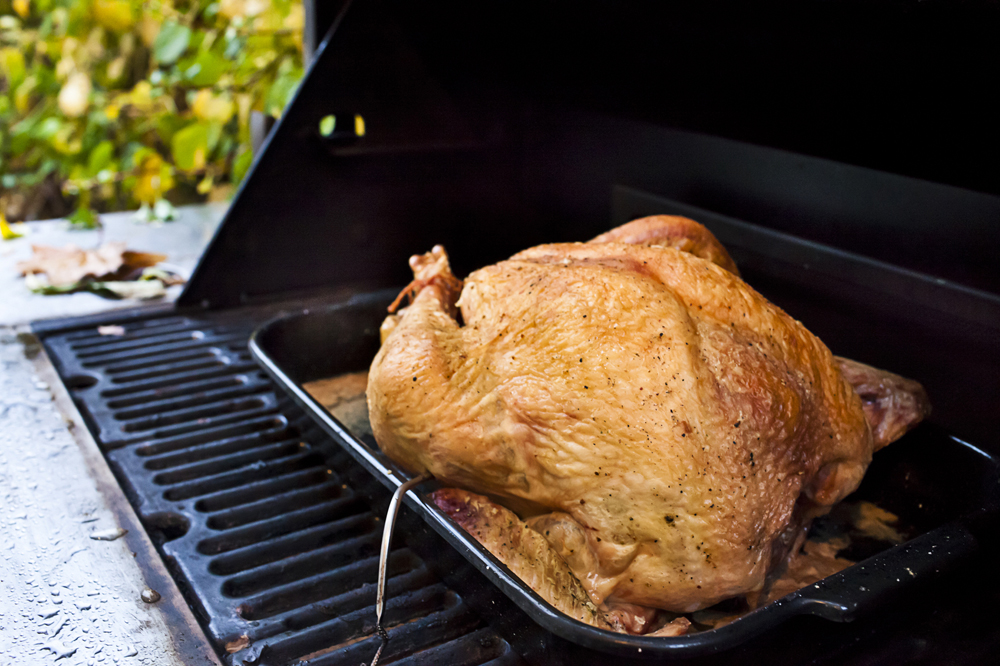
There are a few methods for grilling a turkey that I found online. The most common method that I found and decided to follow was to cook the turkey sitting over a drip pan, using indirect heat. After warming the grill up to 350˚, I placed the seasoned turkey breast, skin side up, on a rack and placed it inside of a roasting pan. I added 1 cup of water to the roasting pan (adding additional liquid as needed while grilling, to prevent the drippings from burning. I sat the roasting pan over indirect heat and let it go for 1 hour and 45 minutes, until the internal temperature of the turkey was 165˚. After removing it from the grill and letting it rest for 20 minutes, the turkey was ready to be sliced. While the turkey was resting, I put the drippings to good use by making a home-made gravy (click here for the recipe).
If you are looking for a new method for making a turkey, I highly recommend grilling it. There is minimum prep time and effort involved, and if you follow the brining method, you will be sure to end up with a turkey that is flavorful and juicy!
Whole turkey cooked on a gas barbecue, using a roasting pan. Image courtesy of istock.com
What, No Cranberries?!?
Aside from finding out that turkeys are not in large supply this time of year, it was also a challenge to find fresh cranberries for my home made cranberry sauce. Instead of resorting to frozen cranberries, I thought it would be fun to add a bit of a summertime flavor to the table by making Bon Appetit’s Cherry Compote recipe (click here for the recipe). This an excellent substitute to the traditional cranberry sauce. It offered a nice summertime sweet/tart flavor combination, and the leftovers worked very well served over vanilla ice cream!
You Can’t Forget the Pumpkin!
It’s no secret that I am a nut for all things pumpkin. Even though we are not in pumpkin season, we made sure that it would somehow be represented at our Friendsgiving meal. For dessert, my wife Daria made a pumpkin crisp that has been a signature at our family’s Thanksgiving dinner for a few years now. We made sure to add a scoop of vanilla ice cream, which put this dessert over the top!
Preheat oven to 350F. Stir together the first five ingredients. Pour into a lightly greased 13×9 inch baking dish. Sprinkle cake mix evenly over pumpkin mixture (if you wish to add pecans, sprinkle them evenly over cake mix). Drizzle melted butter over cake mix. Bake at 350F for 60 – 65 minutes or until golden brown**. Remove from oven and let stand for 10 minutes before serving. Serve warm or at room temperature. IF desired, serve with whipped cream, sprinkle of nutmeg or vanilla ice cream.
** If baking ahead of time, I baked for about 55 min then re-heat again for another 10 min before serving.
I am very fortunate to be thankful for a lot of things in my life, most of all for my family and friends. I am also thankful that we started a new tradition to look forward to every Memorial Day!