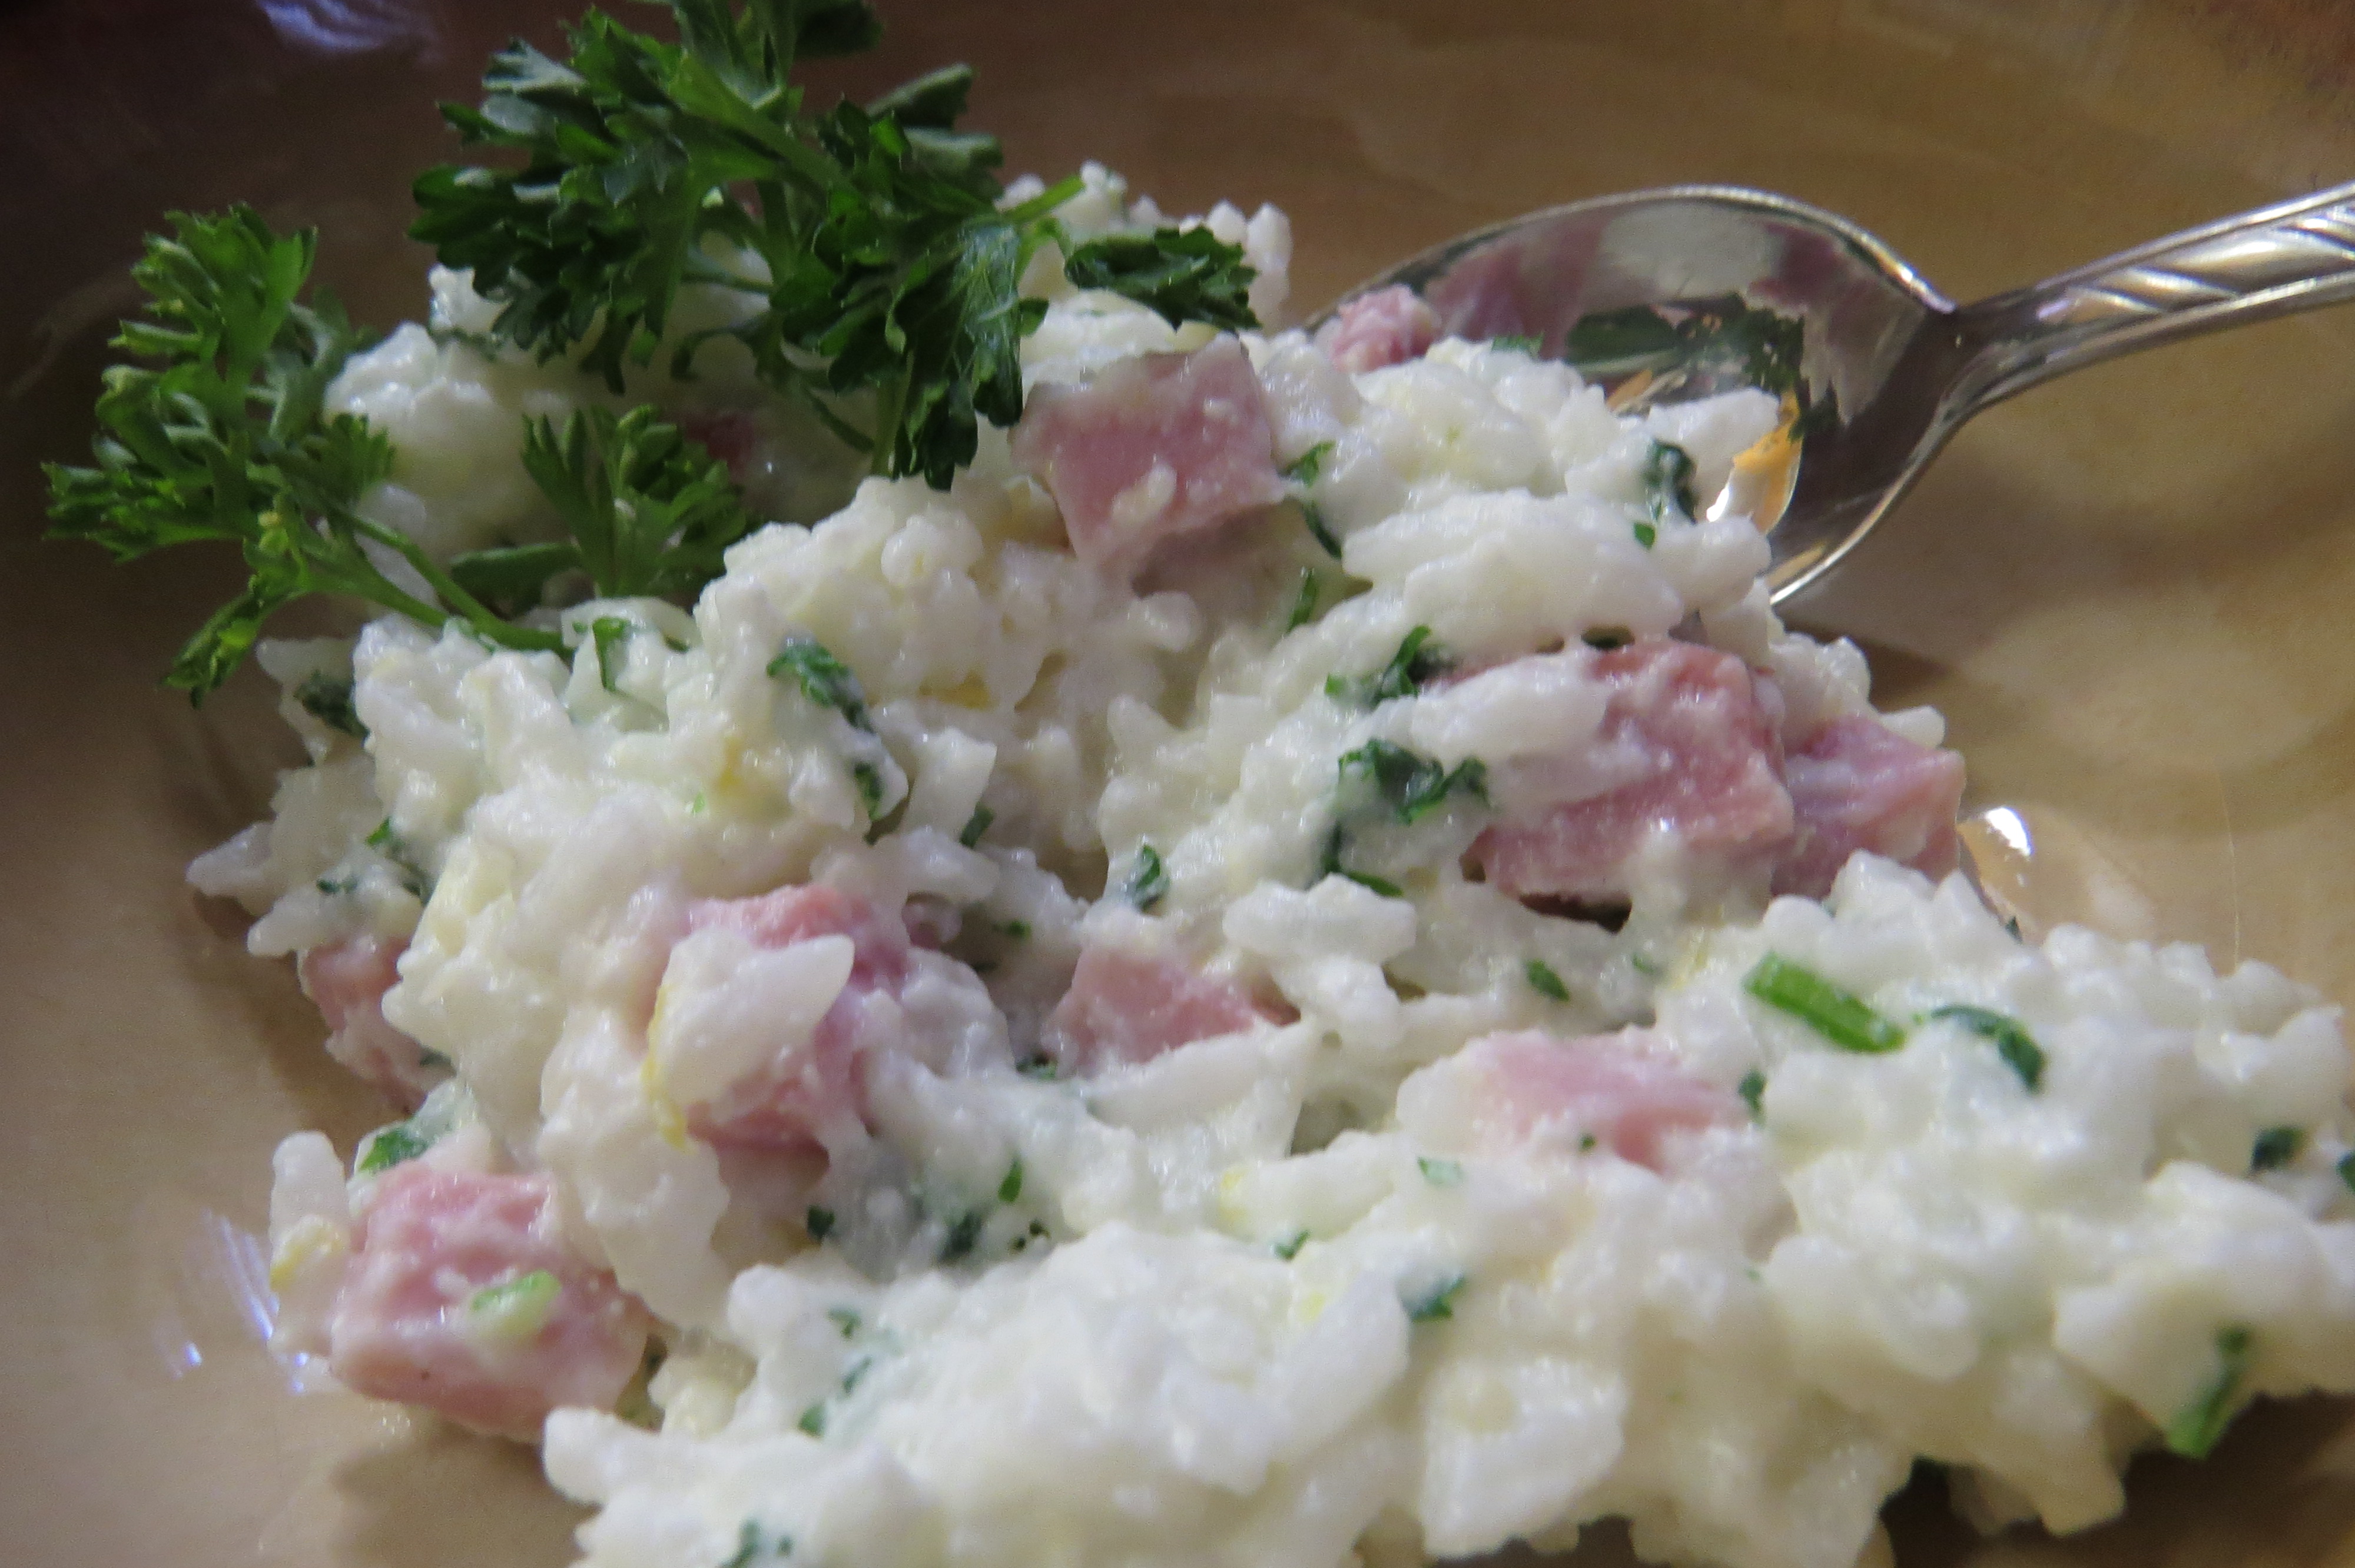
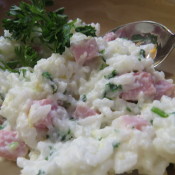
Ricotta and Rice with Ham and Asparagus
As I was enjoying my last few bites of the Easter ham and rice pies last week, I came to the sad yet expected realization that it will be another year before I get to savor the seasonal treats. And as usual, I always say to myself that it’s a shame that we can’t celebrate and enjoy these dishes more than once a year. Of course if we did, they wouldn’t quite taste so special. But this did get me thinking on how I could spin a variation of these annual treats into a new dish that could be enjoyed all year round. But how exactly would I do this? Thanks to celebrity chef Nadia G of Bitchin’ Kitchen, I found my answer.
In a recent episode of her eclectic cooking show, Nadia G put together a dish that she called Riso con la Ricotta, which was a decadent combination of white rice, ricotta cheese, pancetta, Vidalia onion, sweet peas and pecorino cheese. Everything abut the dish screamed ‘hearty’ and ‘stick to your ribs’. I gave the recipe a try, and it was everything that I imagined it to be. It was good. REALLY good! It also included two of the key ingredients in my Easter rice pie…ricotta and, of course, white rice.
I decided to use Nadia G’s recipe as a starting point, and build up the key ingredients to make a dish that was similar to the Easter pies. I substituted the pancetta with cubed ham (which is of course the star ingredient in the ham pie), replaced the peas with asparagus (the peas would have worked well, but asparagus is always on our family’s table for Easter dinner), added some lemon juice and zest (which give the citrus flavor to the rice pie) and a bit of fresh parsley. After seasoning the dish with a little salt and pepper to taste, the mission was complete. I had created a hearty and filling dish that had the taste and character of the traditional Easter pies, but could be enjoyed pretty much any time of the year!
You can find Nadia G’s version by clicking here. I suggest that you try both versions. Again, her’s was outstanding. But for a lighter, more spring-like taste, I’m sure you’ll enjoy my modified version. And if Nadia G happens to come across this post…reach out me at info@domskitchen.com. I’d love to spend a day comparing notes in the Bitchin’ Kitchen!!!
Ricotta and Rice with Ham and Asparagus
Inspired by Nadia G’s Riso con la Ricotta
1 cup (1-inch) sliced asparagus (about 1/2 pound)
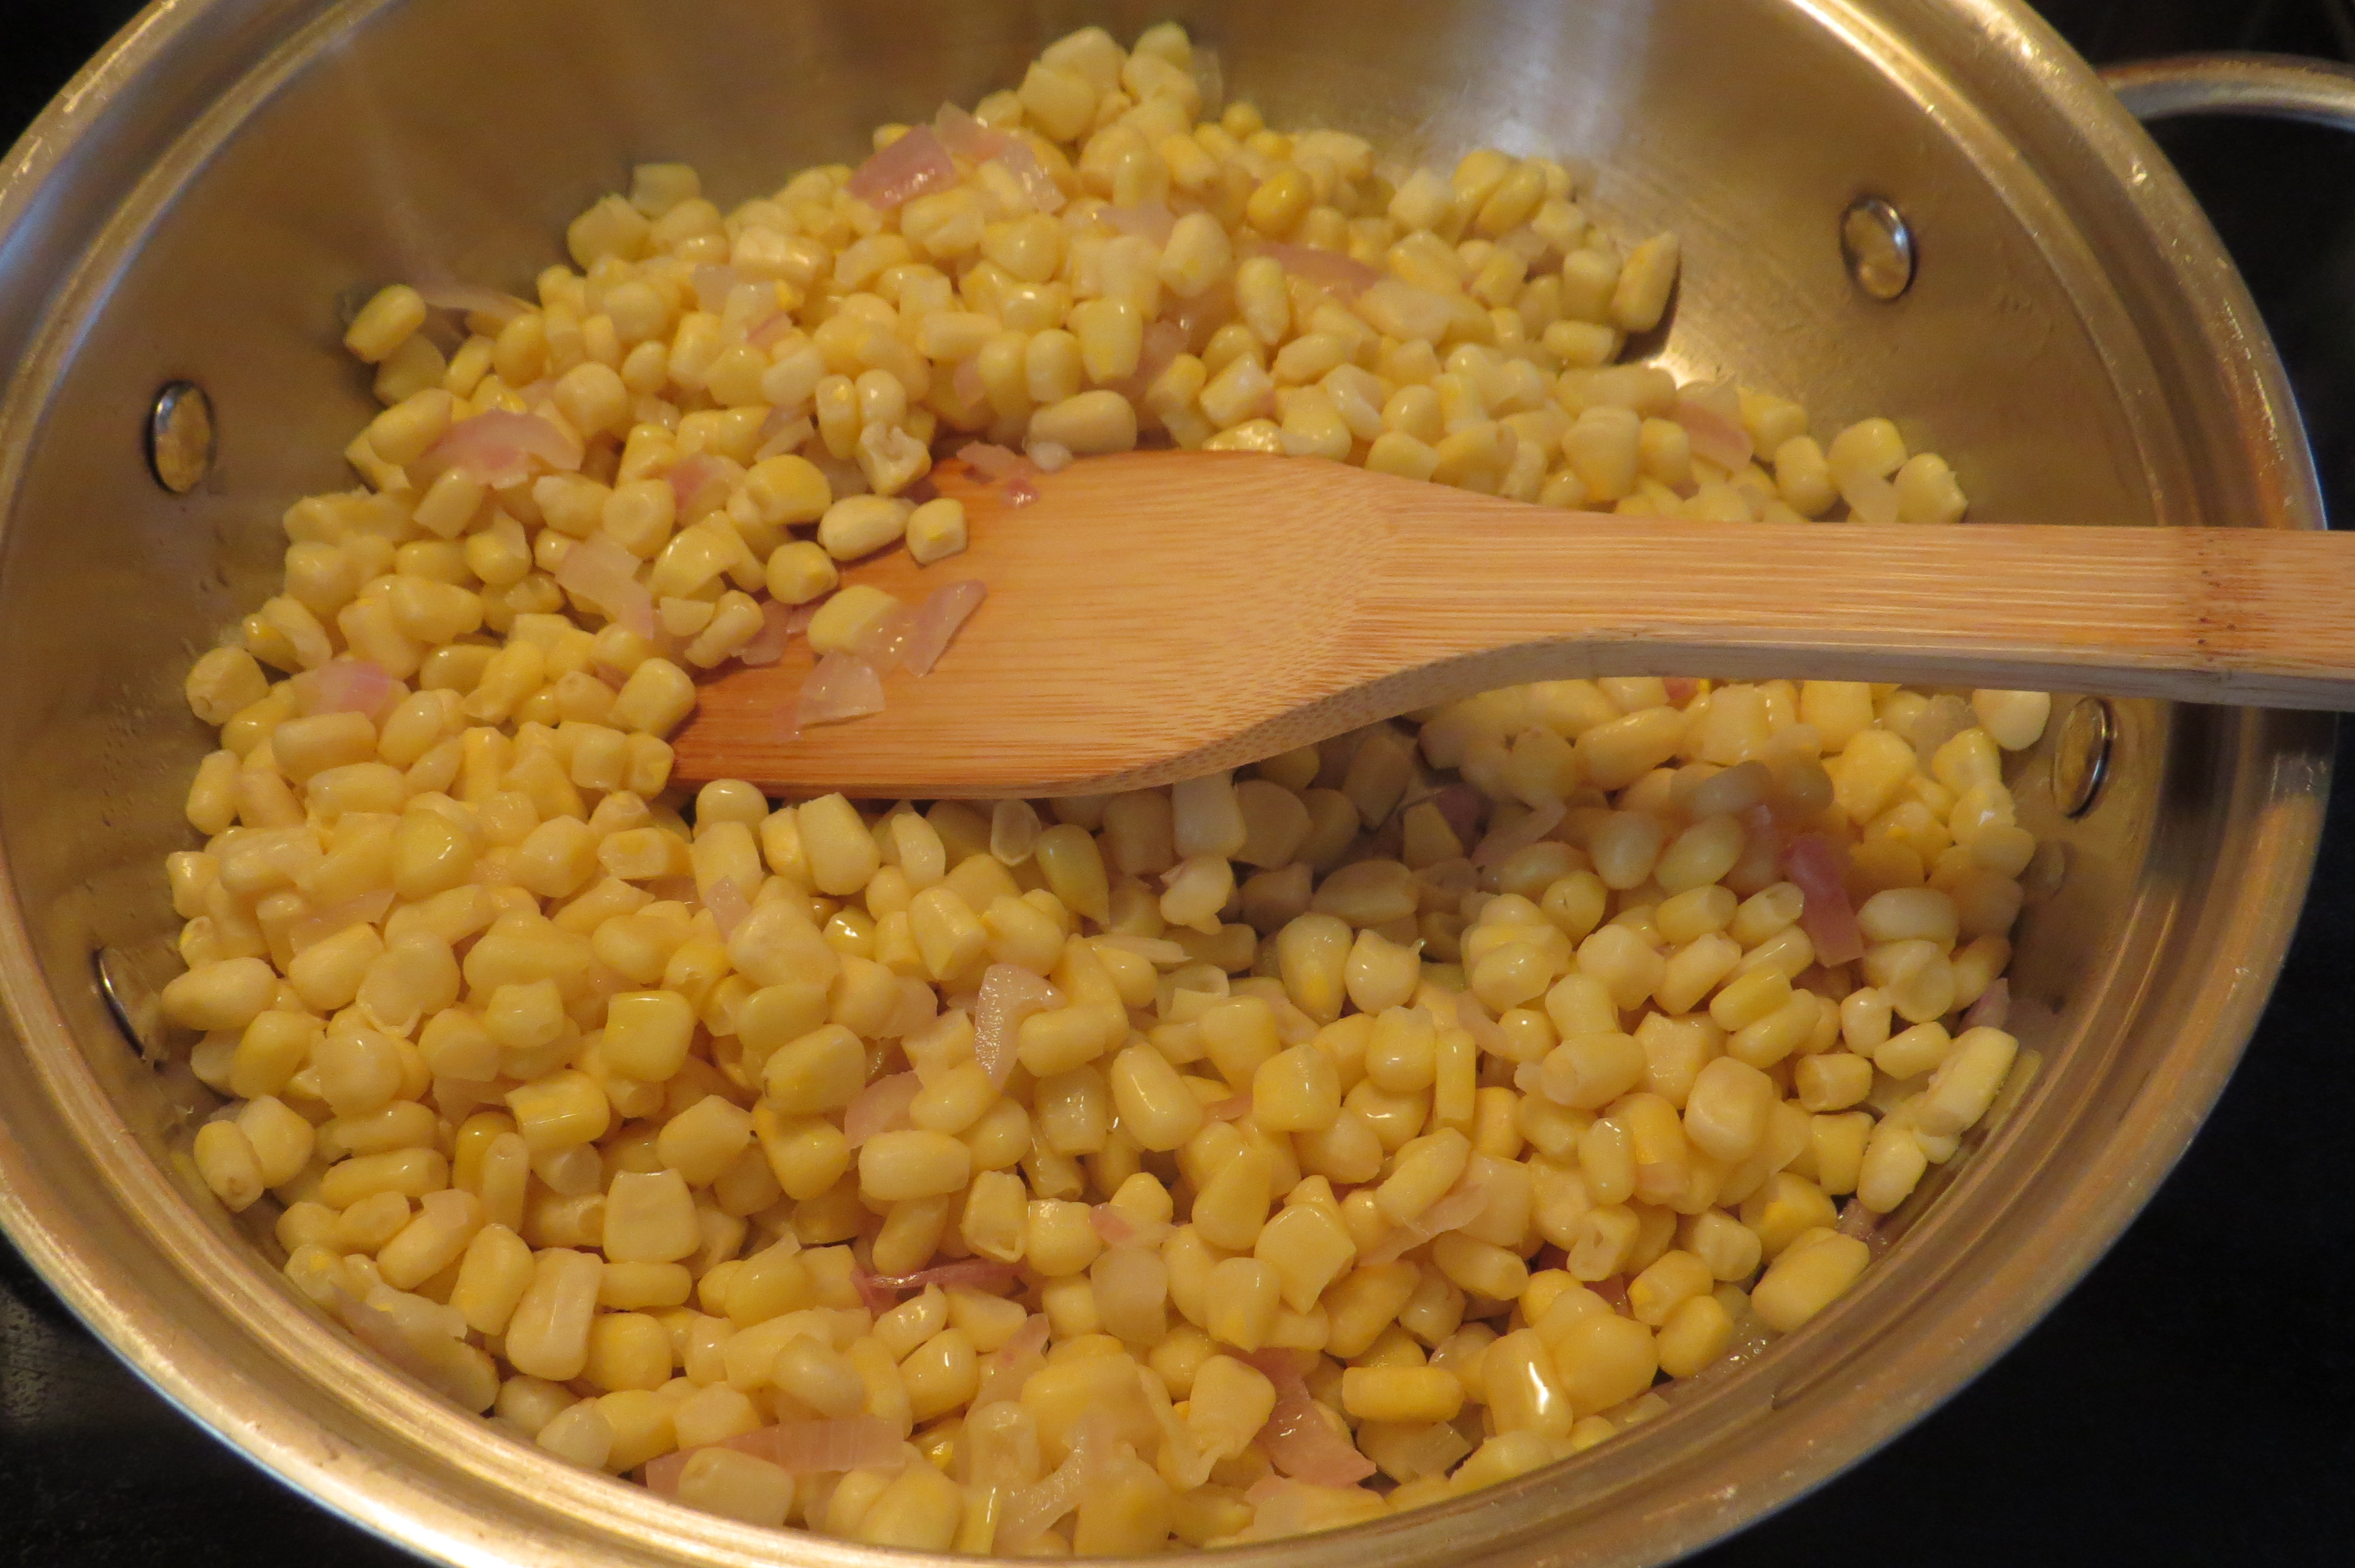
1 cup white rice
1/2 cup ricotta cheese
1 8-oz boneless cooked ham steak, cut into 1-inch cubes
Sea salt
Freshly ground pepper
1/4 cup pecorino cheese, finely grated
2 tbspn fresh chopped parsley
zest plus juice of 1 lemon
Cook the asparagus in boiling water 3 minutes or until crisp-tender. Drain and set aside.
Put the rice in a pot with 2 cups water. Bring to a boil and cook until done, 15 to 20 minutes.
Transfer the rice to a large mixing bowl and stir in the asparagus and ham. Stir in the ricotta cheese and pecorino cheese, then add the lemon juice and zest, parsley and salt and pepper to taste.
Serve and enjoy!