
Baked Tomato Zucchini Casserole
Here’s an easy, quick and healthy recipe that you can serve as either a side dish or a main course. With just a handful of fresh ingredients, you’ll have this meal assembled and cooked in less than an hour. My original plan for this dish was to bread the individual slices of zucchini and tomatoes, and then stack the slices in a baking dish. To save time and ingredients (and to make it a bit more interesting), I instead decided to make a basic breadcrumb topping (breadcrumbs sautéed in melted butter and mixed with parmesan cheese), and use the topping as a layer within the casserole. I also used a 50/50 mixture of regular breadcrumbs and panko breadcrumbs for an extra crunchy texture. Regular breadcrumbs will of course work fine on their own.
Ingredients:
3 green zucchini, sliced thin length-wise
8 plum tomatoes, sliced thin
1/2 large yellow onion, sliced thin, separated into individual rings
1/3 cup basil, finely chopped
garlic powder
salt and pepper
olive oil
2 tbspn butter
1 cup breadcrumbs (I used 1/2 regular and 1/2 panko breadcrumbs)
1/2 cup parmesan cheese
Step 1: Making the breadcrumb topping
Melt butter in a small skillet; add breadcrumbs and sauté until lightly browned. Remove from heat, and stir in parmesan cheese. Set aside.
Step 2: Assembling the casserole
Preheat oven to 375˚. Lightly spray an 8×8 baking dish. Cover the bottom of the dish with a single layer of zucchini. Next place a single layer of onion rings (you can spread out the individual rings so that the onions do not over-power the dish), then add a single layer of tomatoes. Season with garlic powder, salt and pepper (to your liking). Sprinkle some of the basil on top. Drizzle with olive oil. Top with a light coating of breadcrumbs. Repeat the layered steps (zucchini, onion, tomatoes, seasoning, basil, breadcrumbs) until all ingredients are used up. Bake uncovered for 45 minutes. Remove from oven, let cool slightly. Slice, serve and enjoy!
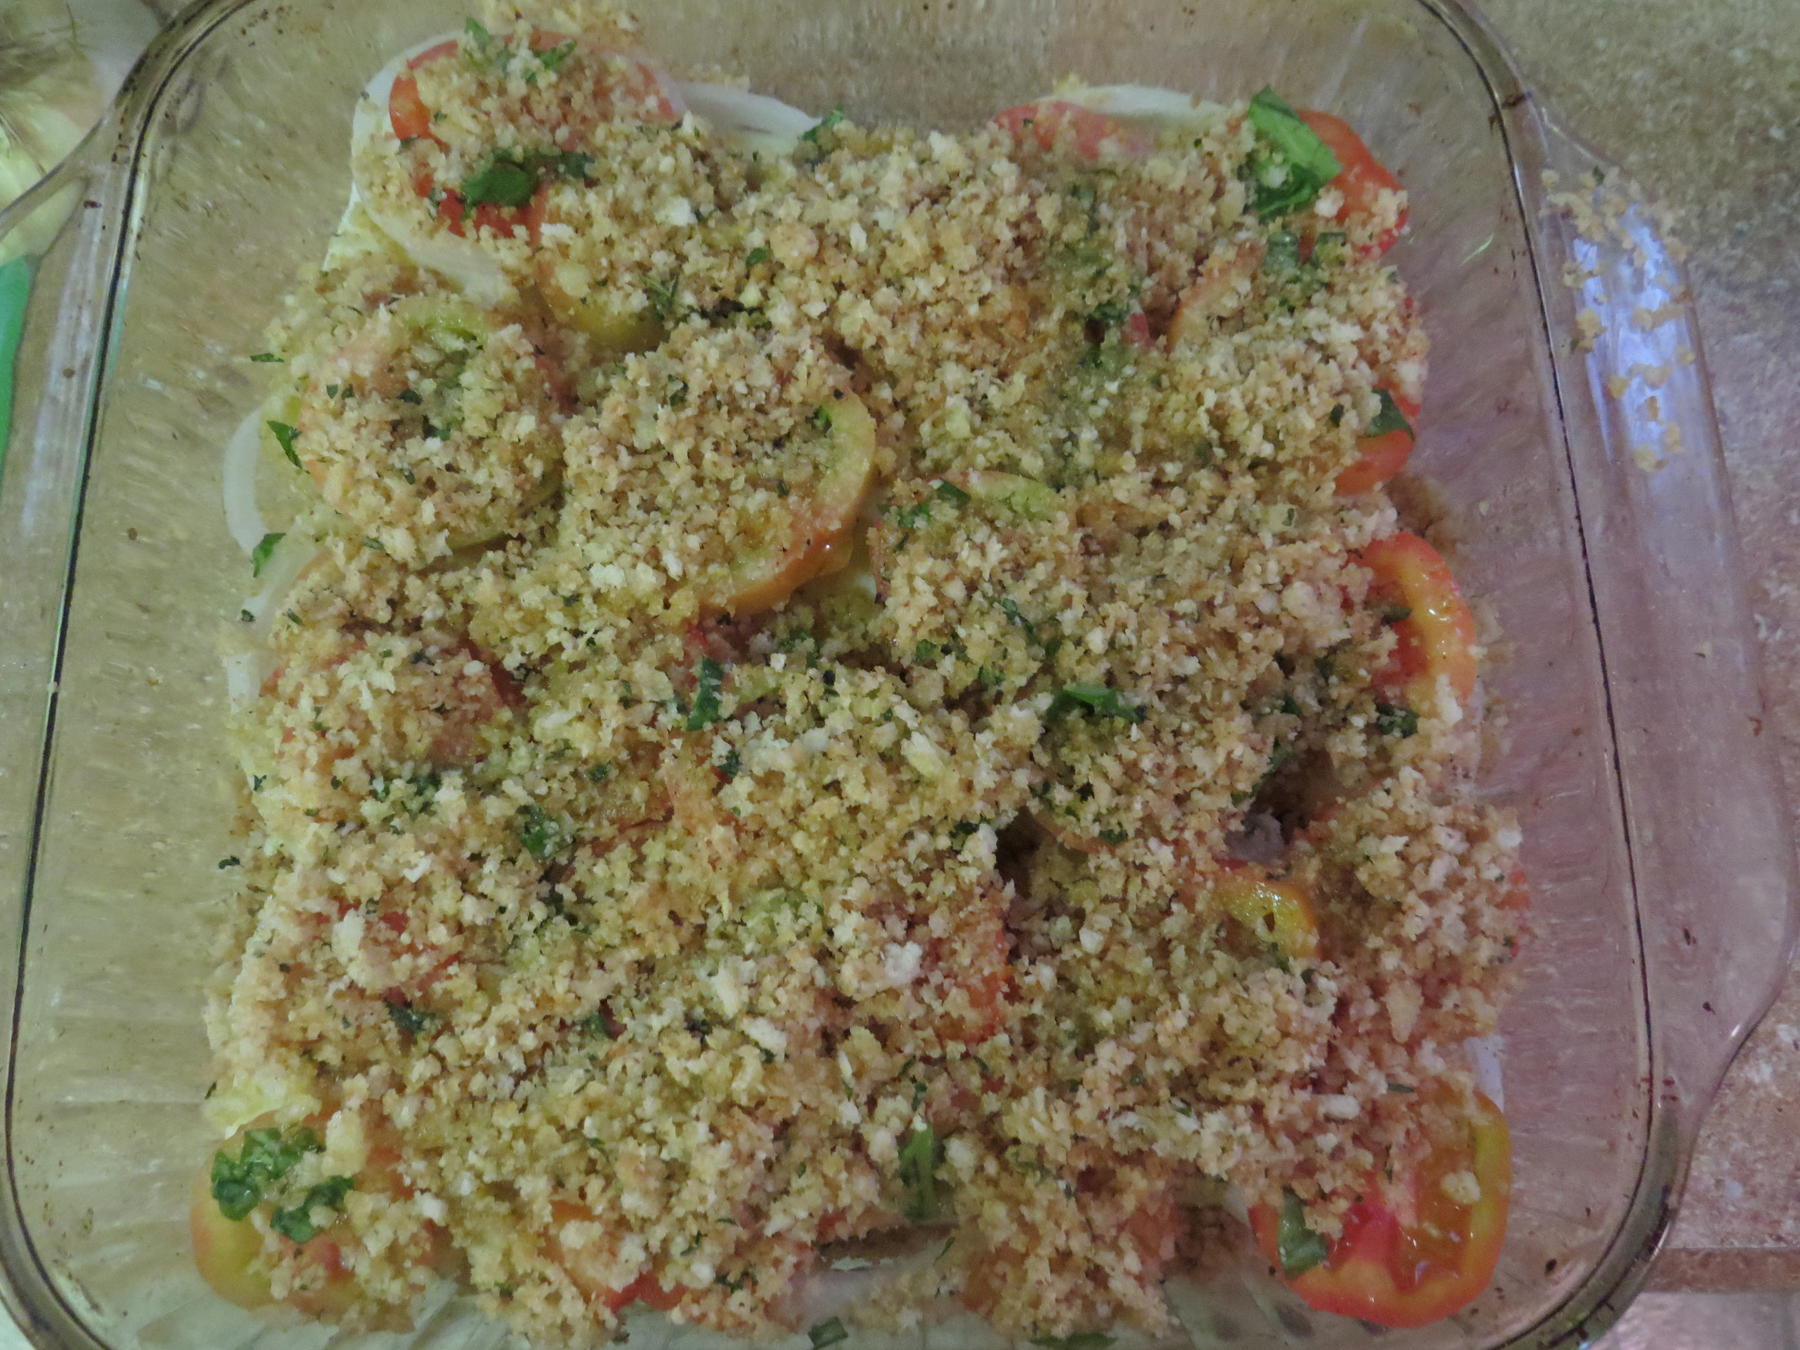
The assembled casserole.
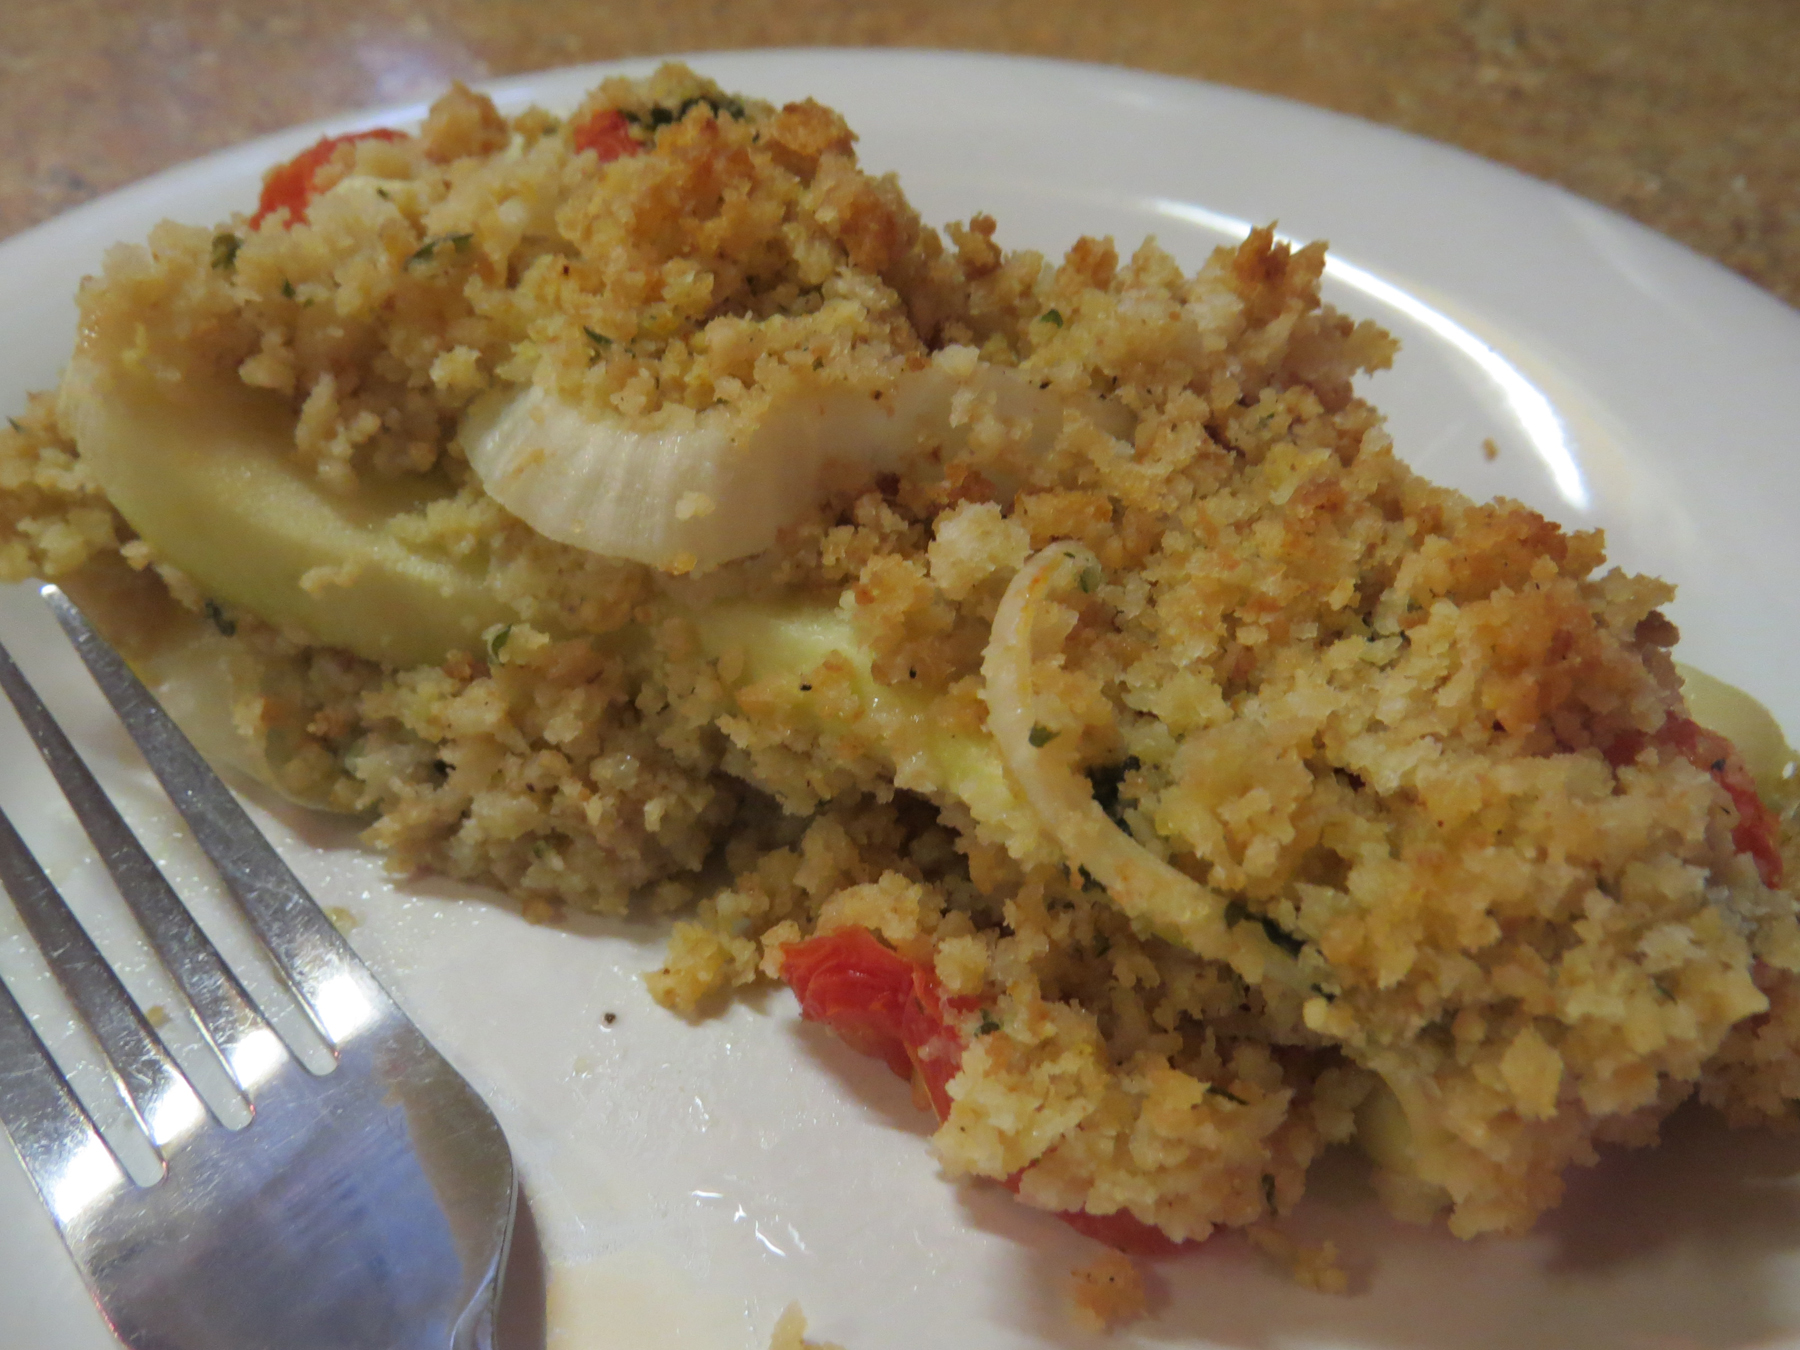
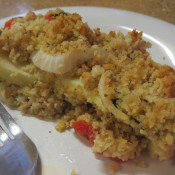
Sliced and ready to enjoy!


Recent Comments