Caprese Garlic Bread
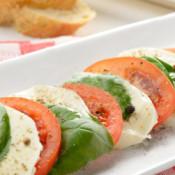
A few weeks back, a friend of mine was telling me that she was planning to make Caprese Salad sandwiches for a family dinner. Just thinking of the classic combination of fresh tomatoes, basil and mozzarella nestled between crusty bread had my mouth watering. Her sandwich combination was the perfect inspiration for this week’s recipe…Caprese Garlic Bread. The marriage of Caprese Salad and crusty, rustic garlic bread is a no-brainer. Think of it as a crispy, fresh and flavorful home-made pizza, served as an appetizer.
While the ingredients are very simple and basic, I cannot stress enough that you should use all fresh ingredients. Forget about pre-made frozen garlic bread, dried basil or garlic powder. While they all serve a fine purpose, you will quickly agree after one bite that fresh ingredients are the way to go.
The ingredients for the garlic bread itself are very simple and basic. You can either go with a garlic-butter spread or a drizzle of olive oil topped with garlic and sea salt, then lightly dusted with grated parmesan cheese. Normally I would add additional herbs to the mix, such as oregano, parsley, marjoram or thyme. But for this recipe we’re going very basic with the garlic topping, while letting the fresh basil, tomatoes and mozzarella handle the bulk of the flavor. This recipe is very quick and easy to assemble – you can have it prepped, baked and plated in about 20 minutes or so. Just pour yourself a nice glass of wine, and 20 minutes later you’re ready to dig in!
Caprese Garlic Bread
1 loaf Italian bread or French bread, sliced in half length-wise
12-oz fresh mozzarella, sliced about 1/4″ thick
4 roma tomatoes, sliced about 1/4″ thick
10-12 fresh basil leaves, roughly chopped
2 tbspn grated parmesan cheese
Version A: Garlic-Butter Spread
1/2 cup softened unsalted butter, mixed with 3 cloves minced garlic
Version B: Garlic and Olive Oil topping
1/3 cup olive oil
3 cloves minced garlic
sea salt
Pre-heat oven to 350˚. Place both halves of the bread, cut side up, on a baking sheet. If using the garlic-butter, spread it evenly on both pieces of the bread. If using the garlic and olive oil, lightly drizzle both pieces of the bread with the olive oil so that the bread is lightly but evenly coated, then spread the minced garlic and add a light sprinkle of sea salt. Once the bread is topped, add a light dusting of grated parmesan cheese.
Next, place the sliced mozzarella evenly onto both halves of the bread. Place the bread into the oven for 10 minutes. Remove from the oven, add the chopped basil and the tomato slices, then place back into the oven for an additional 5 minutes. Remove from the oven, let cool for a minute or so. Slice, serve and enjoy!
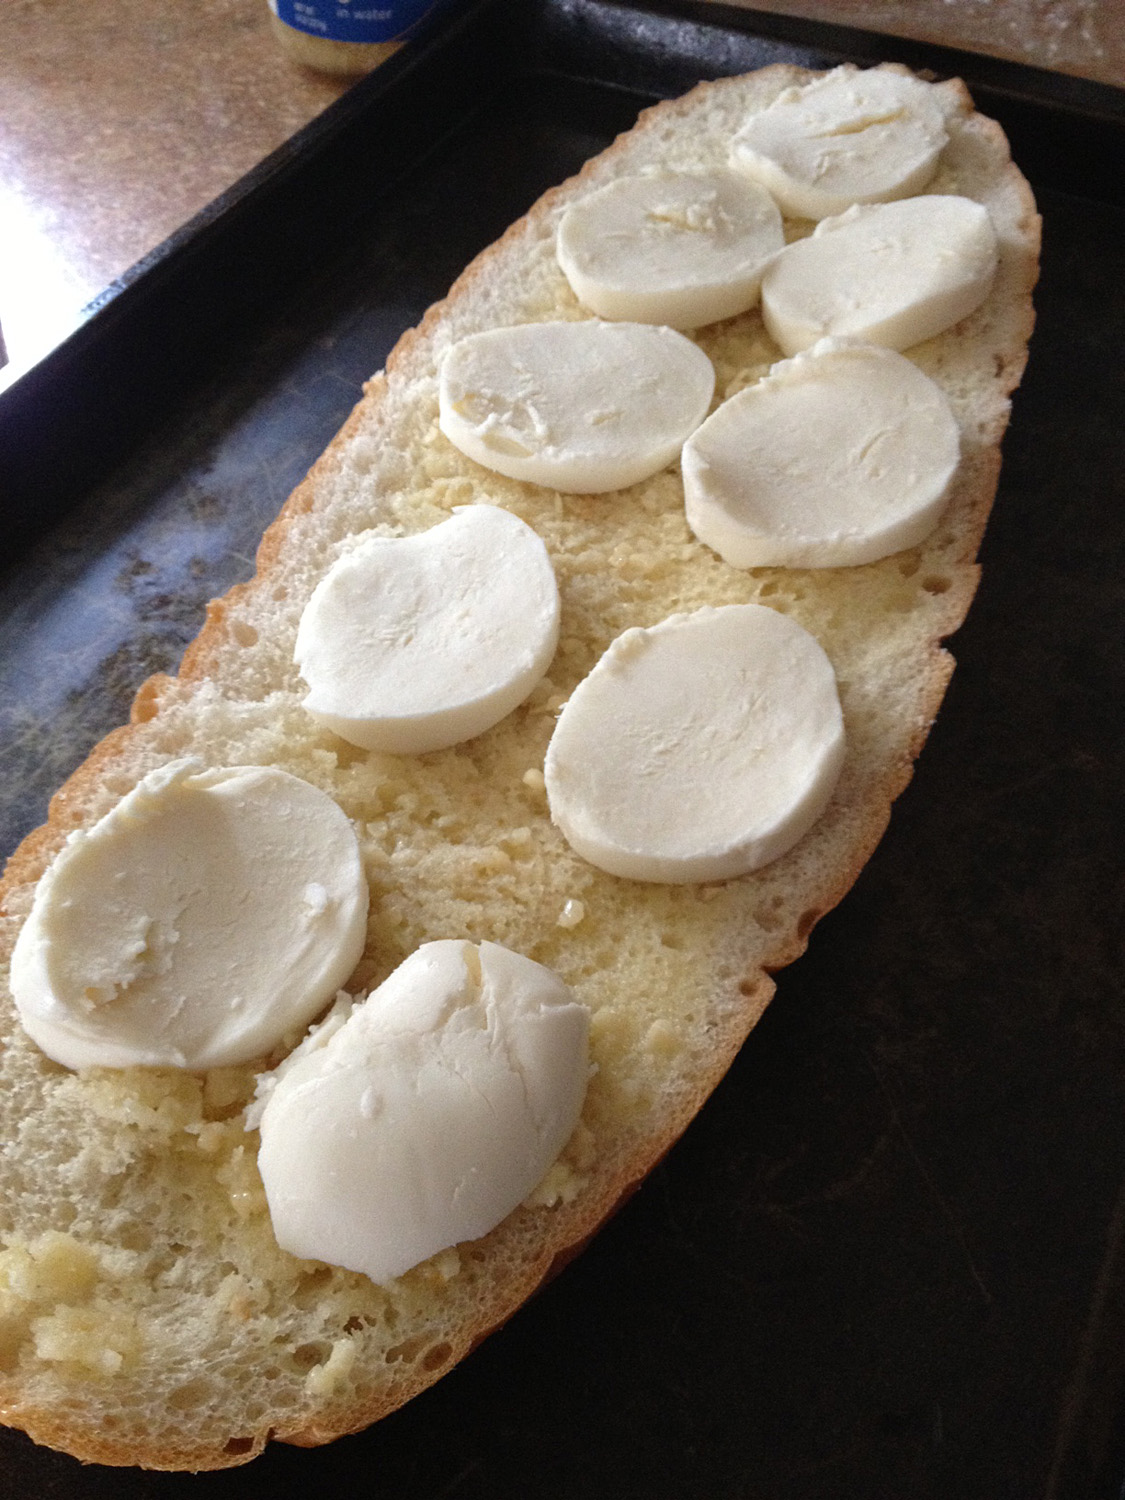
The garlic bread topped with fresh cheese prior to baking.
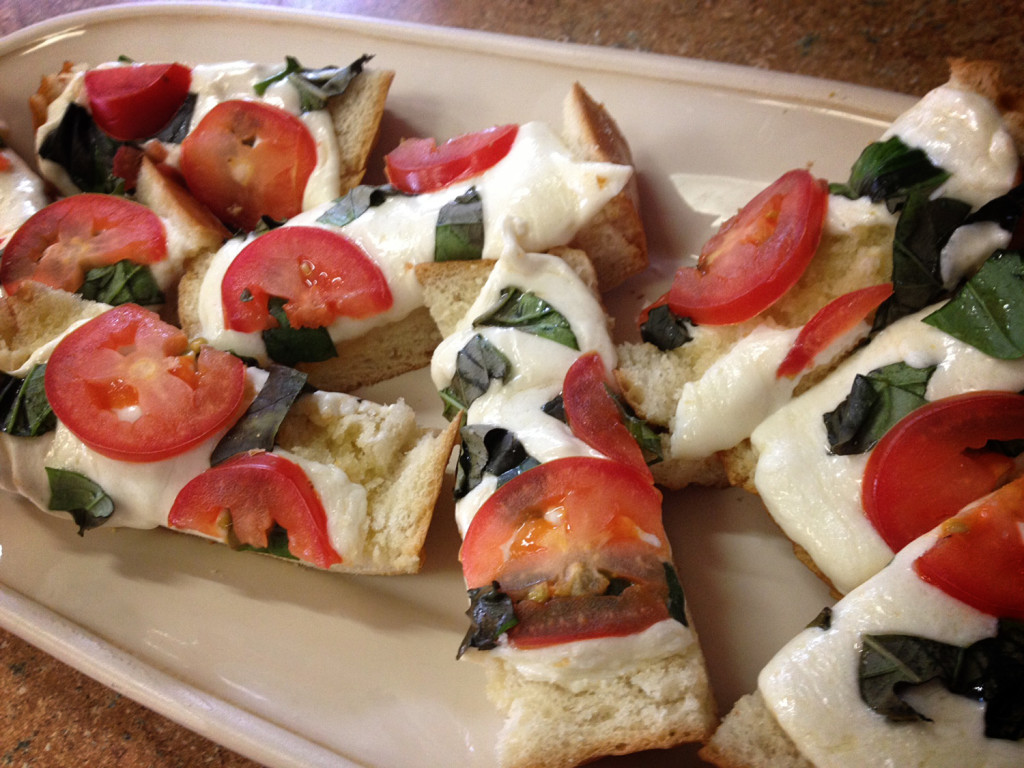
Caprese Garlic Bread, plated and ready to serve!