My ‘Chef for a Day’ Experience in New York City – Part 1
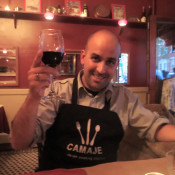
This past June, for my milestone 40th birthday, my wife Daria went above and beyond and surprised me with a gift that would be equivalent to a sports fan’s opportunity to play ball at spring training, or a musician’s weekend at rock & roll camp. My gift was to be chef for a day in a New York City restaurant. After much anticipation, the big date finally arrived this past weekend, which not only meant that I would get to do some serious cooking, but that Daria and I would get to enjoy a nice weekend get-away.
Now I know that it would be cliché to say that the experience was simply amazing…but that is truly how this trip turned out. Pure joy, fun and amazement. But I do write a food blog, and you are here to read all of the details, so I’ll do my best to share with you as much as I possibly could. Because there are a lot of wonderful memories (and photos) to share, I thought it would be best to split the details up into two posts. In this post I will tell you all about the restaurant where I cooked, and introduce you to the chef who shared so many wonderful tips with me and made my big day one that will never be forgotten. Next week, I’ll follow up with a recap of the menu that I helped prepare and will share some fun kitchen tips that were passed along. Now let’s head over to Camaje Bistro and Lounge!
CAMAJE
Camaje Bistro and Lounge is a French-American restaurant located on MacDougal Street in the heart of Greenwich Village. The restaurant has been in existence for a very impressive 16 years. For my Philadelphia friends, this area of New York is very similar to what Passyunk Avenue has become over the past few years – a lively street packed with inspirational and creative restaurants and shops. Owned and operated by Chef Abigail Hitchcock, the restaurant is a quaint and cozy spot with a menu that is made up of seasonal, local and organic (where possible) foods, a solid beer and wine list to complement the menu, and tasty desserts (including the ice cream) that are all made on the premises. Aside from its traditional menu, Camaje offers a variety of special and personalized events, including hands-on group and personal cooking classes, kids cooking classes, wine dinners, private parties, and, what I found most intriguing, Dark Dining events. The Dark Dining events are choreographed feasts where the guests are blindfolded, thus relying solely on their taste and smell to absorb and appreciate the meal. Live music often accompanies the meal to further enhance the mood, which takes the experience of dining to new sensory heights. I’m sure you can understand now how I quickly fell in love with this place!
From the moment that we arrived at the restaurant, we felt welcomed and at home as we were greeted by Eddie, the restaurant host. We were a few minutes early, which gave us a chance to look at the impressive bar menu. While I would have loved to enjoy a Rare Vos on tap prior to cooking, I figured it would be a better idea not to imbibe before handling cutlery, especially while in someone else’s kitchen. A few moments later I finally got to meet Chef Abby, my guide and coach for the day, who was just as hyped and enthusiastic as I to head to the kitchen and get to business. This would allow Daria some time to relax on the restaurant’s comfortable sofas in the open window area to do some quality New York City people-watching. As the night went on, and I had to excuse myself from our table to head back to the kitchen for the later courses, my wife would find herself making friends and conversation on the sofa with the other restaurant patrons.
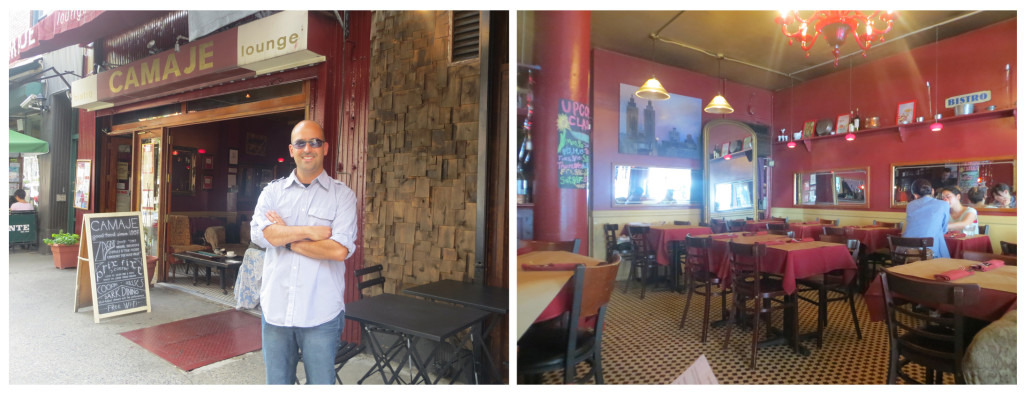
The front entrance and dining room of Camaje Bistro and Lounge.
IN THE KITCHEN WITH CHEF ABBY
As you could probably imagine, I was very excited and a bit nervous to be spending time in a professional kitchen along side a professional chef. Over the years I have developed very close friendships with professional chefs who I admire deeply. But to be working in a kitchen with a chef…in a New York restaurant kitchen of all places…intimidation would be a good word to use. But let me tell you, the second that Chef Abby and I started talking and she got an understanding of my interests and skill level (and the fact that I have a food blog), all of my hesitation and nervousness were wiped away. For the next hour and a half, Chef Abby and I worked together to prepare our meal for the night. What made the experience really enjoyable for me was Chef Abby’s enthusiasm and knowledge, and her interest in what I thought and had to say. There was never a moment of “I’m the teacher, you’re the student”, but rather a comradery that made me feel welcomed and comfortable in her kitchen. While each step and process was explained and demonstrated, she allowed me to jump in when ready and run with the ball. She also showed genuine interest in my history: asking what type of cutlery and cook-ware I prefer to use, what type of garden I have growing in my yard, what kind of meals I like to plan, and how I get our kids involved in the kitchen. She also spent time telling me fun and interesting stories about her history: what encouraged her to start cooking, some fun stories about the restaurant business, and what famous people she has run into over the years (hey, I was a tourist in New York…I had to ask the touristy questions). Chef Abby’s knowledge and expertise expands into the science of foods and cooking, so I also picked up some interesting tips and tidbits (how to get the garlic smell off of your hands…and it doesn’t involve lemons, how to avoid teary eyes when slicing onions). I even got to offer up a tip or two that I picked up over the years, and Chef Abby was happy to hear them. She was also very excited to help me document this entire experience for my blog. She would often grab my camera to photograph me as I was chopping, stirring and flipping. I honestly could not have had a better experience in the kitchen.
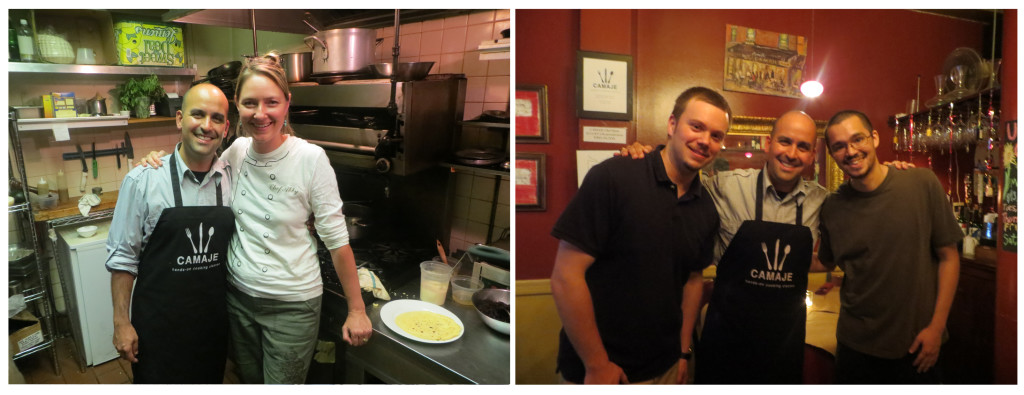
Left: Chef Abby and myself in the Camaje kitchen. Right: My pals, Camaje staff members Eddie and Ernie.
Because this was a three-course meal, I had to excuse myself from Daria to head back into the kitchen in between courses. Most of the evening’s food prep was done during the first round in the kitchen, so all that was left for the remaining courses was some last-minute prep work and reheating, and of course the plating of the food. I’m a designer by trade, so the presentation was also very important to me. At this point Eddie’s shift was over and hosting duties were handed off to Ernie, a 12 year veteran of Camaje who was just as funny, welcoming and personable. Eddie eventually returned to jump into some of the other restaurant duties, so he and Ernie both kept a good, fun vibe going in the restaurant. After we finished up our three amazing courses and enjoyed our last sips of a delicious bottle of organic Argentinian Malbec, Daria and I were able to relax and just soak up the cozy, warm, friendly vibe that Camaje offers. We could’t thank Chef Abby and her staff enough, and although Daria and I didn’t want the night at Camaje to end, we both knew that sometime soon we would be back to enjoy another fantastic evening with Chef Abby and friends.
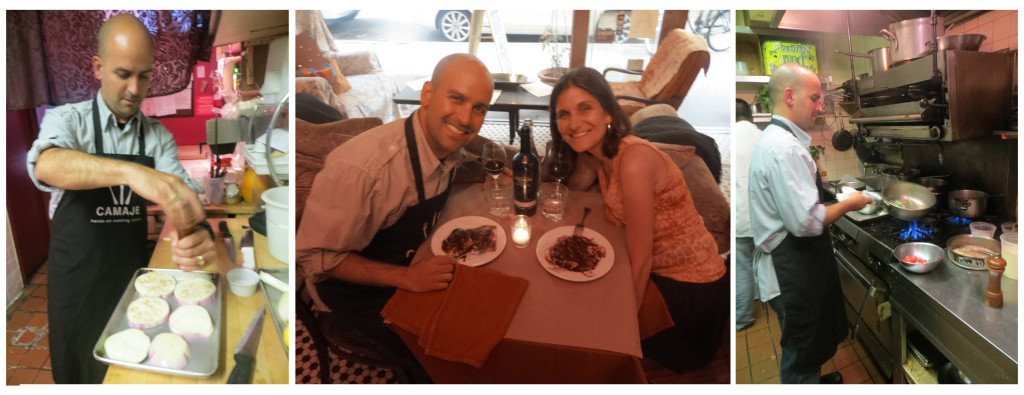
Working in the kitchen and enjoying dessert.
Next week: a full recap of the menu, along with some fun kitchen tips and tricks that I learned from Chef Abby!
Camaje Bistro & Lounge is located at:
85 MacDougal Street, New York, NY 10012
Phone: 1 (212) 673-8184
E-mail: info@camaje.com
For more information on Camaje Bistro, click here.
To read more about Chef Abby, click here.
To view a preview video of Camaje’s Dark Dining event, click here.
In case you are wondering, here is a quick recap of what else we enjoyed during our weekend visit to New York City:
A nice room in the Washington Square Hotel Live jazz band in Washington Square Park Seeing Paquito D’Rivera at the Blue Note Jazz Club Blue Note Martinis at the Blue Note Breakfast at the Chelsea Market A Sunday morning stroll through the Jefferson Market Memorial Gardens




Recent Comments