This dish was inspired by a recipe that I recently saw for a store-bought can of biscuit dough, placed in muffin pans and filled with chicken, veggies and creamy soup to make mini chicken pot pies. The personal-sized version of popular dishes are a trendy item these days, especially for dinner parties and group get togethers. This recipe caught my attention because not only am I a fan of the personal-sized portions, but I also enjoy a warm and hearty dish this time of year. Being that we’re just coming off of the holidays, I thought a vegetable pot pie would be tasty and healthy choice. I decided to make giambotta for the filling, which is an Italian vegetable stew. Bread is always a must-have for dipping when you have giambotta, so to use it as a biscuit filling was a no-brainer.
I also chose to make my own flaky biscuits for this dish. I found a very simple and quick recipe online that calls for just a few basic ingredients and about 10 minutes or so of prep time…no electric mixer necessary! Of course, canned biscuits will work, but if you have a few extra minutes, give the home made biscuits a try. It will make the dish seem that much more impressive.
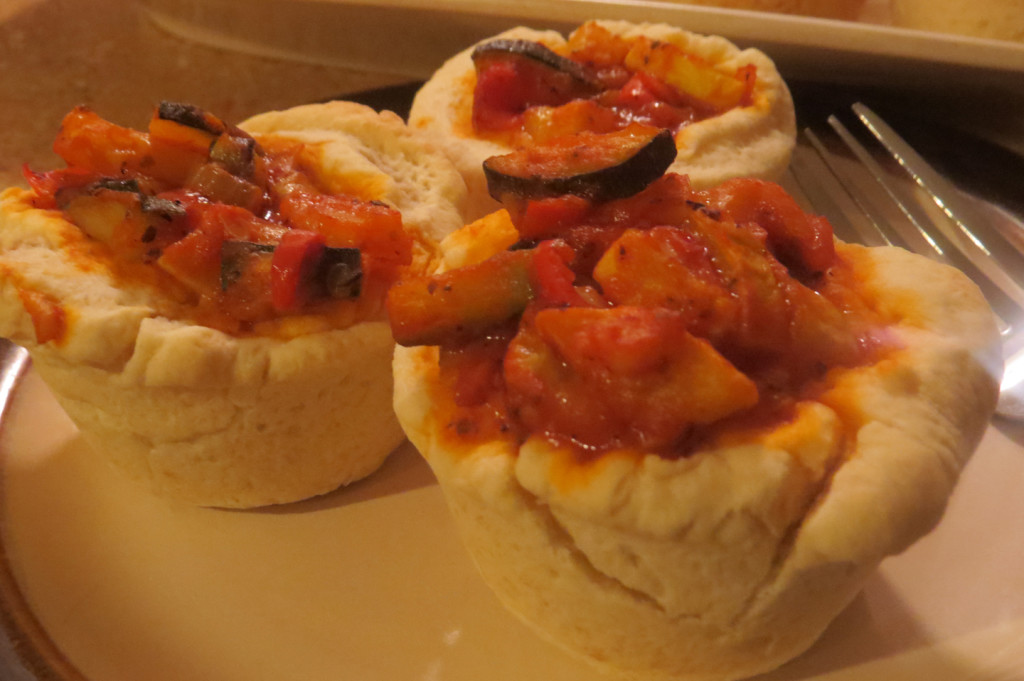
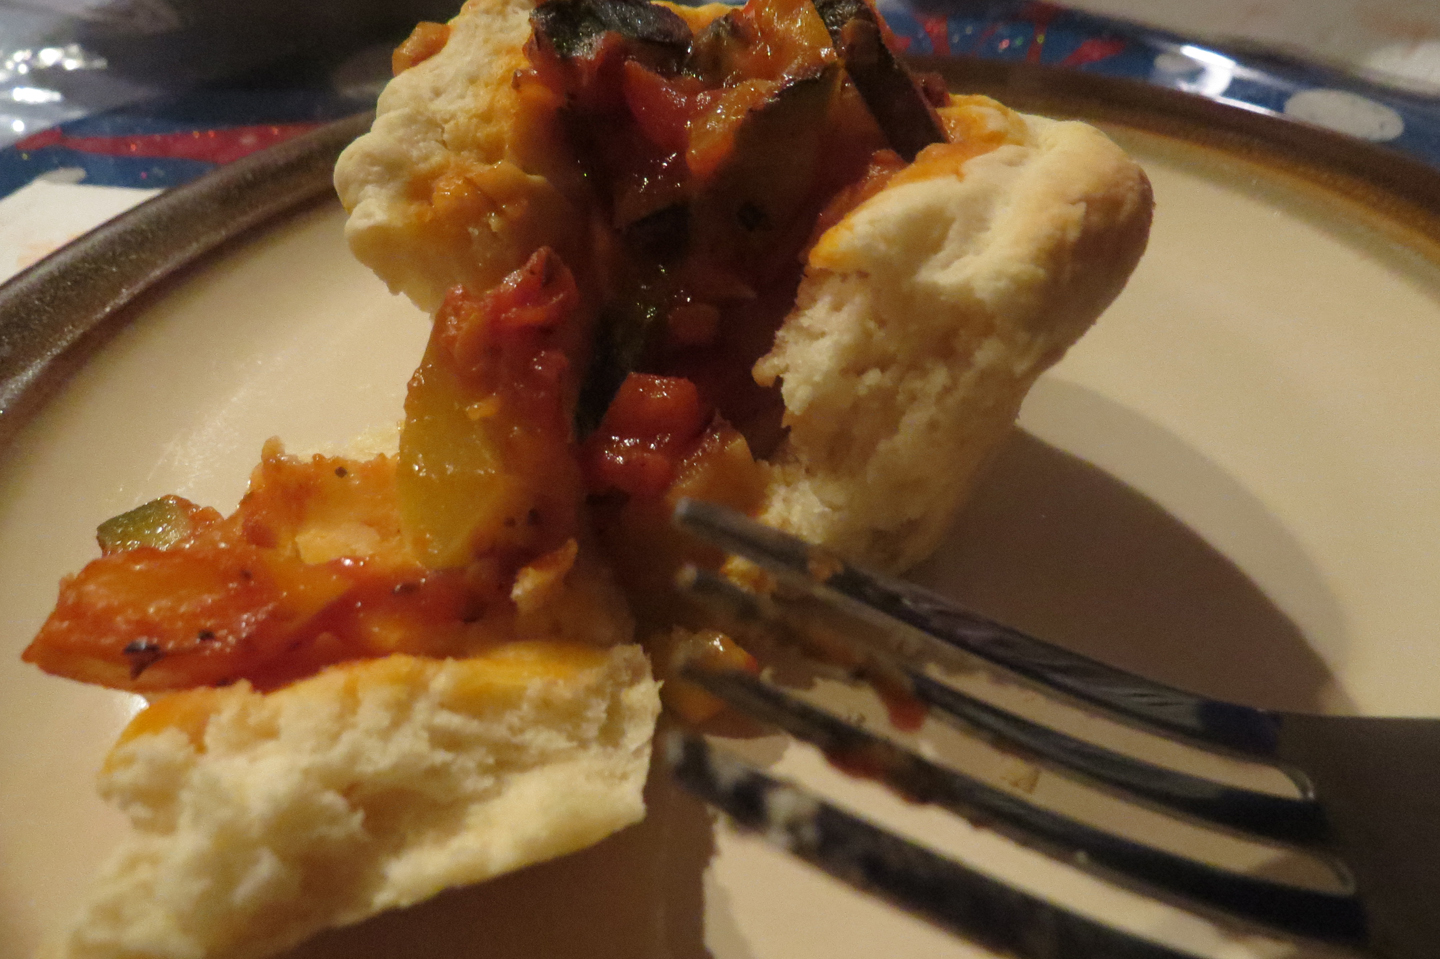
Mini Giambotta Biscuits
For the Giambotta
2 tbspn olive oil
2 cloves garlic, minced
1/2 cup onion, finely chopped
1 red bell pepper, finely chopped
1 zucchini, cut into 1″ pieces
1 8oz can tomato sauce
salt and pepper
1/2 tspn Italian seasoning
Heat oil in large skillet over medium-high heat until hot. Add bell pepper, onion and garlic; cook and stir 2-3 minutes or until crisp-tender. Add the zucchini, stir together and cook for another 2-3 minutes.
Add the can of tomato sauce, season with salt, pepper and Italian seasoning to taste.
Stir together, lower the heat to medium-low, and simmer for 10-15 minutes until sauce thickens up. Set aside.
For the Biscuits
courtesy of Taste of Home
2 cups all-purpose flour
4 tspn baking powder
3 tspn sugar
1/2 tspn salt
1/2 cup shortening
1 egg
2/3 cup 2% milk
In a small bowl, combine the flour, baking powder, sugar and salt. Cut in shortening until the mixture resembles coarse crumbs. Whisk egg and milk; stir into dry ingredients just until moistened. Turn onto a well-floured surface; knead 20 times. Roll to 1/2-in. thickness; cut with a floured 2-1/2-in. biscuit cutter. Lightly spray a muffin tray (12 muffins). Gently place each biscuit piece into the individual muffin cups (no paper liners needed!), and gently press the dough to fill out the bottom and sides of the cups. Fill up each cup with the giambotta, making sure none spills over the side.
Bake at 450° for 8-10 minutes or until golden brown. Serve warm.