Carrot Pecan Pesto
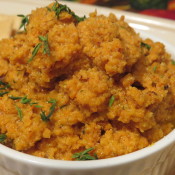
Pesto is traditionally thought of as a pasta sauce that is made of fresh blended herbs, garlic, olive oil, grated cheese and pine nuts. Its most common ingredient is fresh basil. However, there are a number of creative variations that have popped up over the years. I like to do a half and half blend of basil and mint, and my sister-in-law makes a delicious pea pesto. This carrot and pecan version of pesto makes for a fantastic addition to your Thanksgiving menu. It would work well as an appetizer with fresh veggies or crackers. If pasta is part of your Thanksgiving dinner, it would be a nice alternative to a traditional marinara sauce/red gravy. And you can bet that slathering it on top of a turkey sandwich would be heavenly!
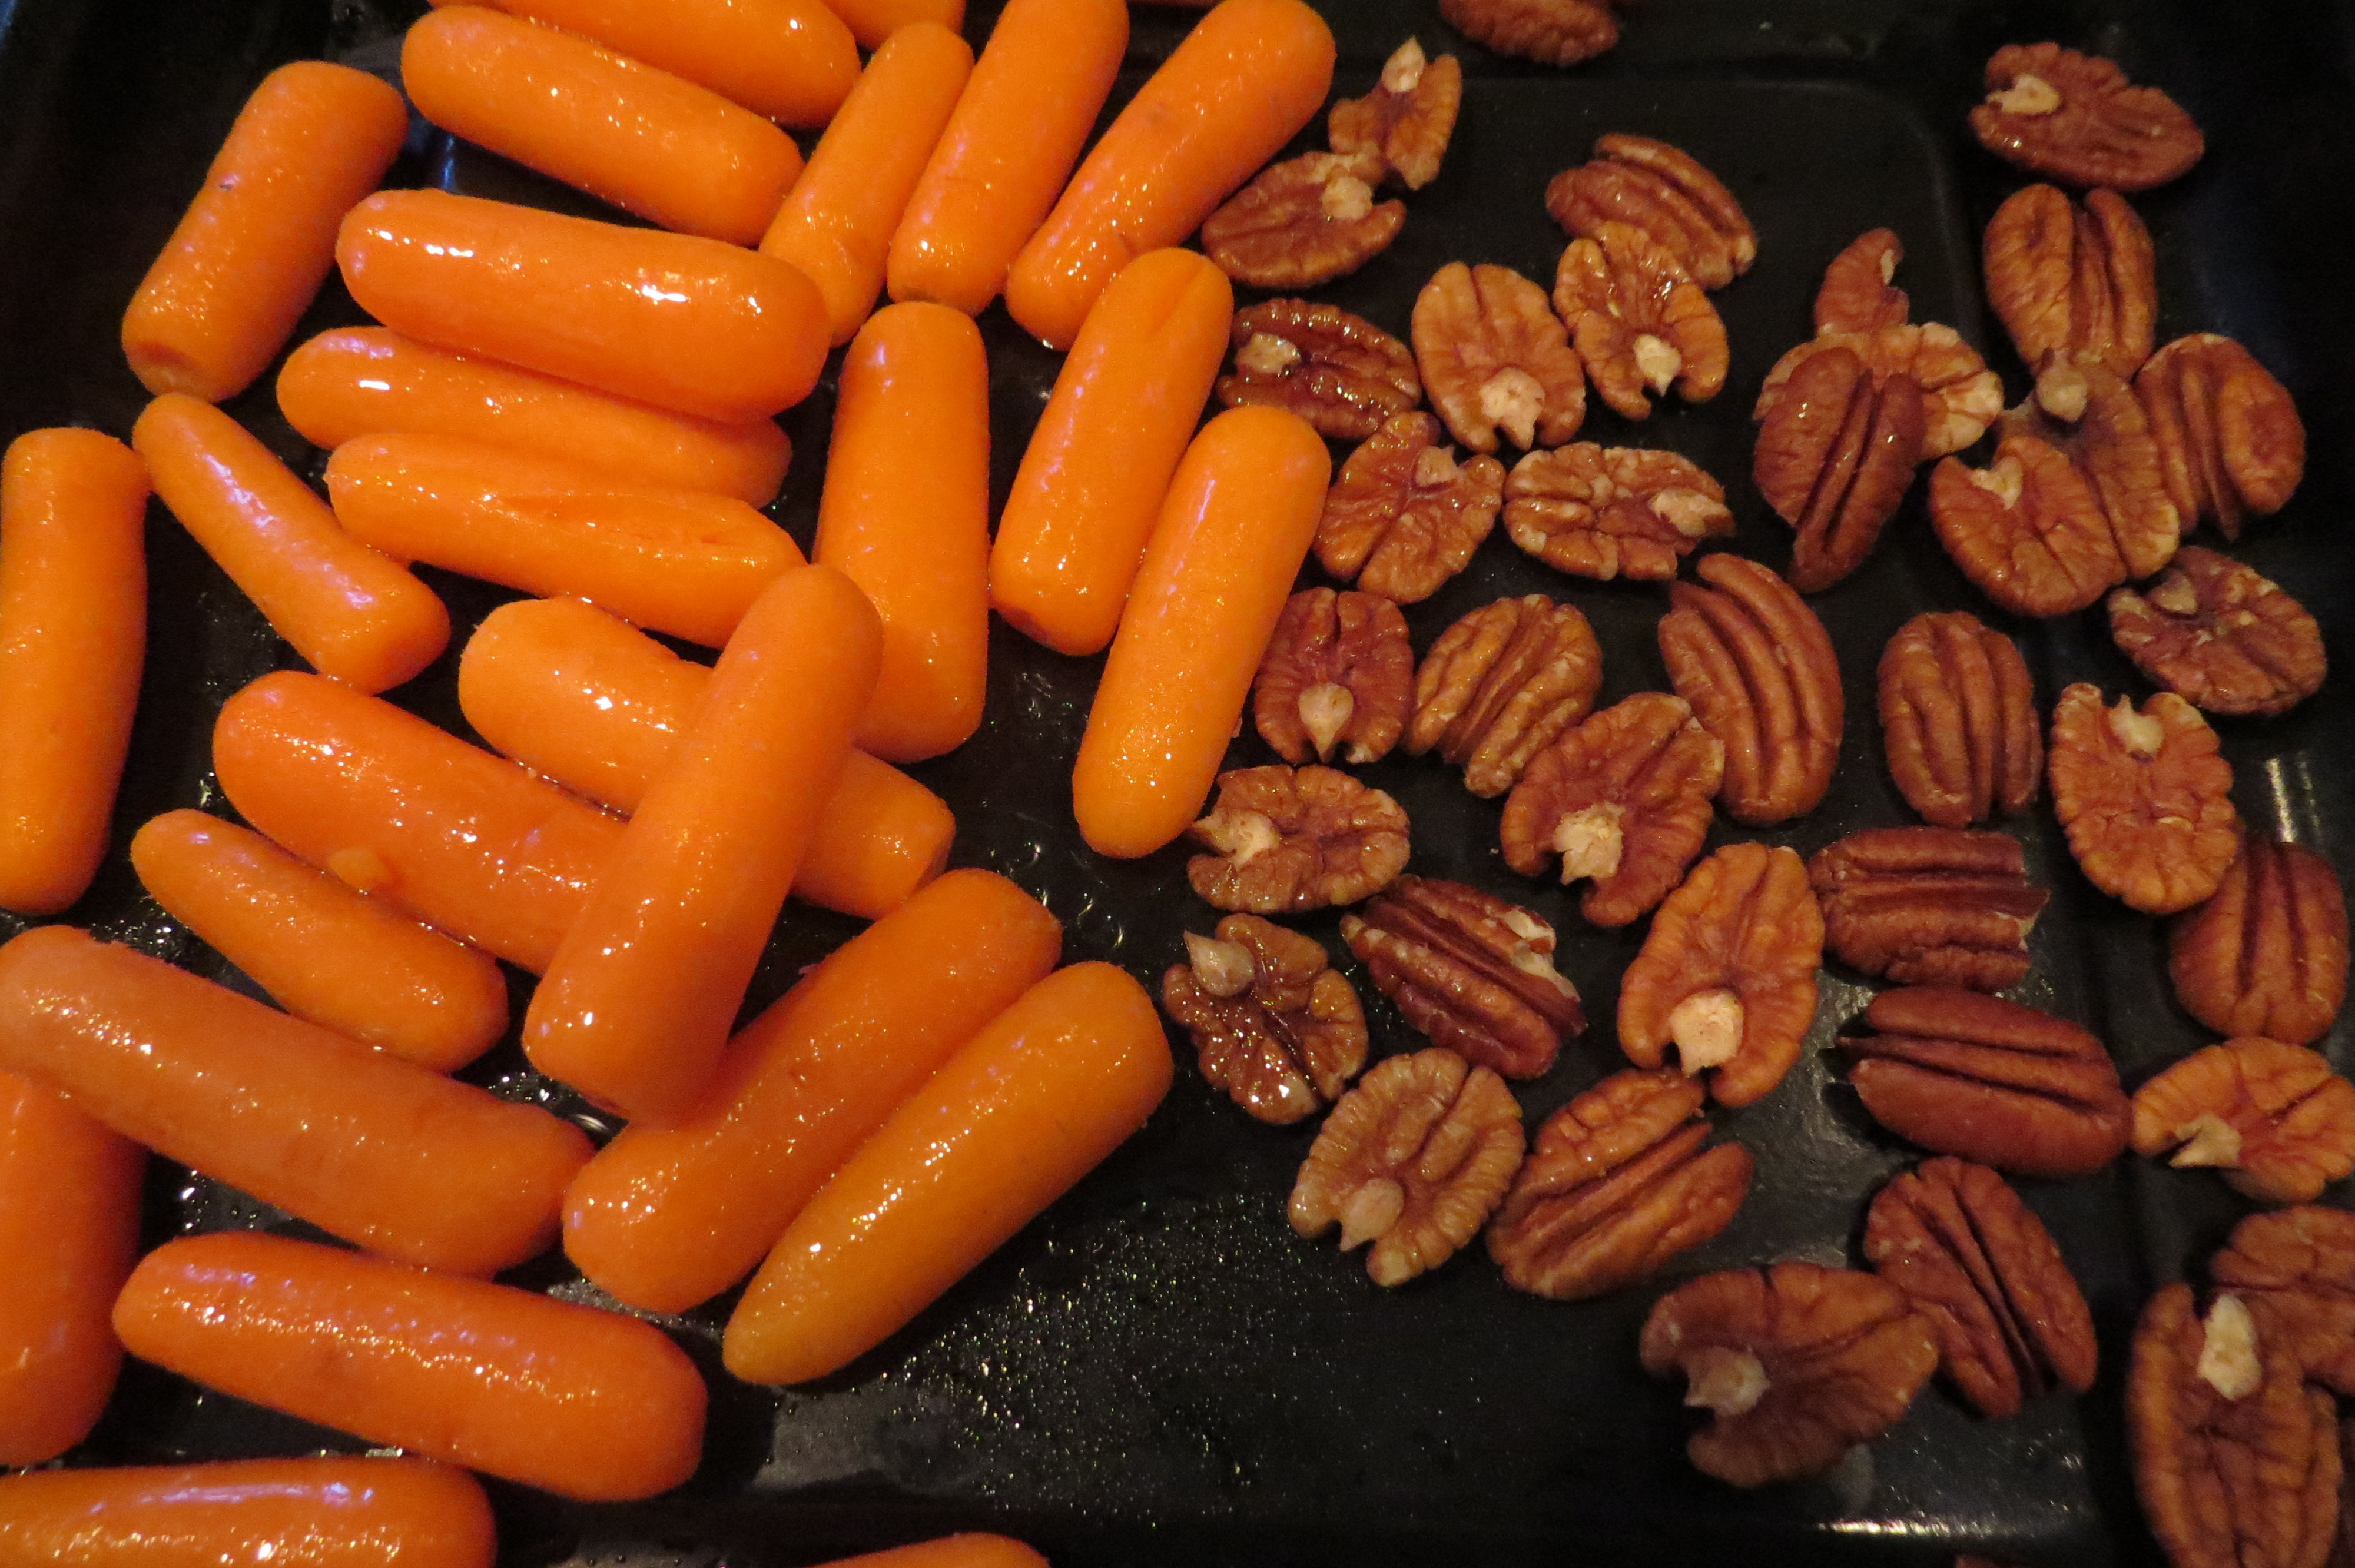
Before you break out your food processor or food chopper, you’ll want to first roast the carrots and pecans in the oven for 15 minutes. This will soften the carrots for easier chopping and will enhance the flavor of both the carrots and pecans. I decided to use pecans in this recipe because I feel that their taste is very complementary to carrots. You can use walnuts, pine nuts, macadamia nuts, or any holiday nut combination of your liking.
Carrot Pecan Pesto
1/2 lb baby carrots (1/2 of a small bag)
1/2 cup pecans
vegetable or canola oil
1/4 cup grated parmesan cheese
dash of ground ginger
1 tspn fresh thyme, plus additional for garnish
1/2 cup olive oil
salt and pepper to taste
Preheat oven to 375˚. Lightly coat the carrots with a small bit of vegetable or canola oil. Place the carrots and pecans onto a baking tray. Bake for 15 minutes, remove from oven.
Place the roasted carrots and pecans, parmesan cheese, ginger and thyme into a food processor. Pulse until finely chopped. Keeping the machine running, slowly add the olive oil until fully incorporated. You may need to scrape down the sides of the mixing bowl a few times. Season to taste with salt and pepper, garnish with additional sprigs of fresh thyme.