Biscotti di Amaretto
It’s Christmas time! The season of giving, family traditions, good will towards others…and cookies! Lots and lots of cookies! If your family is anything like mine, there will be generous plates of home made cookies and baked good at every house that you visit this season. While I am more than happy to sample every variety that I possibly can, I always find myself drifting back to the classic, old fashioned Italian-style cookies…the ones that are a perfect complement to a nice, hot cup of coffee. I refer to these as the ‘dunkers’.
The cookie recipe that I’m sharing with you today is the perfect example of an old fashioned dunker. It was originally inspired by an Italian biscotti recipe by Father Giuseppe Orsini, that used whiskey and anisette in the ingredients, and would be served with a glass of wine. I modified the recipe to have a sweeter taste by replacing the whiskey and anisette with amaretto and vanilla extract. I also shaped the dough into individual knots instead of the traditional biscotti loaf. You can shape them into knots or rings, or prepare it as a biscotti. Either method would work well with this cookie.
Biscotti di Amaretto
Inspired by a recipe by Father Giuseppi Orsini,
author of Italian Baking Secrets
1/2 cup sugar
1/2 cup butter
3 large eggs
2 tbspn amaretto
2 tbspn vanilla extract
1/2 cup coarsely chopped toasted almonds
2-3/4 cup all-purpose flour, unsifted
1/2 tspn baking powder
In a large bowl, cream butter and sugar. Add eggs one at a time, until absorbed. Add amaretto, vanilla extract, and almonds. In another bowl, mix the flour and baking powder and blend thoroughly into the sugar mixture. Cover and chill for 2 to 3 hours.
Preheat oven to 375˚. Divide the mixture into four pieces. On a lightly floured surface, flatten each piece to approximately a 2″ x 6″ rectangle. Continue to keep the surface lightly coated with flour to avoid sticking. Cut each piece into 1/2″ strips, and shape the strips into knots or circles (your choice). Place on slightly greased baking sheet. Bake for 20 minutes, or until edges start to brown. Remove from oven, let cool on a wire rack.
Drizzle with powdered sugar icing.
Powdered Sugar Icing
- 1/2 cup powdered sugar
1/4 teaspoon vanilla extract
1/2 tablespoons milk - Mix powdered sugar, vanilla and milk, until spreadable (mixture will thicken slightly as it sets). You can add more milk to make it thinner, or more sugar to make it thicker.
*To use the dough for biscotti, shape the dough into flat loaves, 1/2 inch thick, 2 inches wide, and as long as your cookie sheet. Place no more than two loaves parallel and well apart per sheet. Bake in 375˚ oven for 20 minutes. Remove from oven and cool enough to handle. Cut in diagonal slices 1/2 inch thick. Return to sheets and bake at 375˚ for 15 minutes or until lightly toasted. Cool on a wire rack.
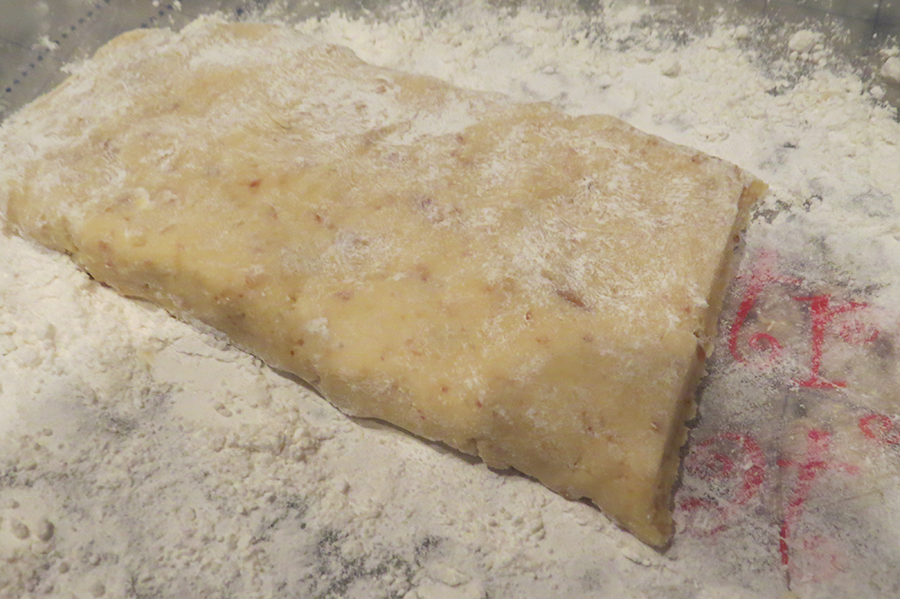
Flatten out the chilled dough on a floured surface.
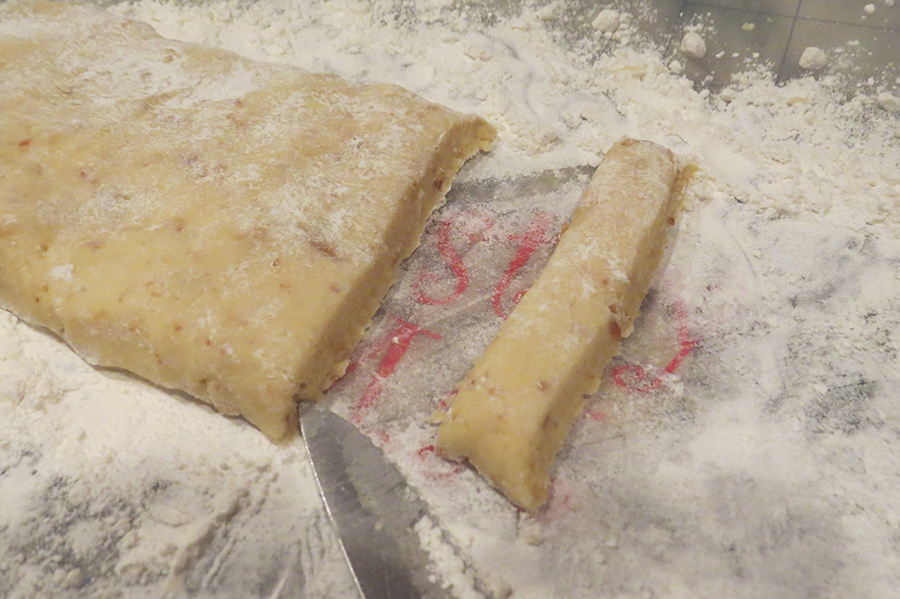
Cut the dough into 1/2″ strips.
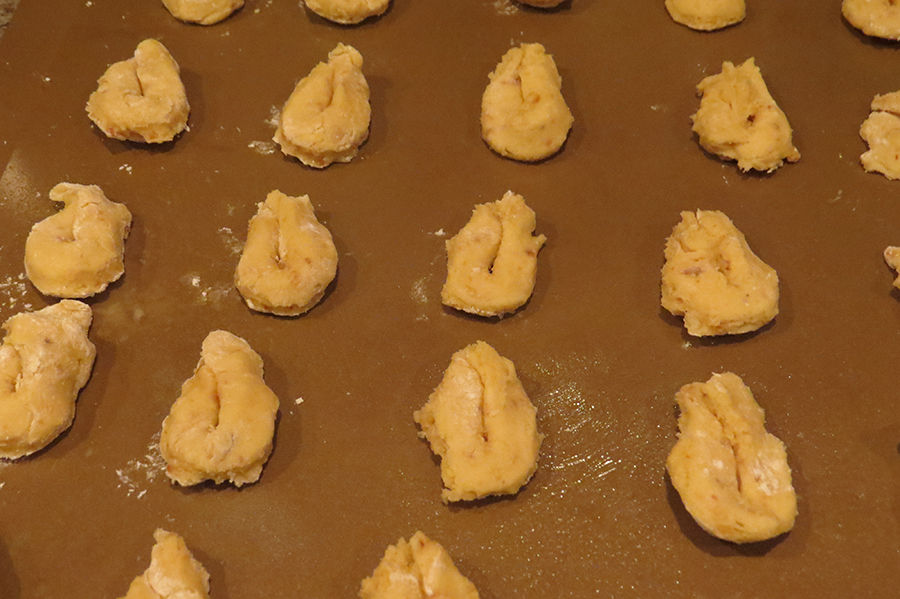
Shape the dough into knots or rings.
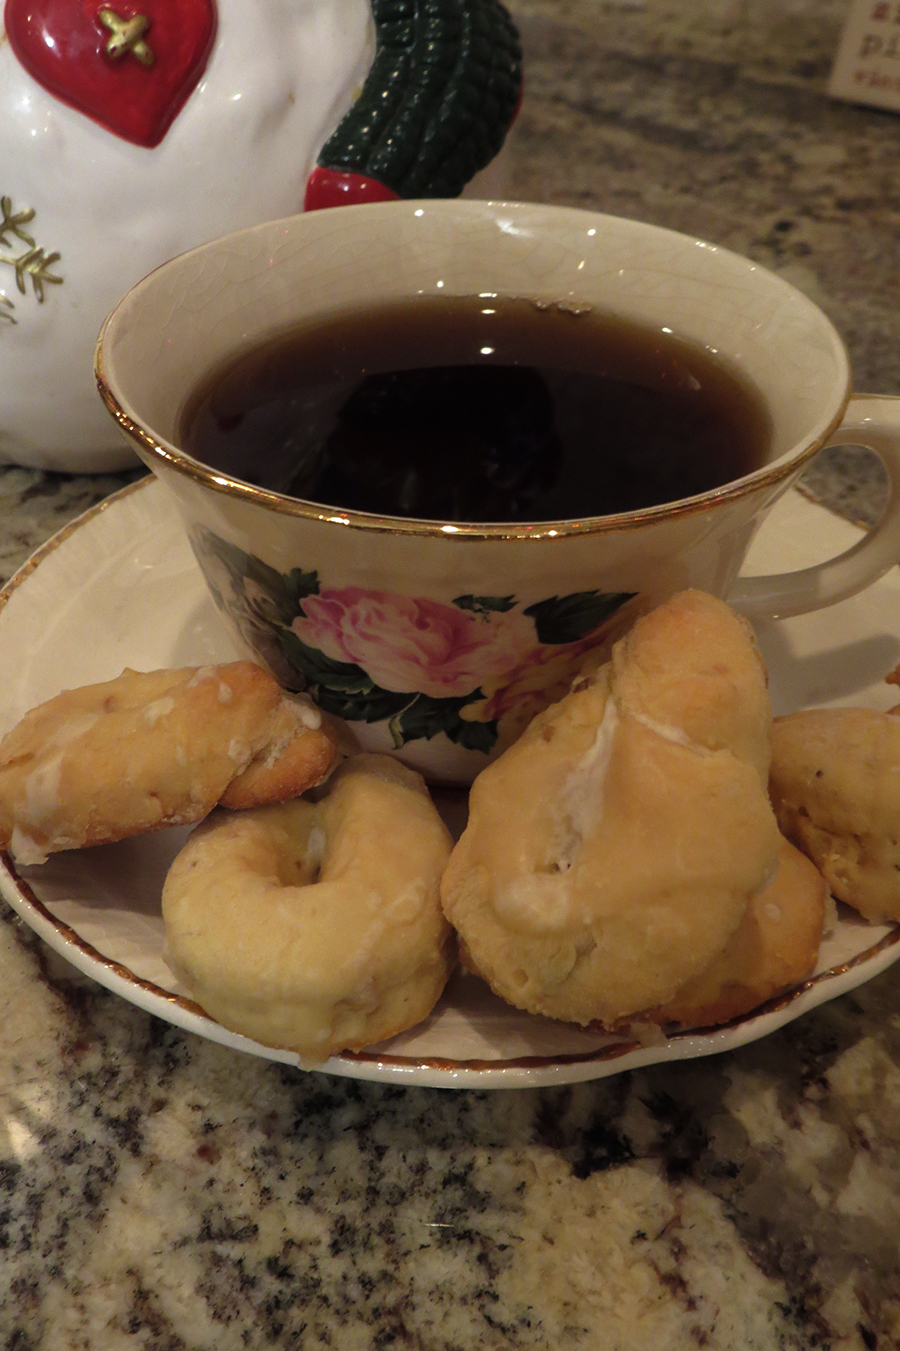
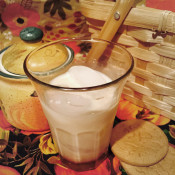
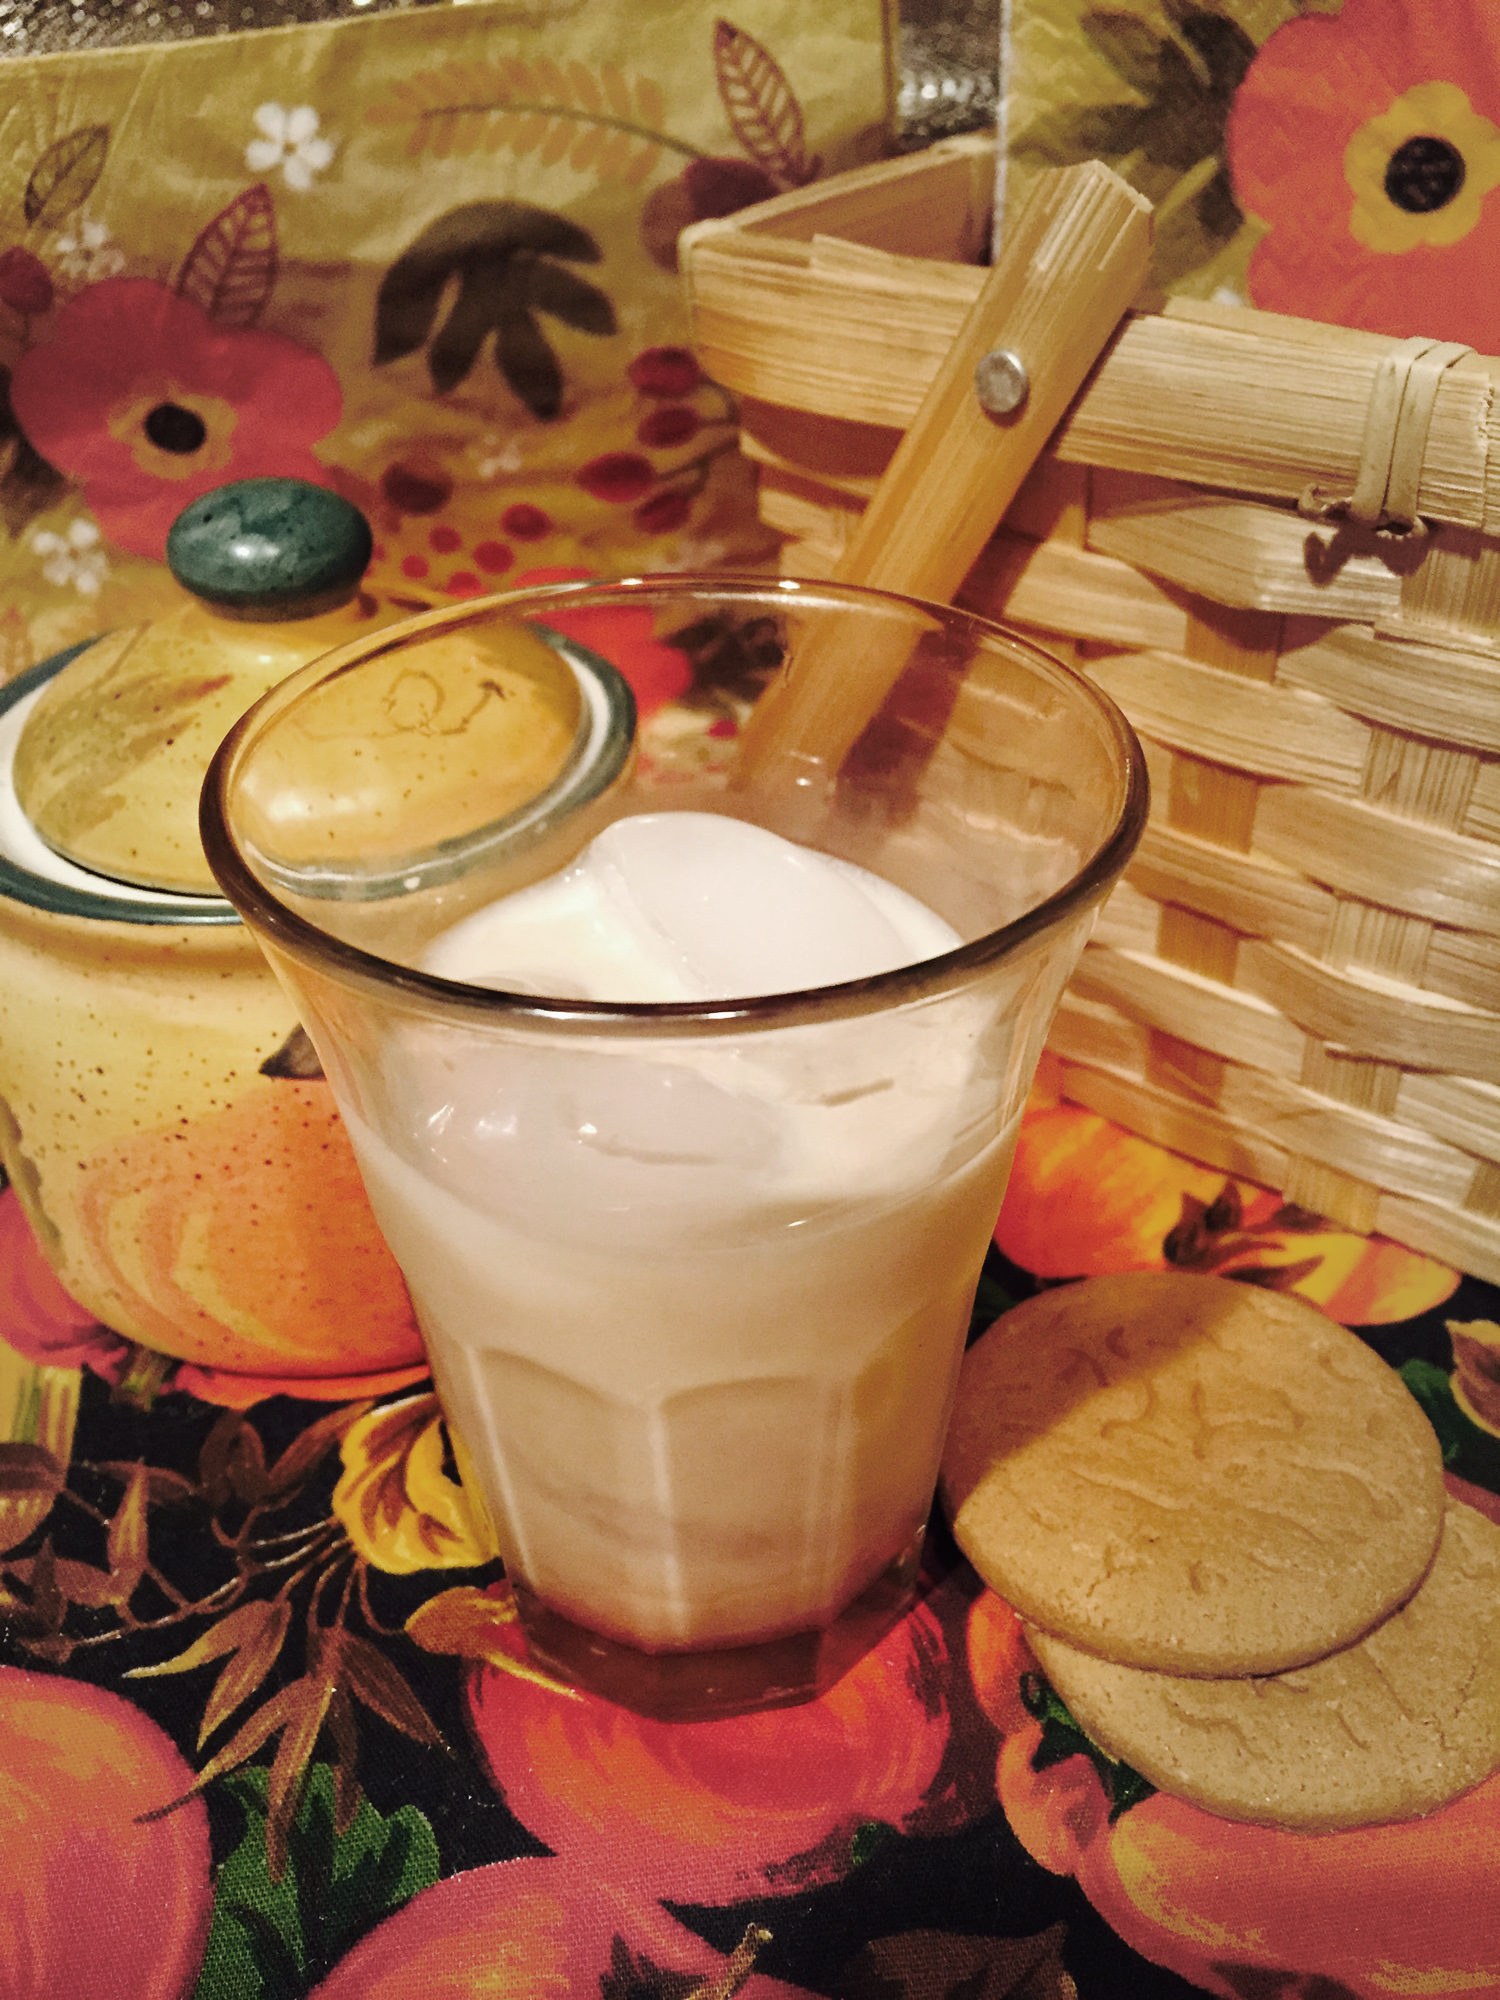
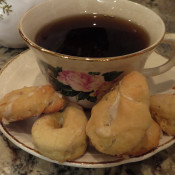
Serve with a nice cup of hot coffee!