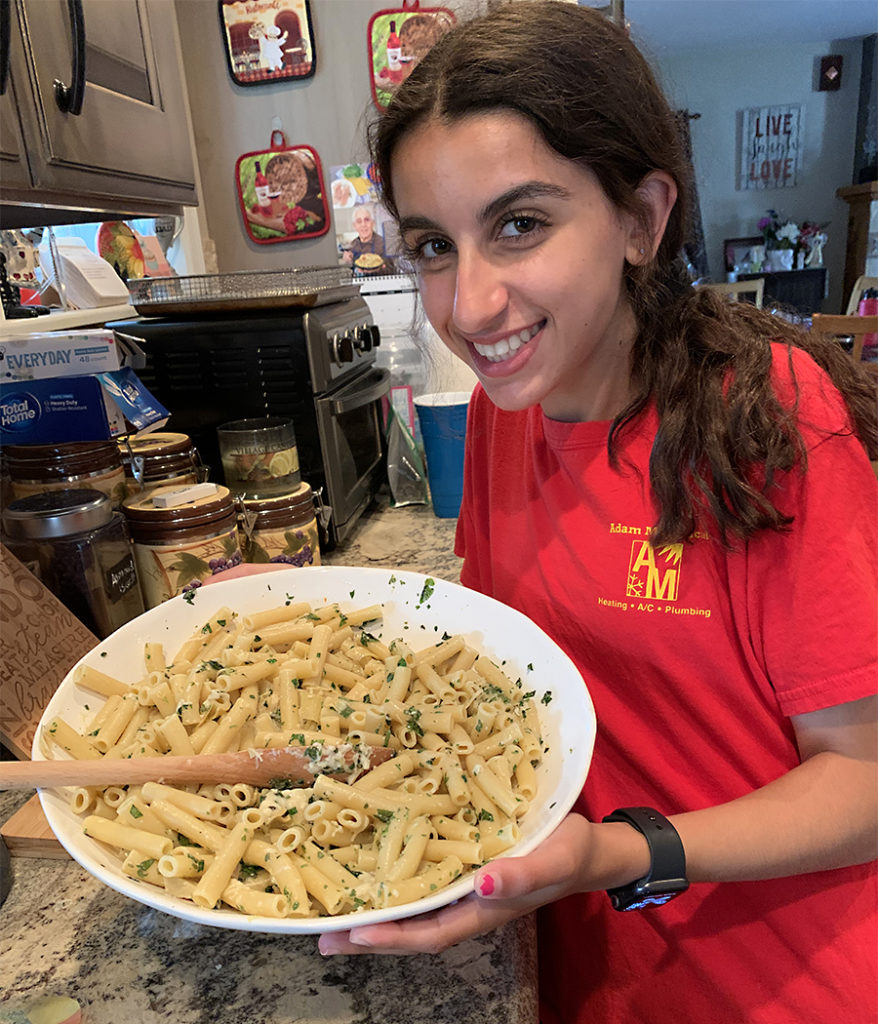
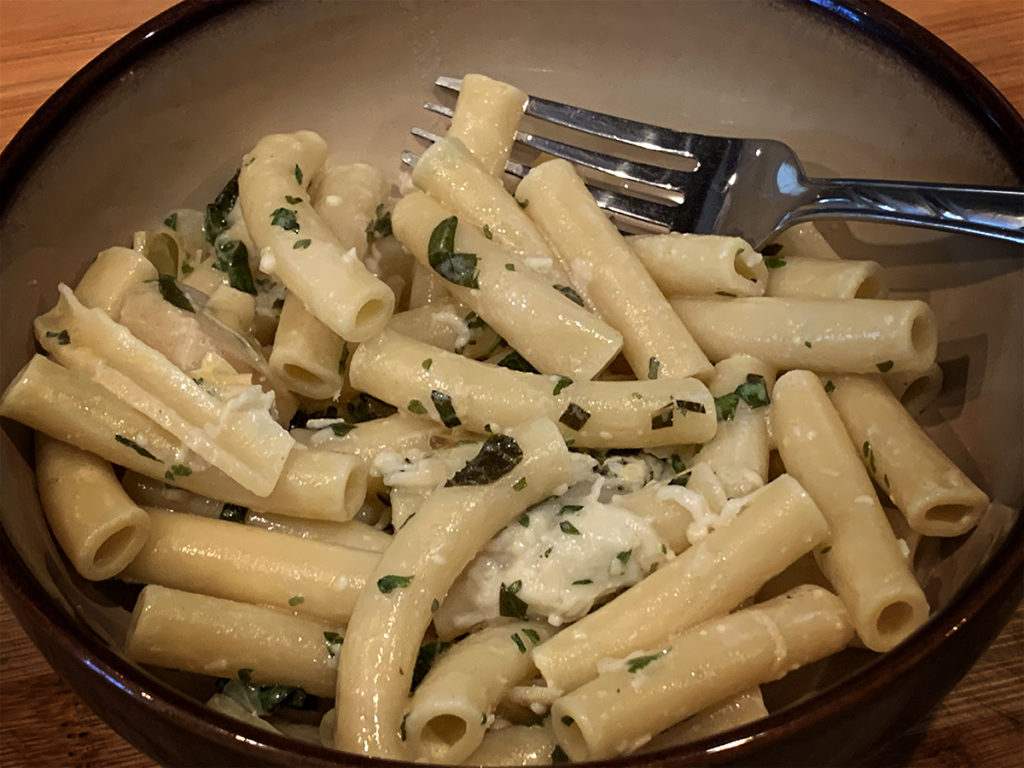
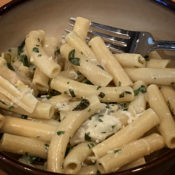
Ziti with Lemon Herb Parmesan Sauce
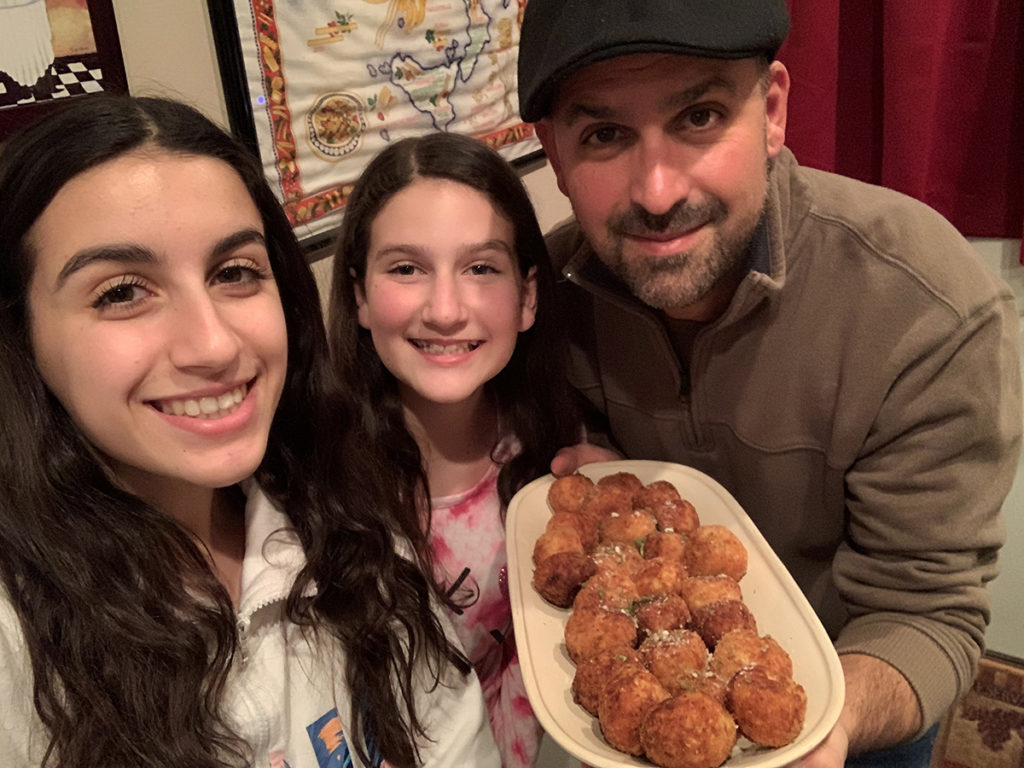
I am very excited to share this recipe with you because it is one that my daughter Jules and I collaborated on from start to finish. Jules recently came across a recipe on TikTok (where else) that has you baking uncooked pasta and chicken broth in a baking dish until the pasta is done, then adding chopped herbs, lemon zest and juice, shredded and grated parmesan cheese and heavy cream, stirring it together until combined. This all sounds delicious, but like many other TikTok recipes, there were no measurements, no instructions, and I honestly don’t even know if pasta would cook properly in the oven.
This did, however, remind me of another recipe that I recently tried and absolutely loved. It was made by celebrity chef Geoffrey Zakarian on the tv show, The Kitchen. The main differences were that the pasta was boiled traditionally in salted water, and he used strained greek yogurt and crumbled feta in place of the heavy cream. The pasta water was reserved and when added to the ingredients, it made a beautiful lemony-herb cream sauce. The feta and greek yogurt kept the fat content down, and I have to say this recipe was so much better than that other pasta feta dish that everyone keeps raving about.
What Jules and I decided to do was to put measurements to the recipe that she found, but cook it in the style that Geoffrey Zakarian did, utilizing the salted pasta water to create a sauce. To stay as true to the recipe as possible, I did add a few teaspoons of low sodium chicken bouillon to the boiling salted water before adding the pasta. I don’t know if this step is absolutely necessary, as the starchy and salty pasta water will give you plenty of flavor when mixed with the other ingredients. That said, the bouillon does give additional flavor, and if you choose to do this, be sure to either use low sodium bouillon or cut back on the salt that you add to the water if you don’t have low sodium bouillon.
I also kept the heavy cream measurements to 1/3 cup. I’m not a huge fan of heavy cream sauces, but if you prefer you can add more to your liking.
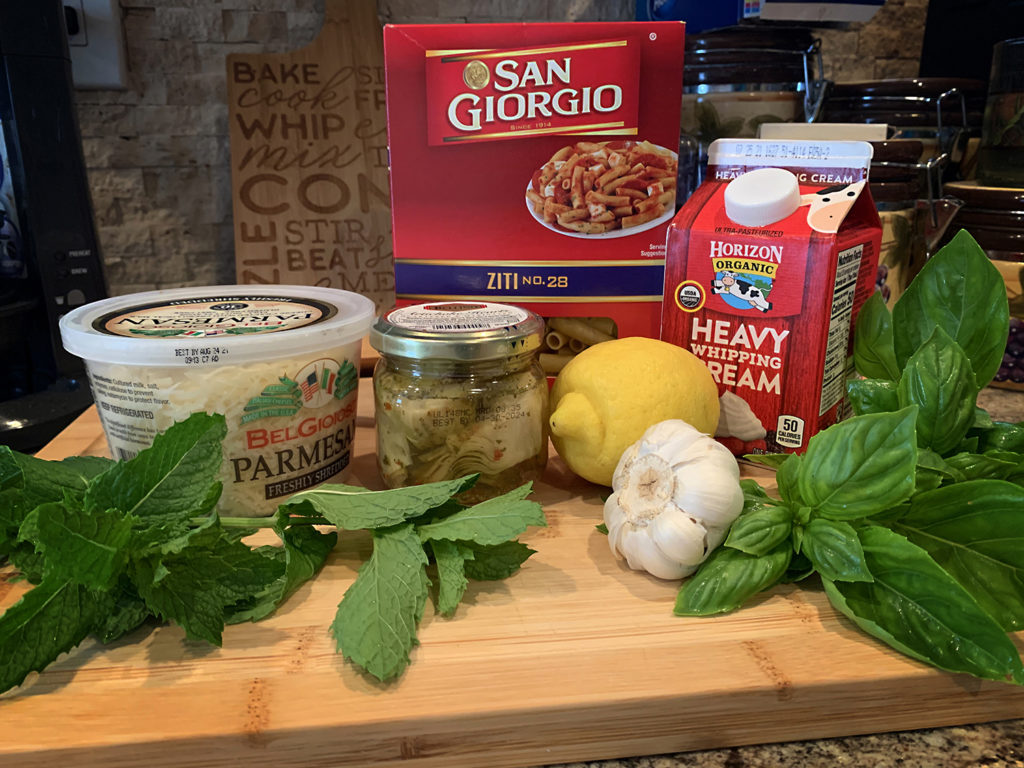
The TikTok version used heaping scoops of both grated and shredded parmesan cheese. Of the two, I feel that the grated parmesan is the more necessary. Not only does it give the dish that nutty and bold parmesan taste, it also helps thicken up the sauce. The shredded parmesan will melt into the dish, similar to a shredded mozzarella. It will be more clumpy and less stringy than mozzarella, but it does make for a nice addition. We decided to use 1/2 cup of each, but I would definitely use at least 1/2 cup of the grated. We rounded off the dish with some fresh chopped mint, basil and parsley from the garden, and as a bonus we threw in a small jar of chopped artichoke hearts.
This is a very flavorful, filling and easy to make pasta dish that I highly recommend, especially for a quick weekday dinner that will be enjoyed by all!
Ziti with Lemon Herb Parmesan Sauce
1 box uncooked ziti (or your choice of pasta)
2 teaspoons (or two cubes) low sodium chicken bouillon (if low sodium is not an option, cut back on salt added to water)
2 cloves garlic, minced
zest plus juice of one lemon
1/3 cup heavy cream (you can add more if you desire a thicker sauce)
1/2 cup grated parmesan
1/2 cup shredded parmesan (optional, but suggested)
1/4 cup fresh chopped basil
1/4 cup fresh chopped mint
1/4 cup fresh chopped parsley
1 small jar chopped artichoke hearts (optional)
salt and pepper
1/2 cup reserved pasta water
Boil the pasta in a large pot of salted boiling water (with the added bouillon) until the pasta is al dente, about 11 minutes. Stir occasionally. When the pasta is done, reserve about 1/2 cup or so of the pasta water. Drain the pasta (but do not rinse it) and pour it directly into a large serving bowl. Add the lemon zest and juice, garlic, heavy cream, grated parmesan cheese, chopped basil and mint, and artichoke hearts. Add 1/4 cup pasta water. Stir ingredients together, adding the additional pasta water if necessary (and to your liking). Add the shredded parmesan cheese, stir together. Season to taste with additional salt and pepper. Top with chopped parsley. Serve and enjoy!