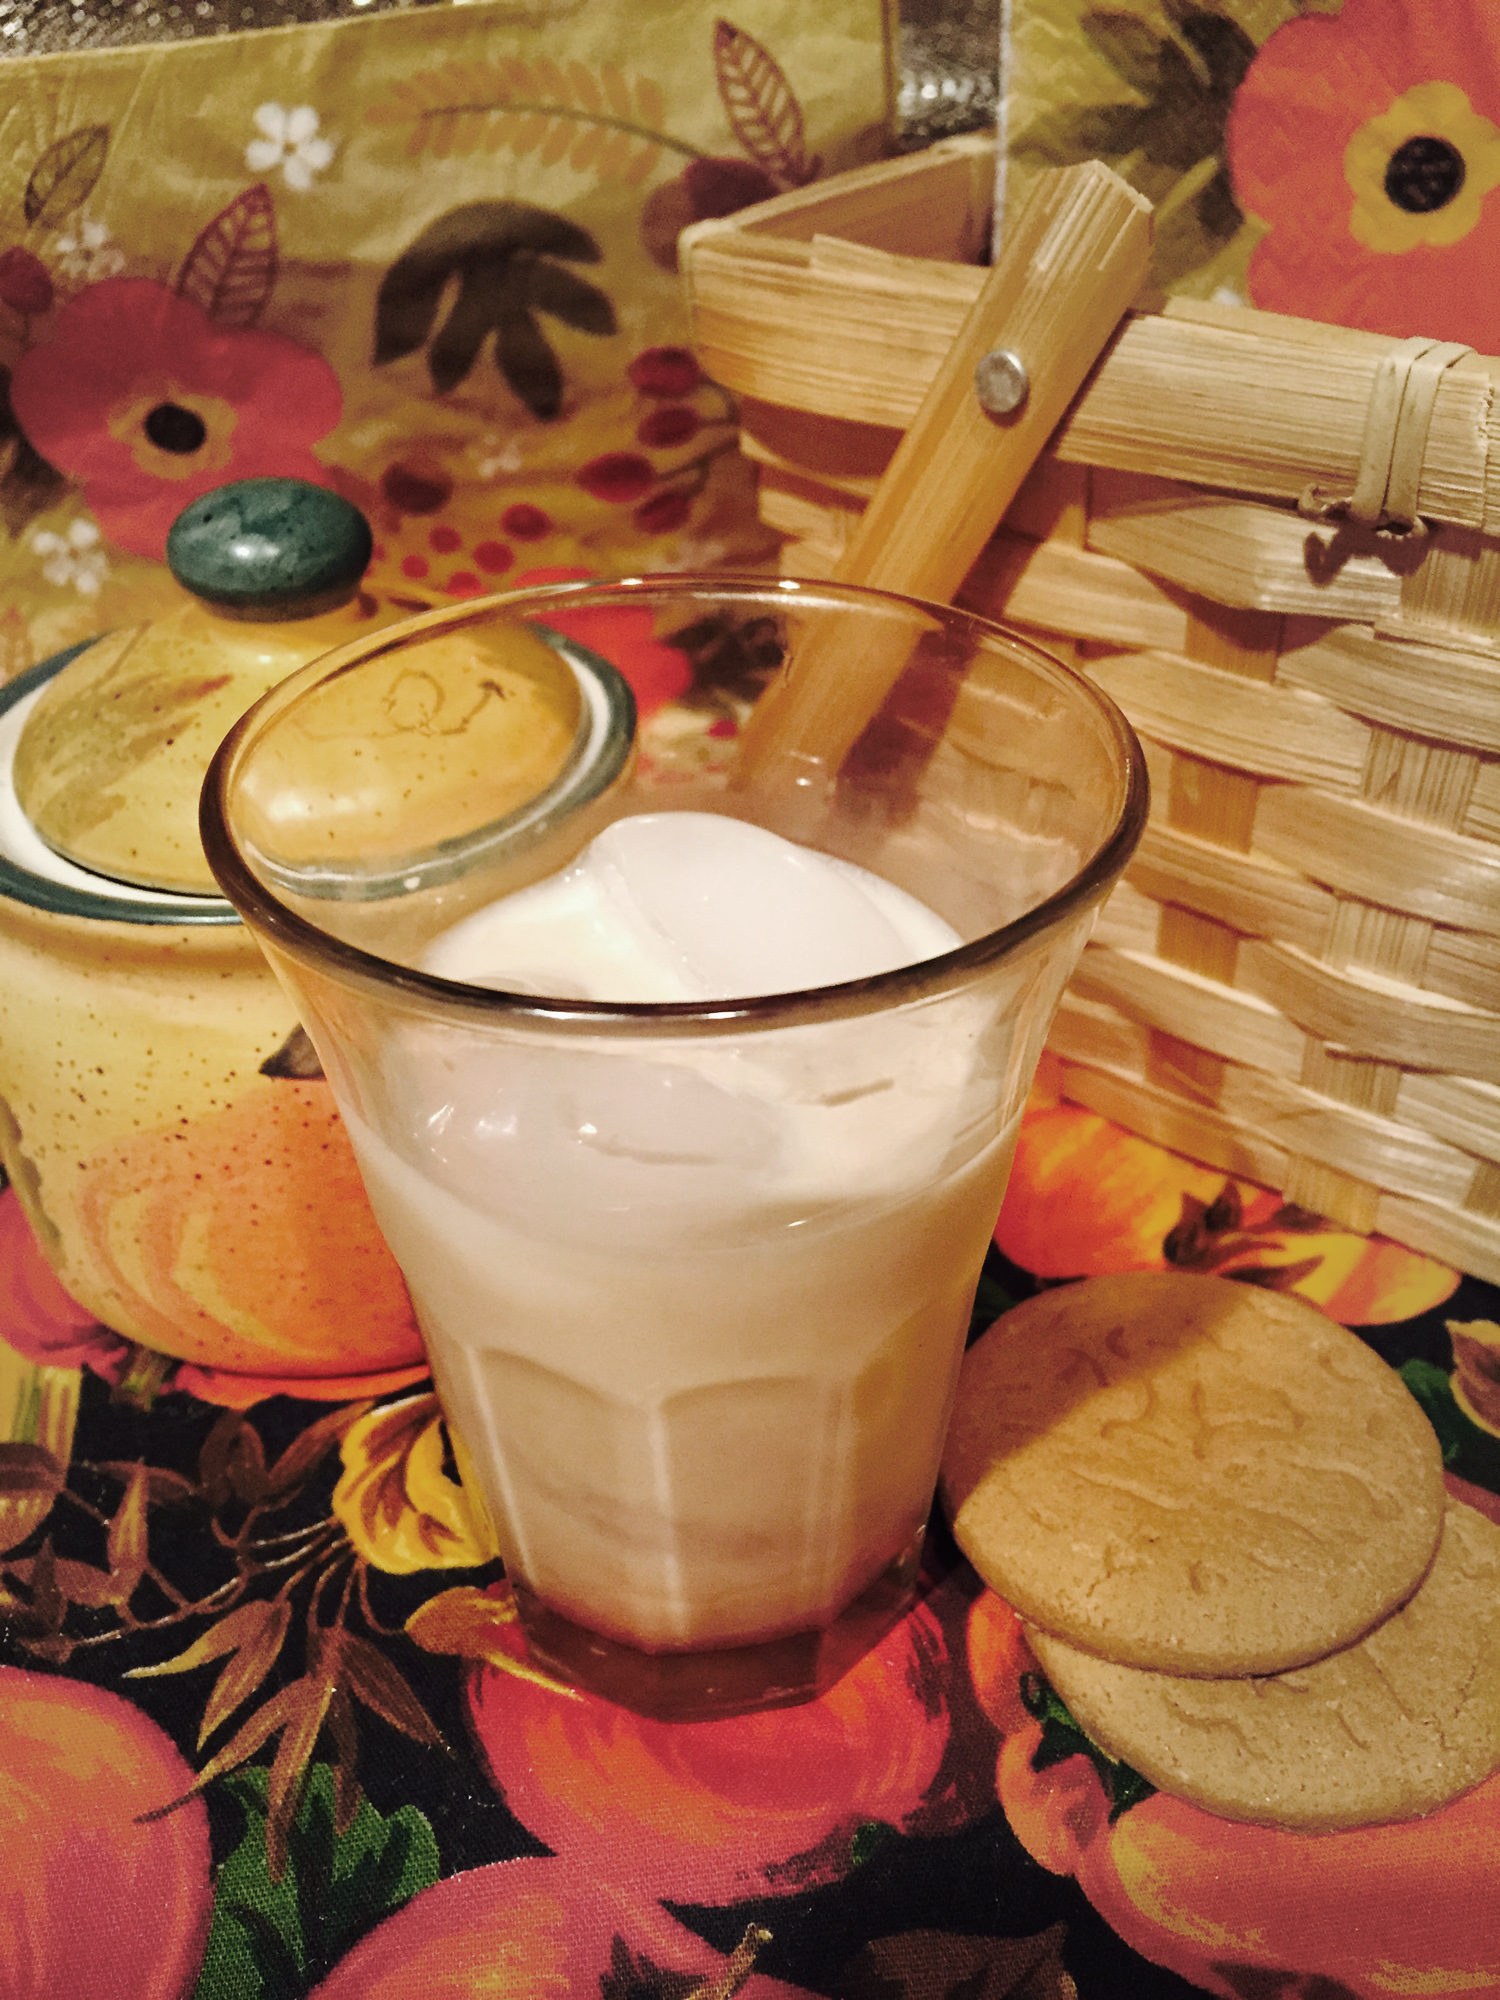
Pumpkin Spice Latte Liqueur
It’s always just a short matter of time once September rolls around before I start delving into the pumpkin-inspired recipes. This year, I thought I would take my seasonal craving in a different direction. Instead of coming up with a festive fall-flavored dish, I decided to put my liqueur-making skills to the test by playing up on the coffee-house seasonal sensation…pumpkin spice latte. The recipe itself wasn’t that hard. I started with a basic espresso liqueur recipe that I occasionally make. From there, I added some pumpkin-inspired spices and a bit of pumpkin purée. The big debate with many pumpkin-based beverages is that there is no actual pumpkin in the recipe. I always found this argument to be silly and unnecessary. Pumpkin is a bland squash and doesn’t really have much taste on its own, so the flavors that most people associate with it are the spices that give it character: cinnamon, ginger, nutmeg and cloves…aka PUMPKIN SPICE. However, I did decide to add a bit of real pumpkin to my liqueur. I thought that it would give the liqueur a bit more of a rich, full-bodied texture, and hey…nobody can accuse me of false advertising!
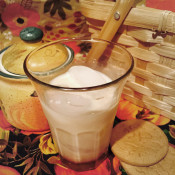
What’s different about this liqueur recipe as opposed to most others that I make is that the flavor infusion time is just a few days as opposed to a few weeks, or sometimes even months. Since the turnaround time is fairly quick, it’s easy to whip up a batch for a fall festival, Halloween party or even to serve with your Thanksgiving dessert. Just serve it over ice with a splash of light cream for a tasty adult beverage version of the fall favorite.
Cheers to the 2015 Autumn Season!
Pumpkin Spice Latte Liqueur
2-1/2 cups water
2 cups sugar
10 tspn instant espresso
1 tbspn pumpkin pie spice
1/2 tspn cinnamon
4 tbspn pumpkin purée
1 750ml bottle vanilla-flavored vodka
OR
1 750ml bottle plain vodka + 4 tbspn vanilla extract
light cream
Combine water, sugar, espresso, pumpkin, pumpkin pie spice and cinnamon in a sauce pan. Simmer 1 hour and let cool. Once cooled, you will need to strain the liquid (a mesh strainer works best). The pumpkin and espresso grinds will thicken up and become syrupy as it simmers. You may need to strain it 3-4 times, until there is no more thick sludge in the liquid. Once straining is done, add vodka (and vanilla if necessary). Stir well and seal tight. Keep it sealed in a dark, cool area for 2-3 days. Serve over ice with a splash of light cream.
For a basic, yet still quite tasty espresso liqueur, simply eliminate the pumpkin spice, cinnamon and pumpkin purée from the recipe above. Follow the same preparation directions.
*Because this recipe uses canned pumpkin purée, it would be best to store it in your refrigerator.