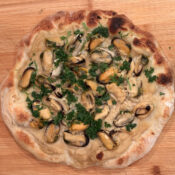
It was pizza night and I wanted to do something fun and a little unexpected, so I turned a pack of frozen mussel meat into a seafood gourmet pizza. Frozen mussels are already cooked and incredibly versatile, making them perfect for a quick, creative meal.
Instead of a traditional red sauce, I went Mediterranean and used lemon hummus as the base. I drizzled olive oil mixed with minced garlic and sea salt over both the hummus and the mussels to build flavor in layers.
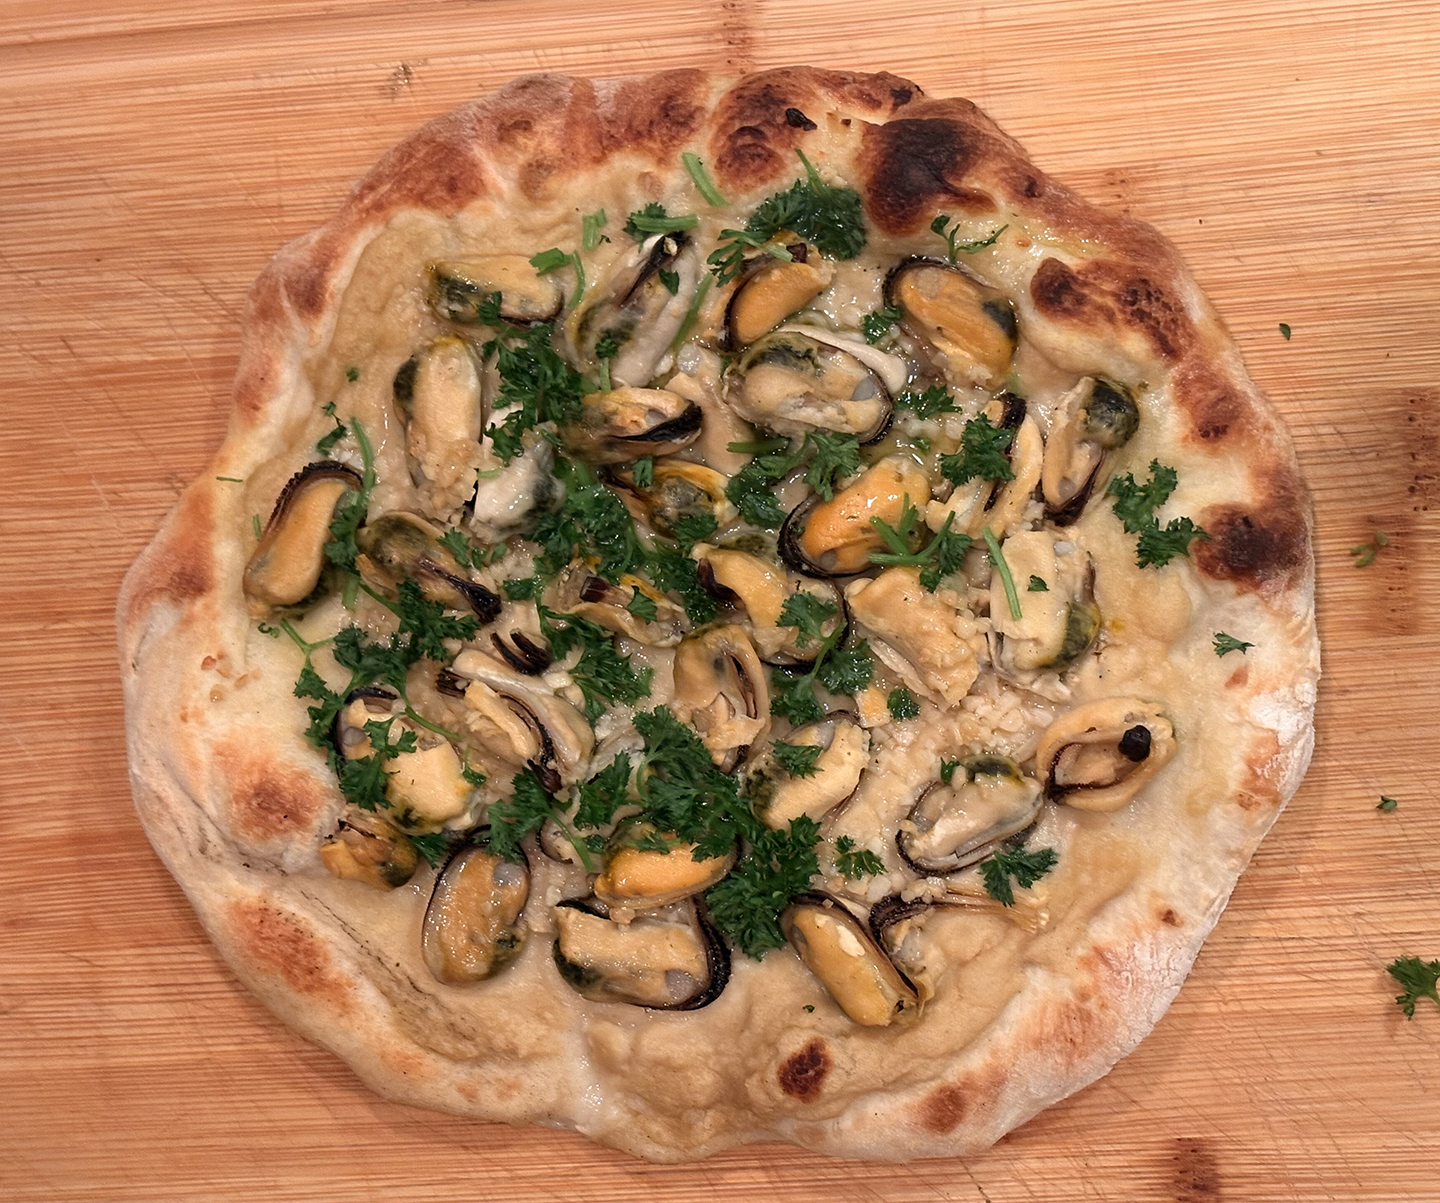
The pizza baked at 475°F for about 10 minutes, until the crust was crisp, and was finished with fresh chopped parsley. Simple, bright, and absolutely delicious.
This pizza is easy to customize—use your favorite dough or flatbread, make it personal-sized or shareable, and swap in any hummus you love. Have fun with it and enjoy.
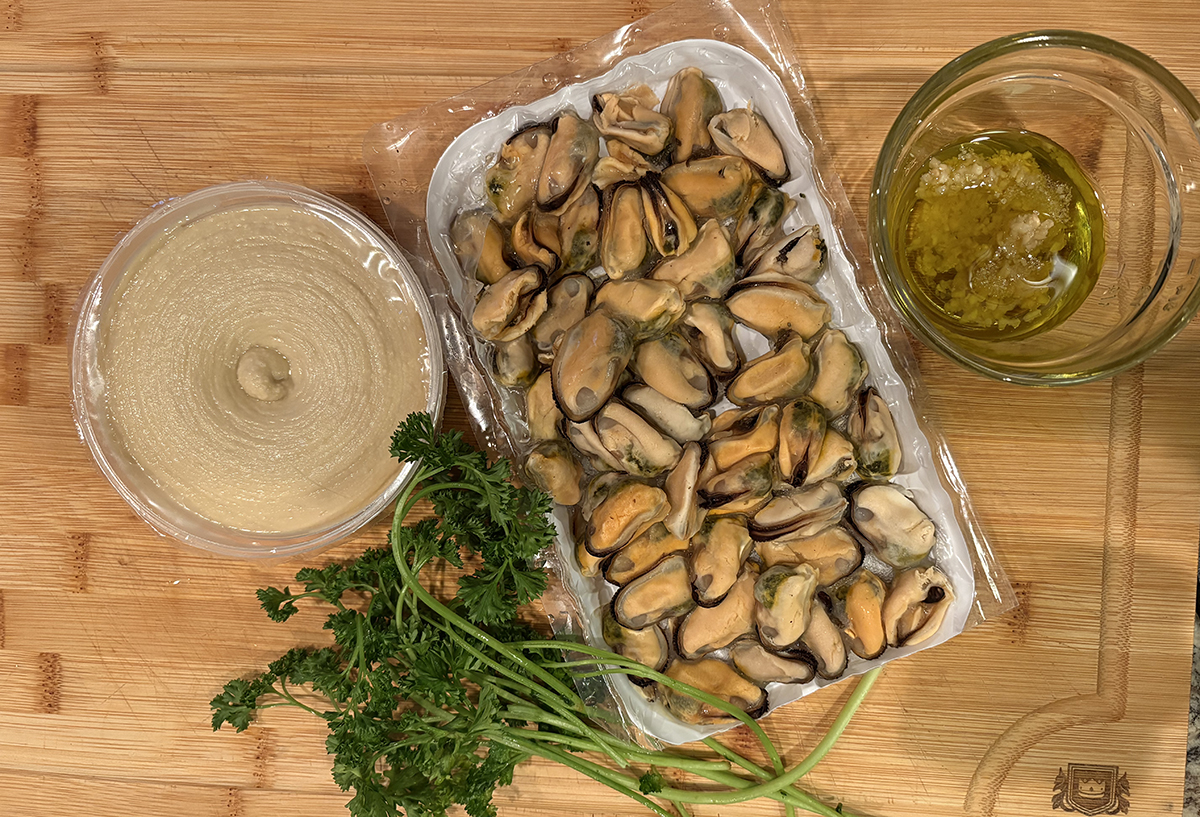
The main ingredients: hummus, mussel meat, olive oil with garlic, parsley.
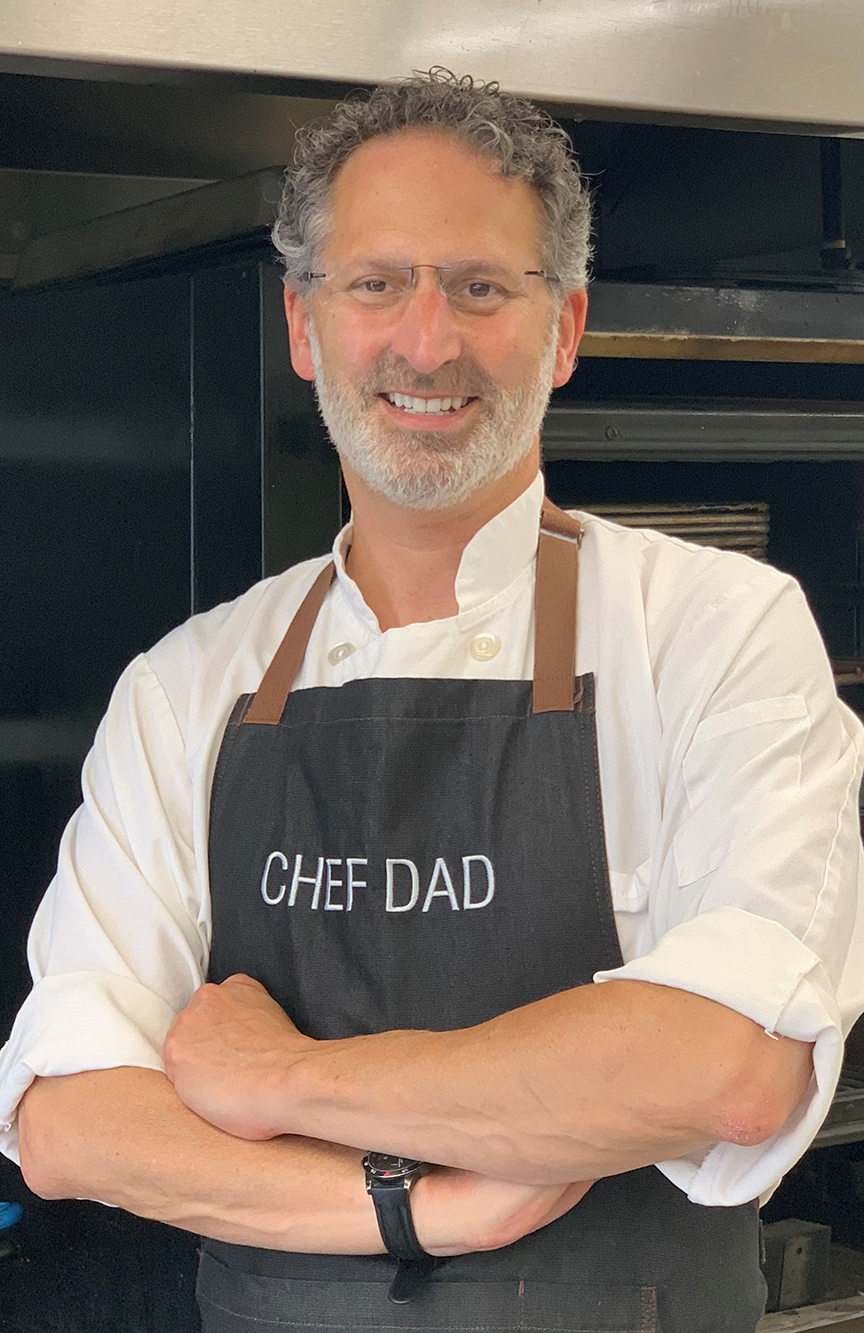
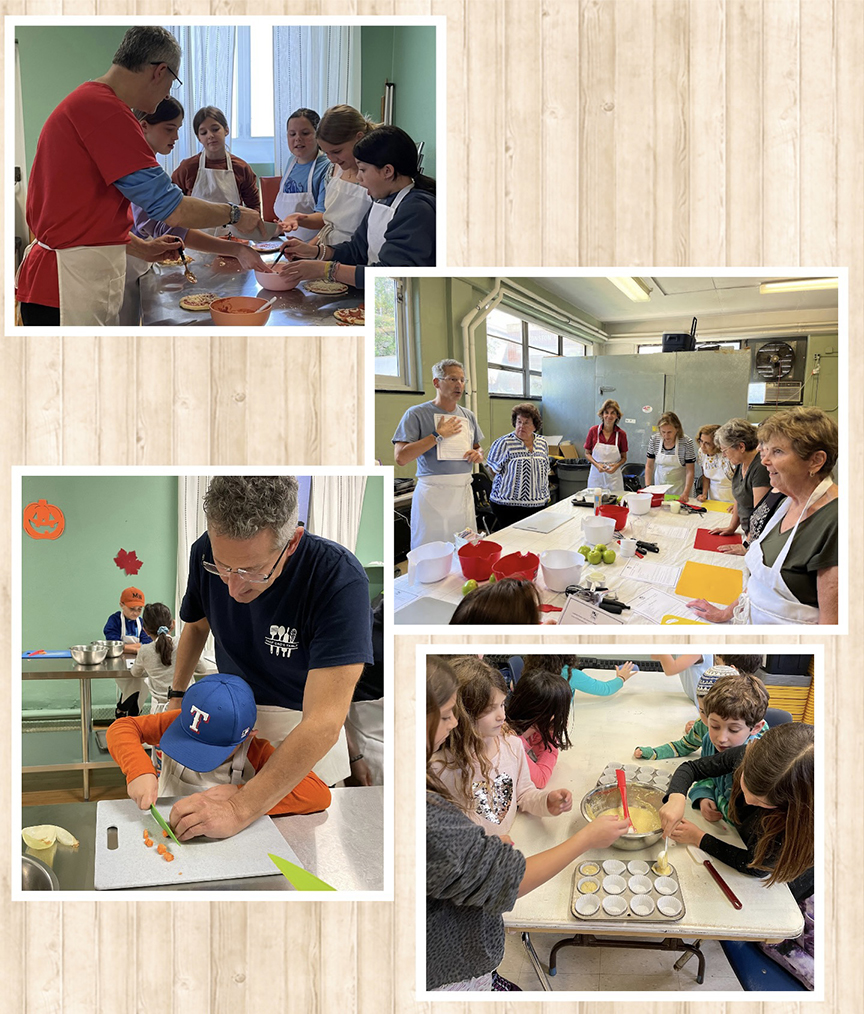
In this post, I’m delighted to introduce my friend Scott Noye, the owner and head instructor of Chef Dad’s Table—a culinary program offering hands-on vocational, food service, and family and consumer science education for children and adults.
I first connected with Scott while exploring our local food community, and it didn’t take long to see how deeply he cares about teaching, creativity, and connection through food. Since then, he’s been a generous source of encouragement and inspiration as I continue to pursue my own creative work.
I recently had the chance to ask Scott a few questions about Chef Dad’s Table, and his responses were thoughtful and energizing. I’m excited to share them with you. To learn more about his work, visit https://www.chefdadstable.com.
And now—onto the interview.
Q: What inspired you to start teaching kids how to cook? I always wanted to be a teacher. My father convinced me to select another profession. Ironically, both my parents ended their careers as teachers! When I was laid off from my job after 26 years, I took some time to reevaluate my future and developed the concept of Chef Dad’s Table. I love seeing children and others showing an interest in and enjoying cooking and working with food. Sharing my knowledge and helping others learn and develop a passion for food and kitchen life skills was the impetus.
Q: What do you think kids learn in the kitchen that they don’t always learn elsewhere? Oh wow…there is so much that the students learn in our kitchens. I think they learn differently in this type of environment. First off, there is instant gratification…we eat great food at the end of class. That’s a true motivator for everyone to listen closely and follow directions and watch my demonstration. Many of the tasks we tackle in class can’t be done alone. Teamwork is paramount and everyone takes part.
Q: How do you choose recipes? How do you accommodate allergies and dietary needs? Some of our recipes have become tried and true favorites and are requested repeatedly. Many are new. We try to keep up to date with the current food trends appearing on the scene. I follow along on social media and see the latest viral videos. We incorporate a lot of these into our programming. In fact, we are offering a class based on “Viral Tik Tok Food Trends”.
We try to accommodate all the common food allergies and dietary restrictions. We discuss with families’ alternatives and substitutions and often rewrite our recipes that are acceptable.
Q: How do you design a class that’s both educational and genuinely fun? Creating a curriculum that is educational, fun, and tasty takes a bit of thinking. You want it to be a learning experience balanced with hands-on participation that is engaging and age appropriate. We look at recipes from cookbooks, websites online, magazines, social media and then we tweak them to fit our needs. Sometimes the class revolves around holidays and special dates on the calendar, often it’s about culture and cuisine or new trends.
Q: What’s the first skill you love teaching beginners, and why that one? At the beginning of all our class sessions we focus and emphasize understanding how important our Five Senses are. Listening and watching, tasting, smelling, and touching are all so valuable in the kitchen environment.
Q: When things go wrong—spills, burnt food, or frustrated kids—how do you handle it? Ah…as long as there is no blood, we’re good! Spills, burnt food, or food that doesn’t come out as planned, we can solve these issues relatively easily. Accidents happen, mistakes happen, no worries. Do the kids get frustrated? Sure, at times, often it has nothing to do with the recipe or the result. A lot of the time it is because they must wait their turn or share…normal kid stuff. Do we get shmooshed eggs with shells instead of a nicely cracked egg? Yes! Is it frustrating? Yes! So we take a deep breath, back up a bit, discuss what happened, and try it again.
Q: Can you share a moment or feedback that made you think, “This is why this program matters”? When I arrive at some of our group homes for our cooking and kitchen life skills class, the residents are waiting for me at the front door. We hug and high five. They are smiling from cheek to cheek.
Q: What’s the proudest dish you’ve seen a child make? Watching their faces as we take a freshly baked loaf of bread out of the oven always creates a lot of “ohhhs and ahhhs”. Going through the steps of growing the yeast and then watching the dough rise and then culminating with a beautiful and tasty masterpiece is priceless!
Q: What’s the messiest class you’ve taught? Ha! Anything with sprinkles, jimmies, and edible glitter!!!
Q: If a child leaves your class loving just one thing about cooking, what do you hope it is? I hope they feel a sense of accomplishment, and it boosts their self-confidence and self-esteem.
Q: How has the program evolved since it began? Well, when we first began, we only worked with elementary and middle school aged children. Now, we work with toddlers all the way through senior citizens, and we work with all abilities as well with special attention and emphasis for those children and adults with disabilities.
Q: Are there any dream classes or collaborations you’d love to explore? I would like to travel more and partake in cooking classes and workshops and seminars globally. Both for my own enjoyment and to bring back new knowledge to share.
Q: If you had to describe this program in one sensory moment—a smell, sound, or taste—what would it be? I don’t think it would be something sensory, but the emoji I would best associate with our organization is a big sunshine with a smile on its face.
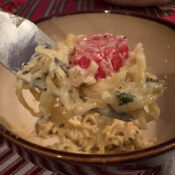
This recipe is my take on the popular feta and tomato bake that was trendy on social media a few years back. For my version, I’m using spaghetti squash, grape tomatoes and a spreadable herbed cheese.
If you are not familiar with spaghetti squash, it is an oval shaped winter squash, and the outer skin usually has a light or bright yellow color. Similar to other winter squash, like butternut or acorn squash, there is a fair number of seeds and pulp that needs to be removed once cut open. The seeds can be seasoned and roasted like pumpkin seeds. However, the taste of this squash is a bit mild compared to butternut and acorn squash. The meaty texture also shreds after being cooked, which then makes it look like…you guessed it, spaghetti!
It is a healthy, nutritional alternative to traditional spaghetti if you are looking for a low carb pasta-type dish. Spaghetti squash absorbs whatever seasonings are rubbed onto the flesh as it bakes, which makes it the perfect base for the baked tomato and cheese topping.
While I do enjoy the taste of the traditional tomato and feta version, I wanted to bring more flavor to this dish, especially because spaghetti squash could be a bit bland on its own. In place of feta, I chose to use a spreadable, herbed cheese. Two of my favorite spreadable herbed cheeses are Boursin and Alouette. Both are usually available in the specialty cheese section, deli or refrigerated dairy section of the grocery store, and each comes in a variety of flavors. You can also use a crumbled feta, classic style or Mediterranean herbed, if you prefer.
What I enjoy about this recipe is that it offers lots of flavor, yet the steps are simple. It is also a good meal to prepare either during the week or for a nice Sunday dinner!
Baked Spaghetti Squash with Tomatoes and Herbed Cheese
1 large spaghetti squash olive oil Salt and pepper 2 teaspoons Italian seasoning, divided 1 container of spreadable herbed cheese (5.3 ounce Boursin or 6.5 ounce Alouette, your choice) 1 pint grape tomatoes, halved
Preheat oven to 425 degrees. Line a baking sheet with aluminum foil.
Cut the spaghetti squash in half lengthwise, scoop out the seeds and pulp. Gently pierce the flesh throughout with a fork. (*Note, you can pierce the squash with a knife and microwave it for a few minutes to help soften the outer skin for cutting)
Lightly brush the inside and edge of each half of the squash with olive oil. Season the oil-brushed squash with salt and pepper. Place both side face up on the baking sheet.
Coat both halves of the squash evenly with the spreadable cheese, then top each side evenly with the tomatoes and 1 teaspoon Italian seasoning.
Bake for 45 minutes, or until the flesh can be easily shredded with a fork.
Carefully use a fork to shred the cooked squash so it looks like spaghetti strands. Mix the melted cheese and tomatoes with the squash as you are shredding.
Place the shredded squash, tomatoes and cheese into a large bowl. Drizzle a bit of olive oil and stir to lightly coat the squash. Mix together and season with the remaining Italian seasoning, and salt and pepper to taste.
Freshly cut, seasoned, and filled, ready for baking.
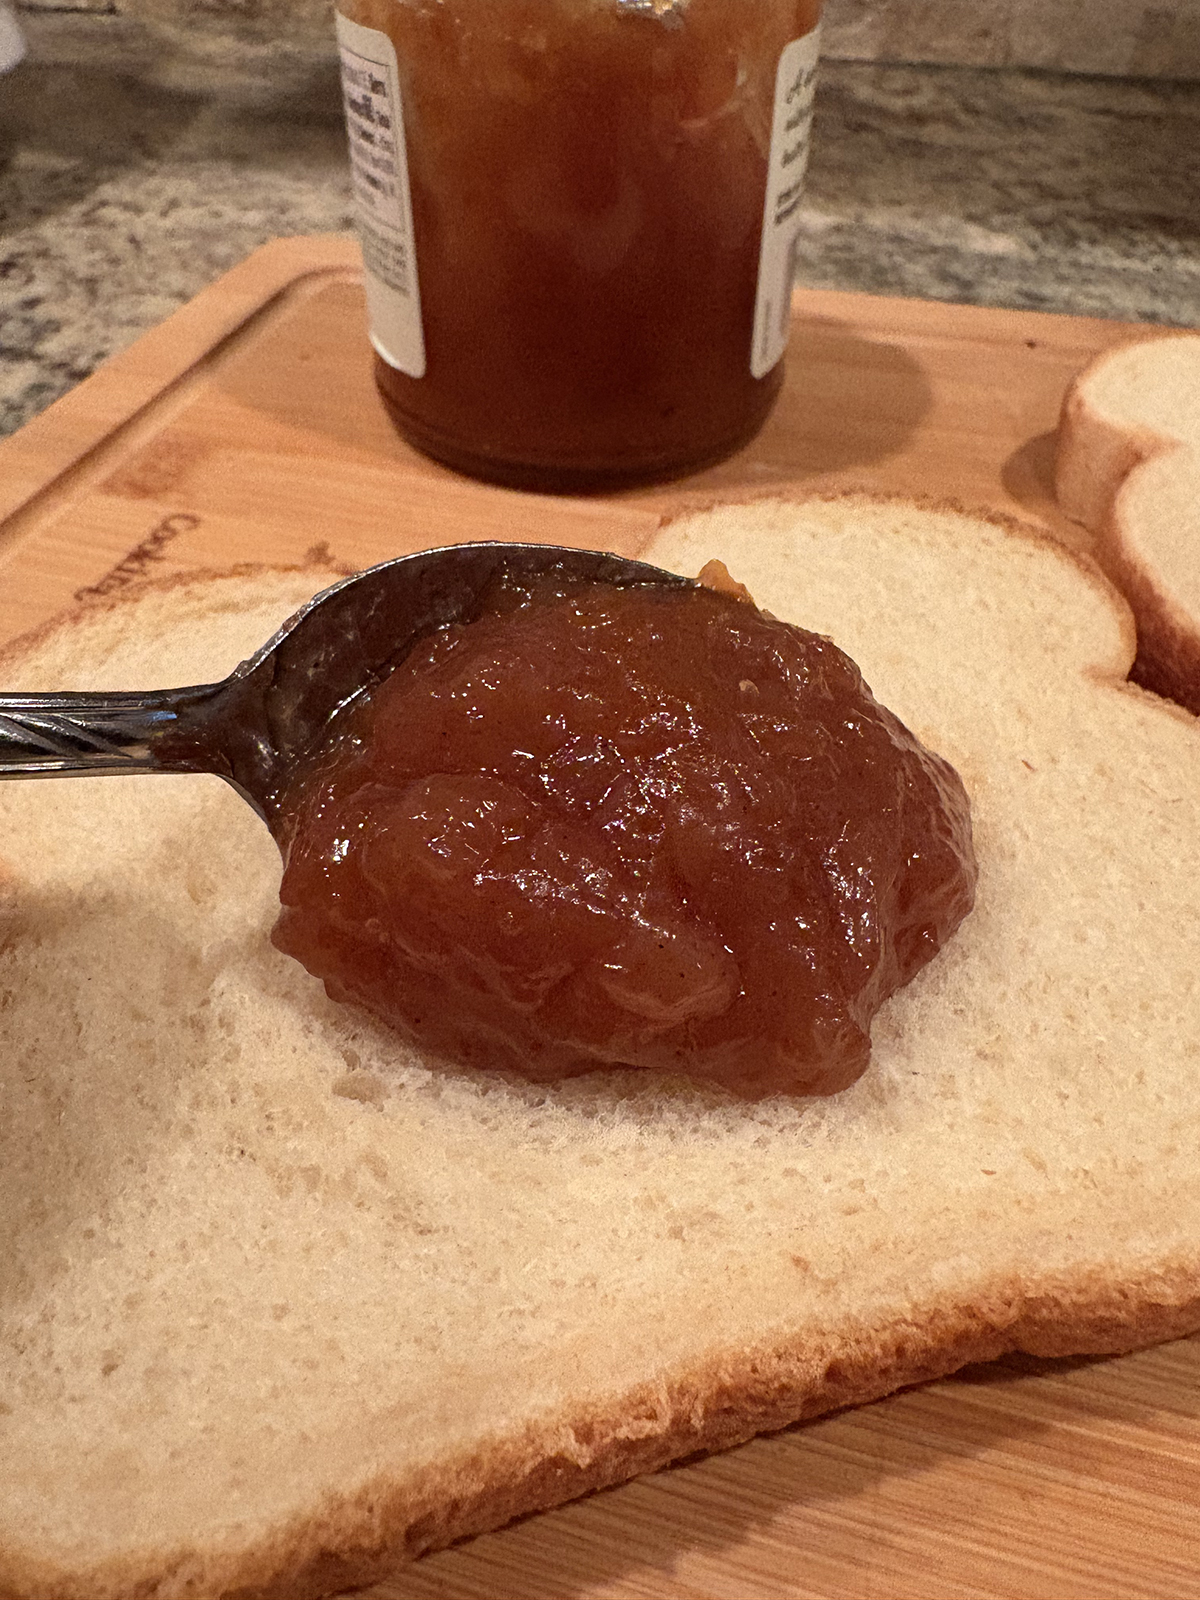
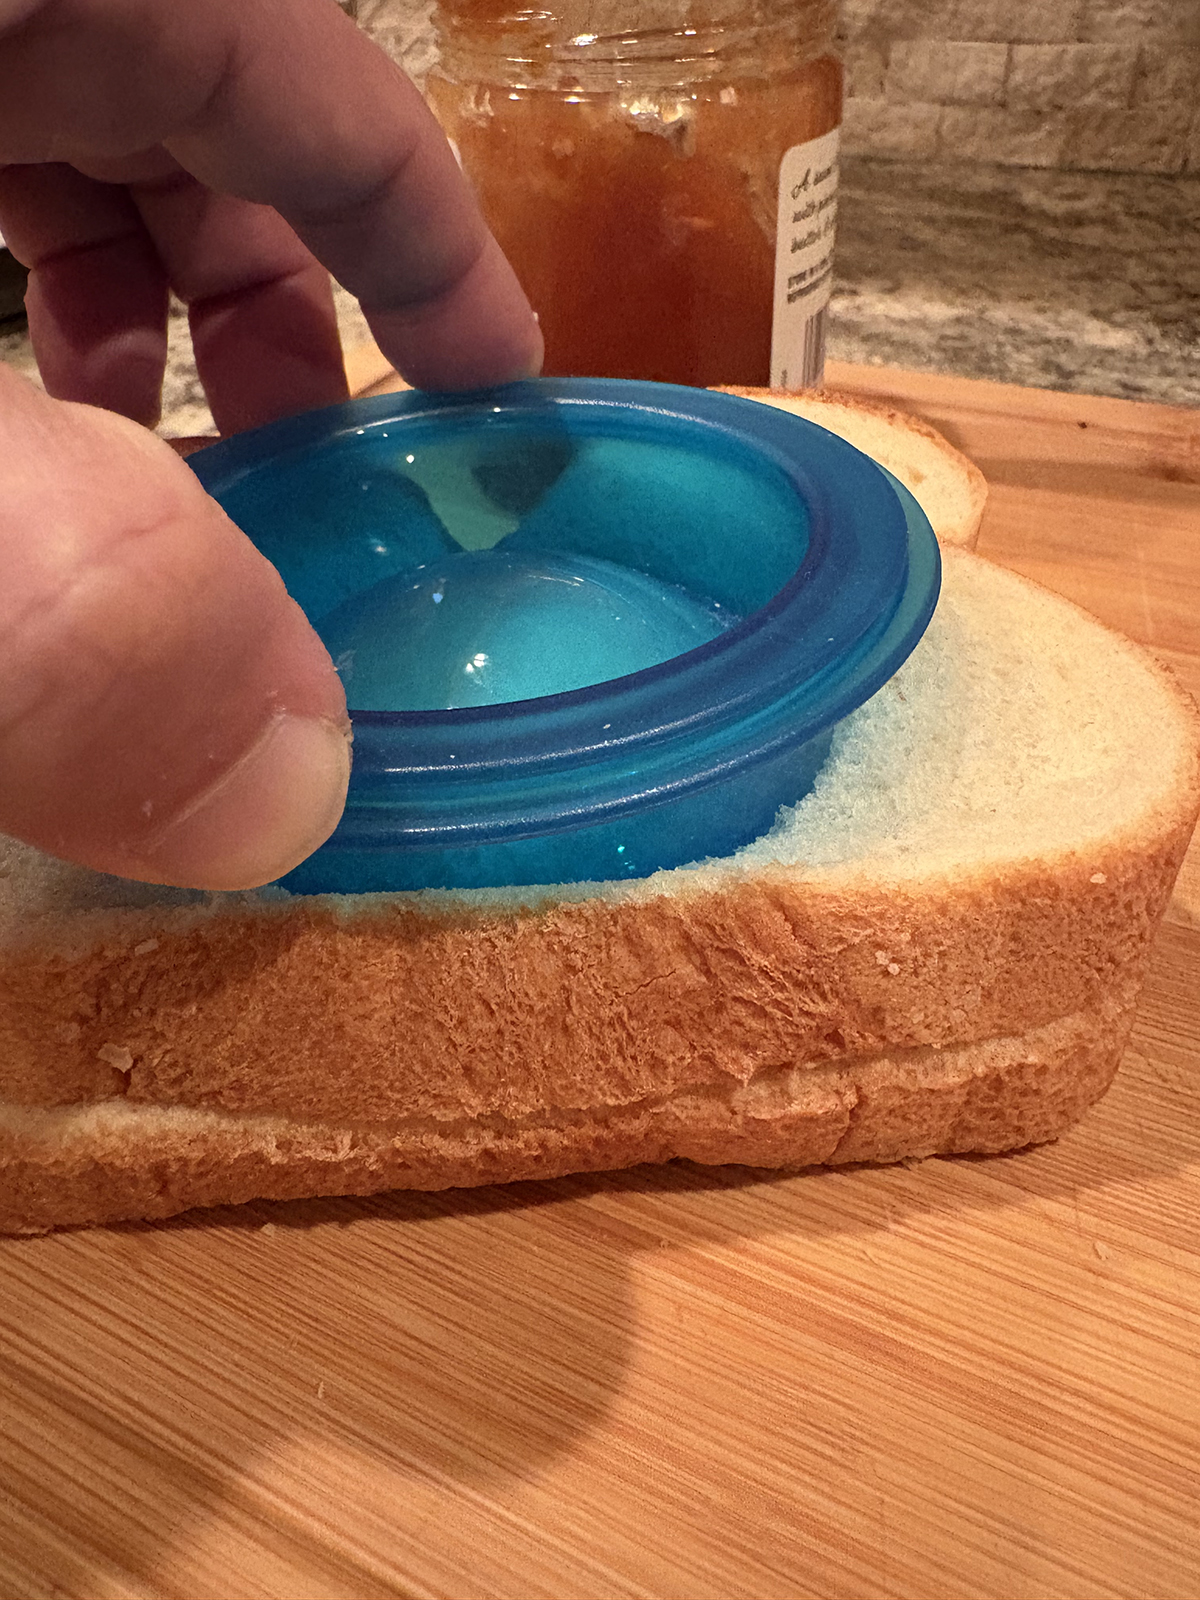
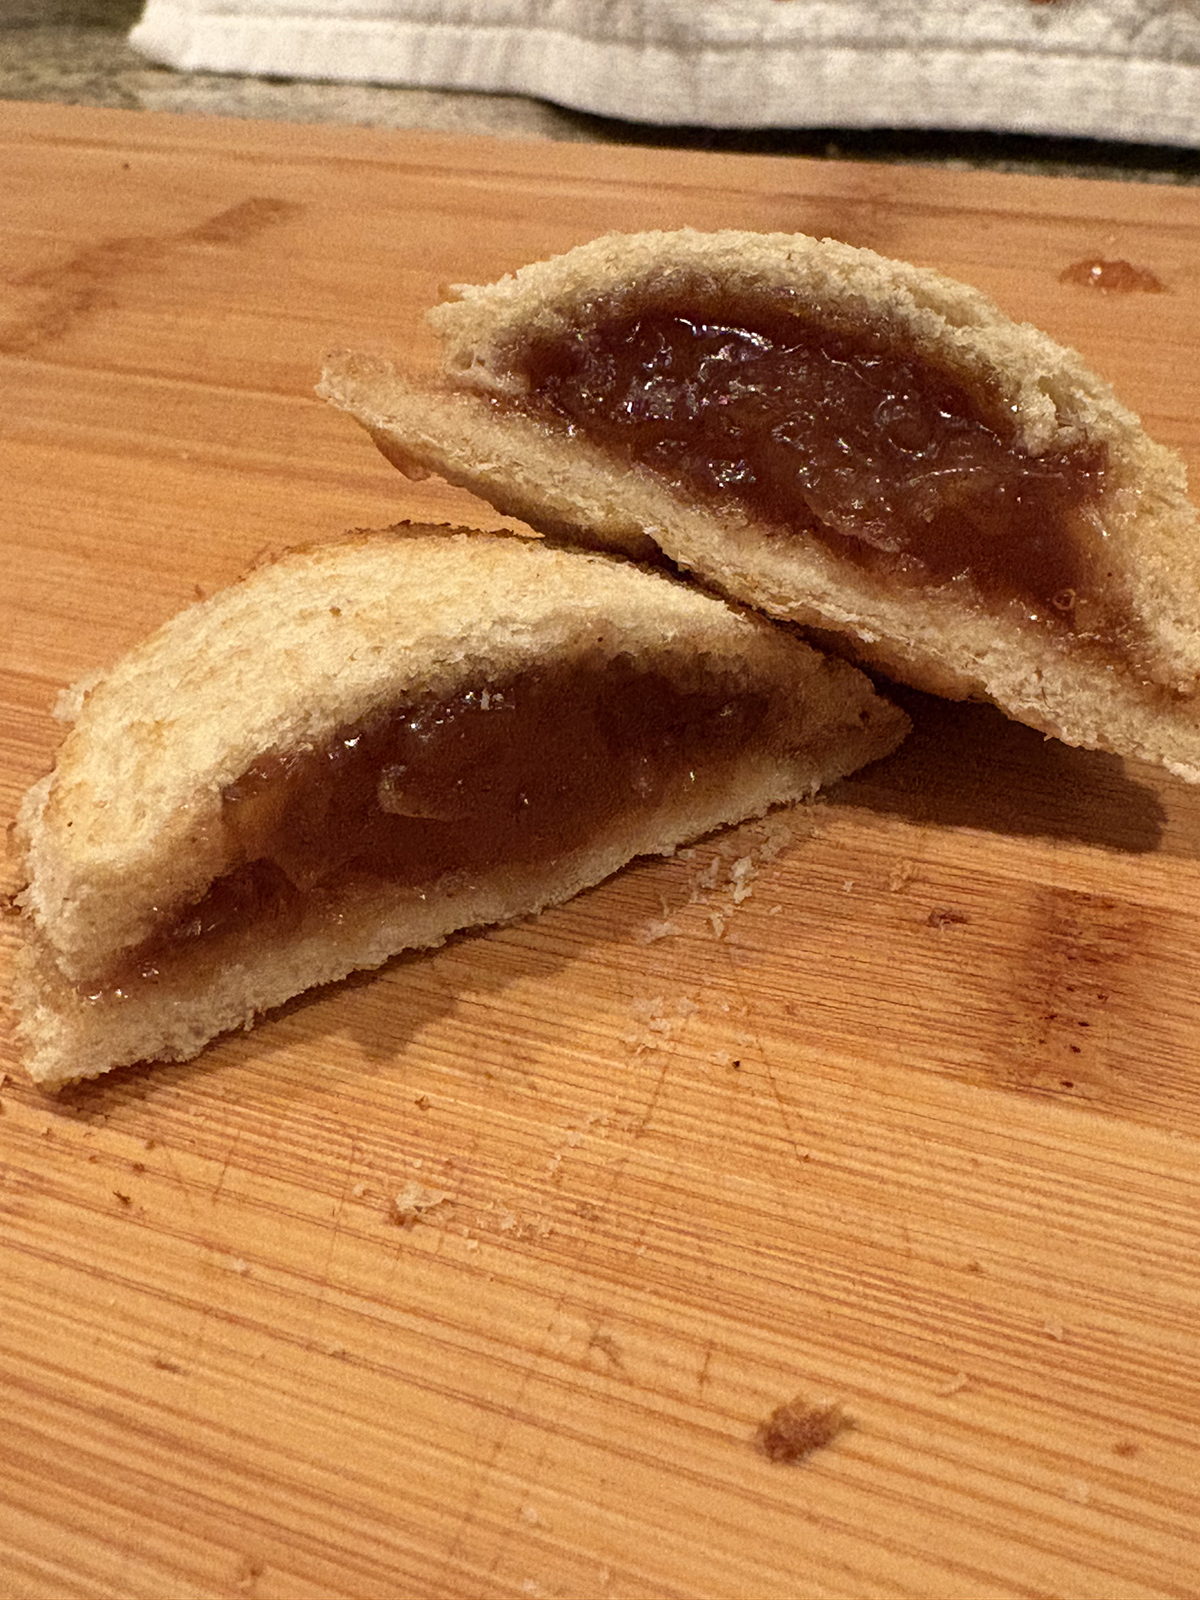
Here’s a simple autumn-flavored snack perfect for any season. I discovered apple pie spread at one of my early autumn trips to Trader Joe’s, and for this recipe it worked great! You can also use canned apple pie filling or my recipe for Warmed Cinnamon Vanilla Apples (see recipe below).
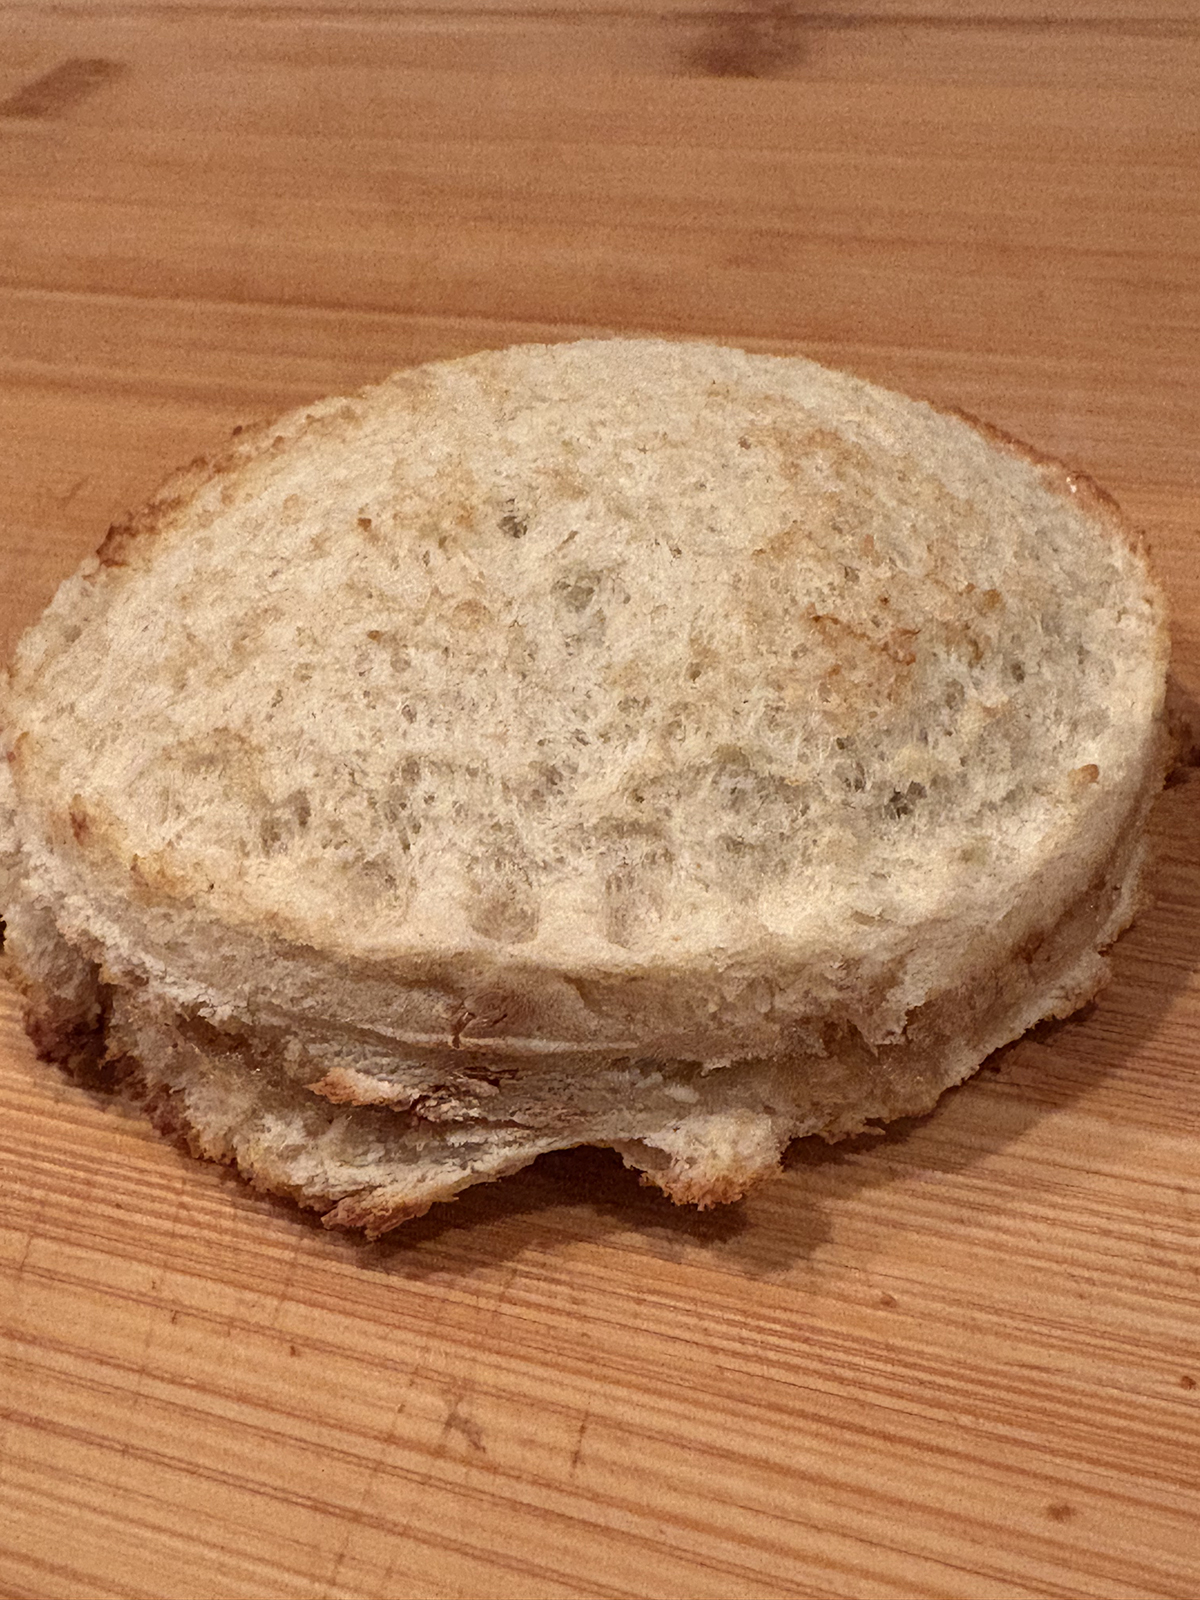
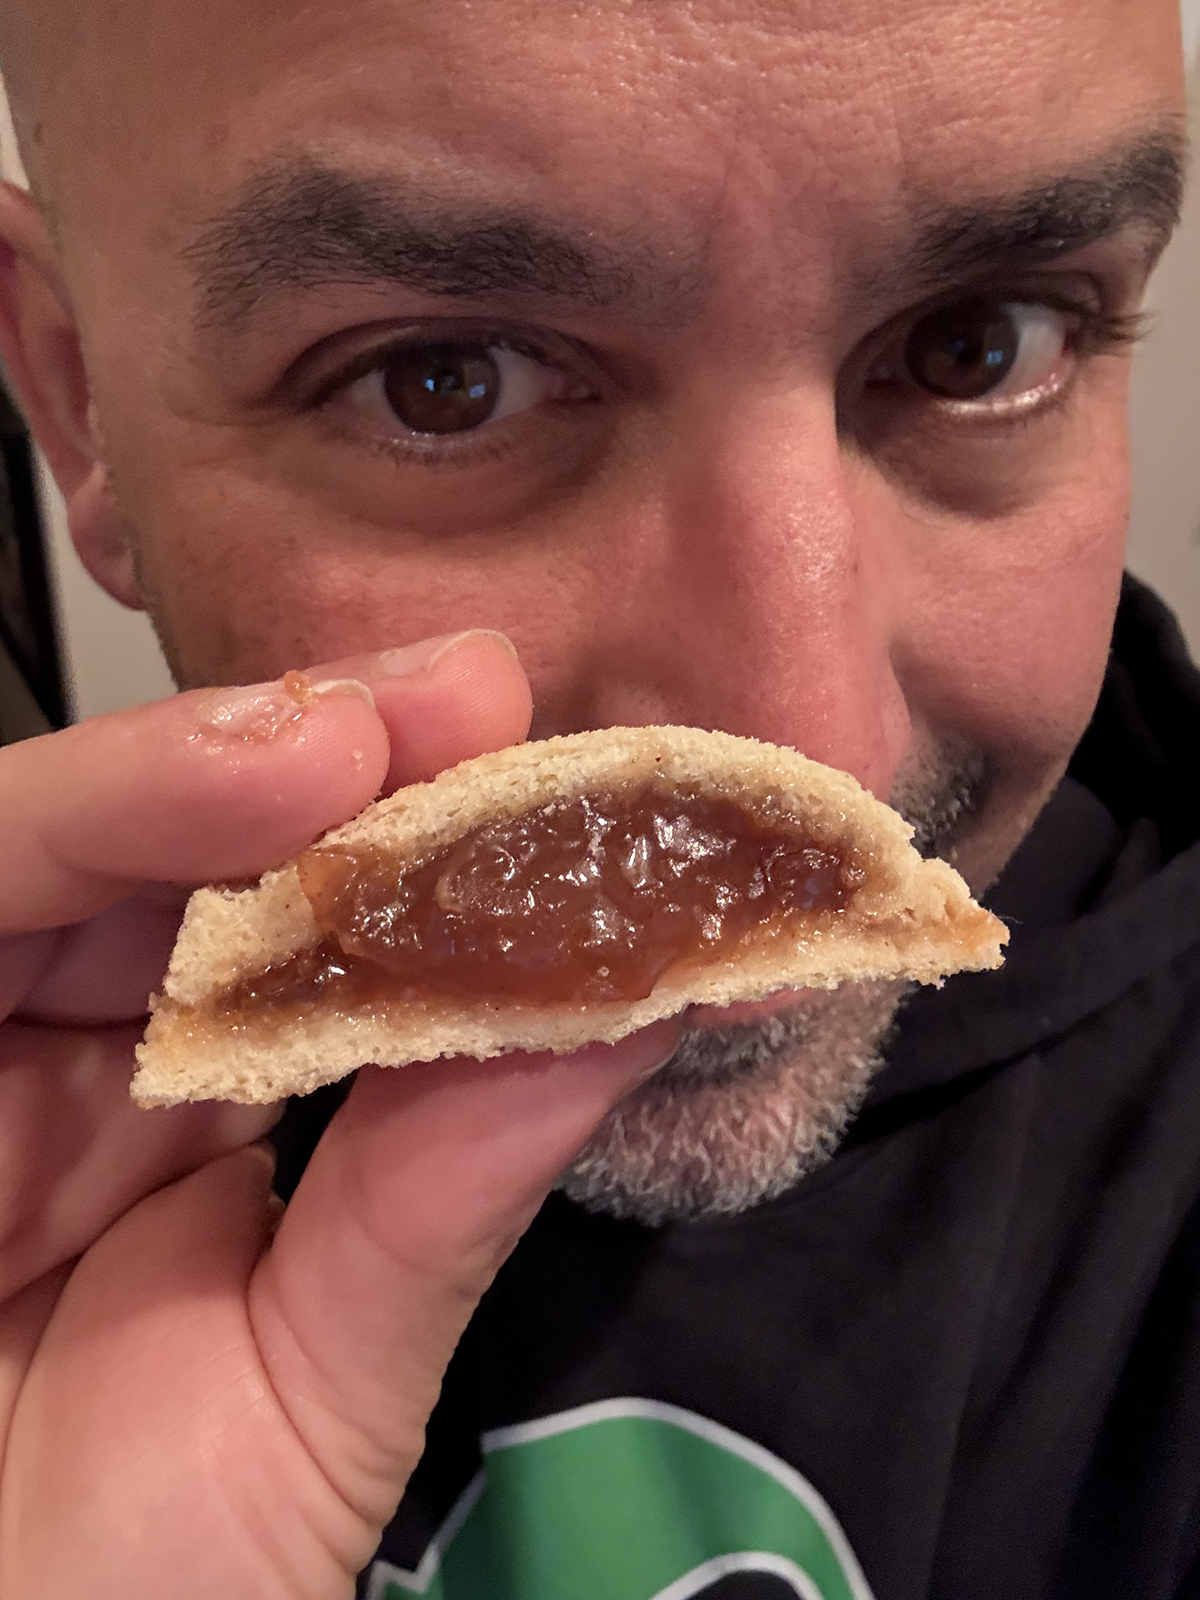
To assemble: Add a heaping teaspoon of apple pie filling to a slice of bread; top with a second slice. Use a circular sandwich cutter or a juice glass to cut out a circle, sealing the edges with a fork if needed. Toast in toaster oven until lightly browned and enjoy! This treat is quick to make and disappears in just a few bites—consider making a double batch!
WARMED CINNAMON VANILLA APPLES
2 apples, peeled, cored and cut into 1″ cubes 1/2 tspn cinnamon 1 tspn brown sugar 1 tspn vanilla extract 1 tbspn butter
In a mixing bowl, combine apples, cinnamon, brown sugar and vanilla extract. Melt butter over medium heat in a frying pan. Add apple mixture, stirring often. Cook on medium-low to medium heat for about 10 minutes, until apples are soft.