
Planking 101: Cooking with Cedar Wood
One of the latest trends for grilling salmon, whether it’s at your house or at a restaurant, is using cedar planks. Cooking with cedar planks allows the salmon to absorb the natural smoky flavor, cook evenly without having to flip, and makes for great presentation when serving. The only caveat to planking is that you need a good chunk of time to prepare the planks prior to cooking. Because the planks are wood (naturally), they are susceptible to burning and charring…and rather quickly! You need to soak the planks prior to cooking to avoid instant burning. At least two to six hours is recommended. Unless you are cooking over indirect heat, chances are that your planks will still char up a good bit, and getting more that 1-2 uses out of the planks are very slim.
Not only are planks disposable, they can also become a bit costly. The average price that I found for for planks was $8-12 for a two pack. Not very cost efficient, if you plan on planking often. Because grilled salmon is one of the dishes that I really enjoy making, I decided to give planking a try. To avoid using my planks in a one-and-done fashion, I purchased a stainless steel plank saver tray from Sur La Table. Reasonably priced at $10.95, the plank saver’s purpose is to protect the planks from direct flame contact, for longer life and better cooking results. Soaking the planks for at least 1 hour is still recommended.
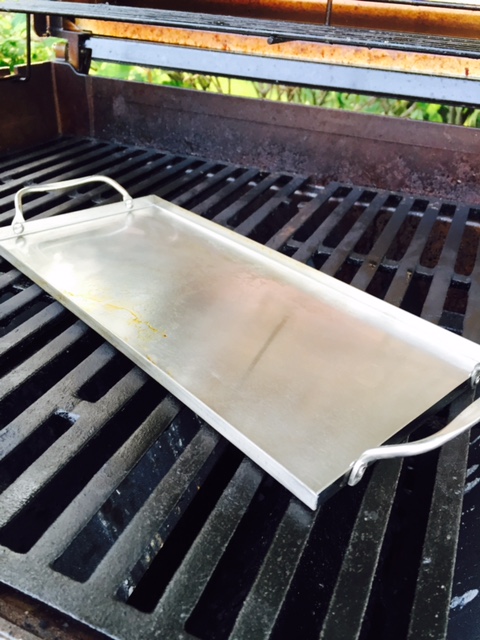
The stainless steel plank saver.
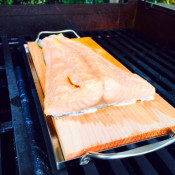
I seasoned the salmon directly on the plank with olive oil, salt and pepper, skin side down. I cooked the salmon over indirect heat at 350˚ for 20 minutes. While it didn’t quite pick up as much of the cedar taste as I was hoping for (this could just be attributed to the brand of cedar planks that I used), the salmon was moist, flaky and quite tasty. Without a doubt, one of the best pieces of salmon that I’ve ever grilled. The plank saver also did its job quite well. Aside from minor discoloration and slight warping, the plank survived the flames and was in great shape after grilling. With a quick wash-down, the plank is ready to go for another round. By using the plank saver, I’m sure that I will get a handful of uses out of one plank.
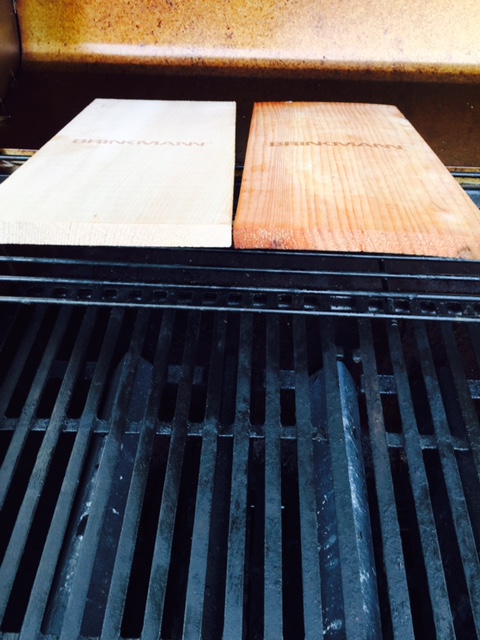
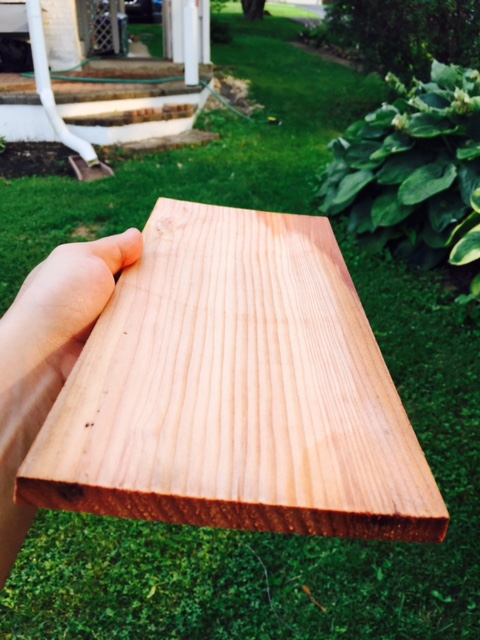
Side by side view of an unused and used plank.
Post-grilled plank, after using the plank saver. Minimal warping and discoloration.
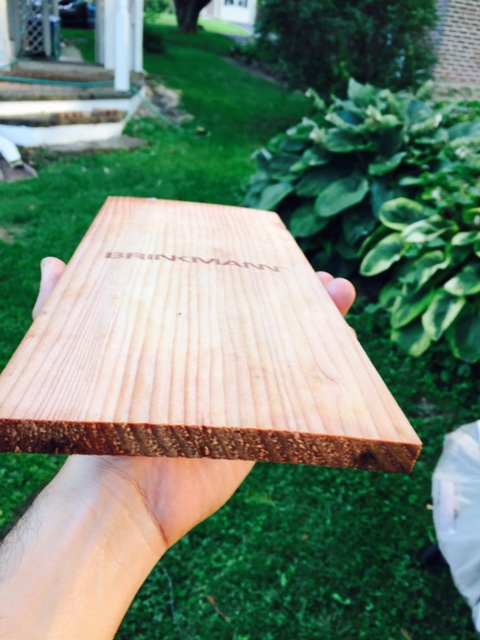
Bottom of the plank. No charring or burn marks on the plank.
I am still a novice at grilling with planks, so I can’t give you many tips or tricks just yet. For detailed tips on planking, visit www.cedargrilling.com.
To order your own plank saver, visit www.surlatable.com. The dimensions of the standard plank saver are 12″ x 5″. An extra large version measuring 17.5″ x 7.75″ is also offered for $14.95. Keep this in mind when purchasing cedar planks, as the planks do come in various sizes.

Recent Comments