
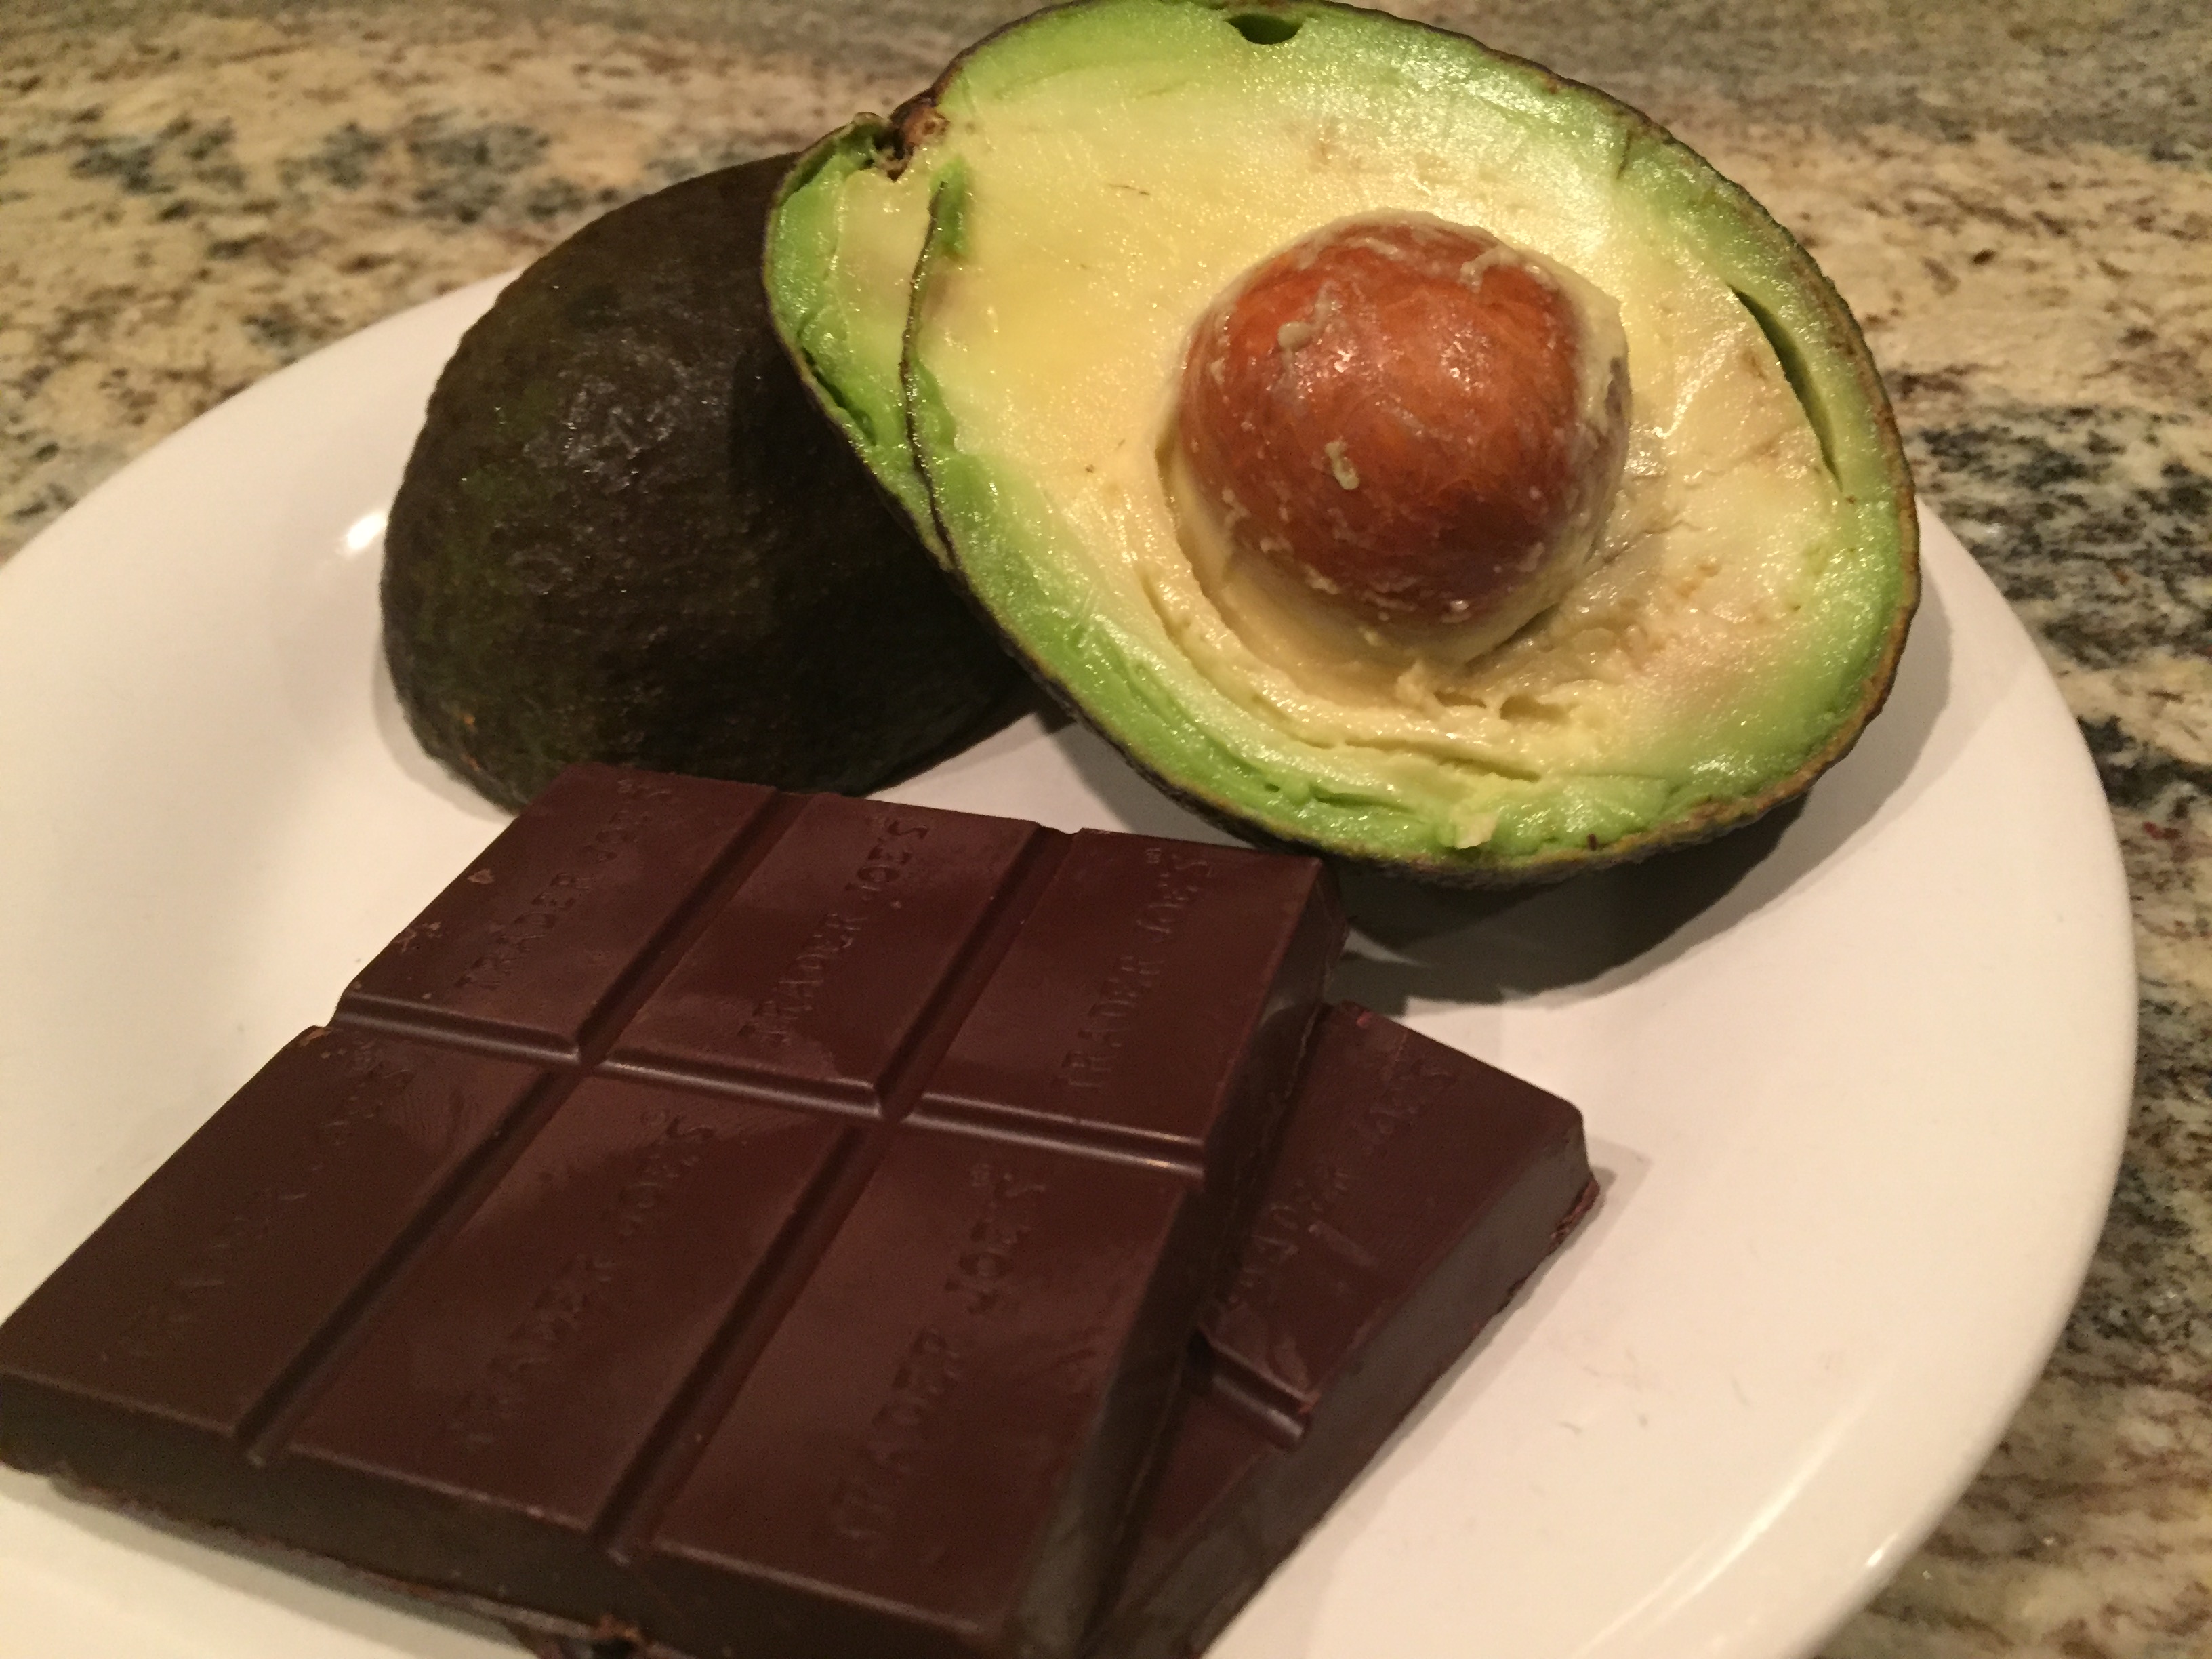

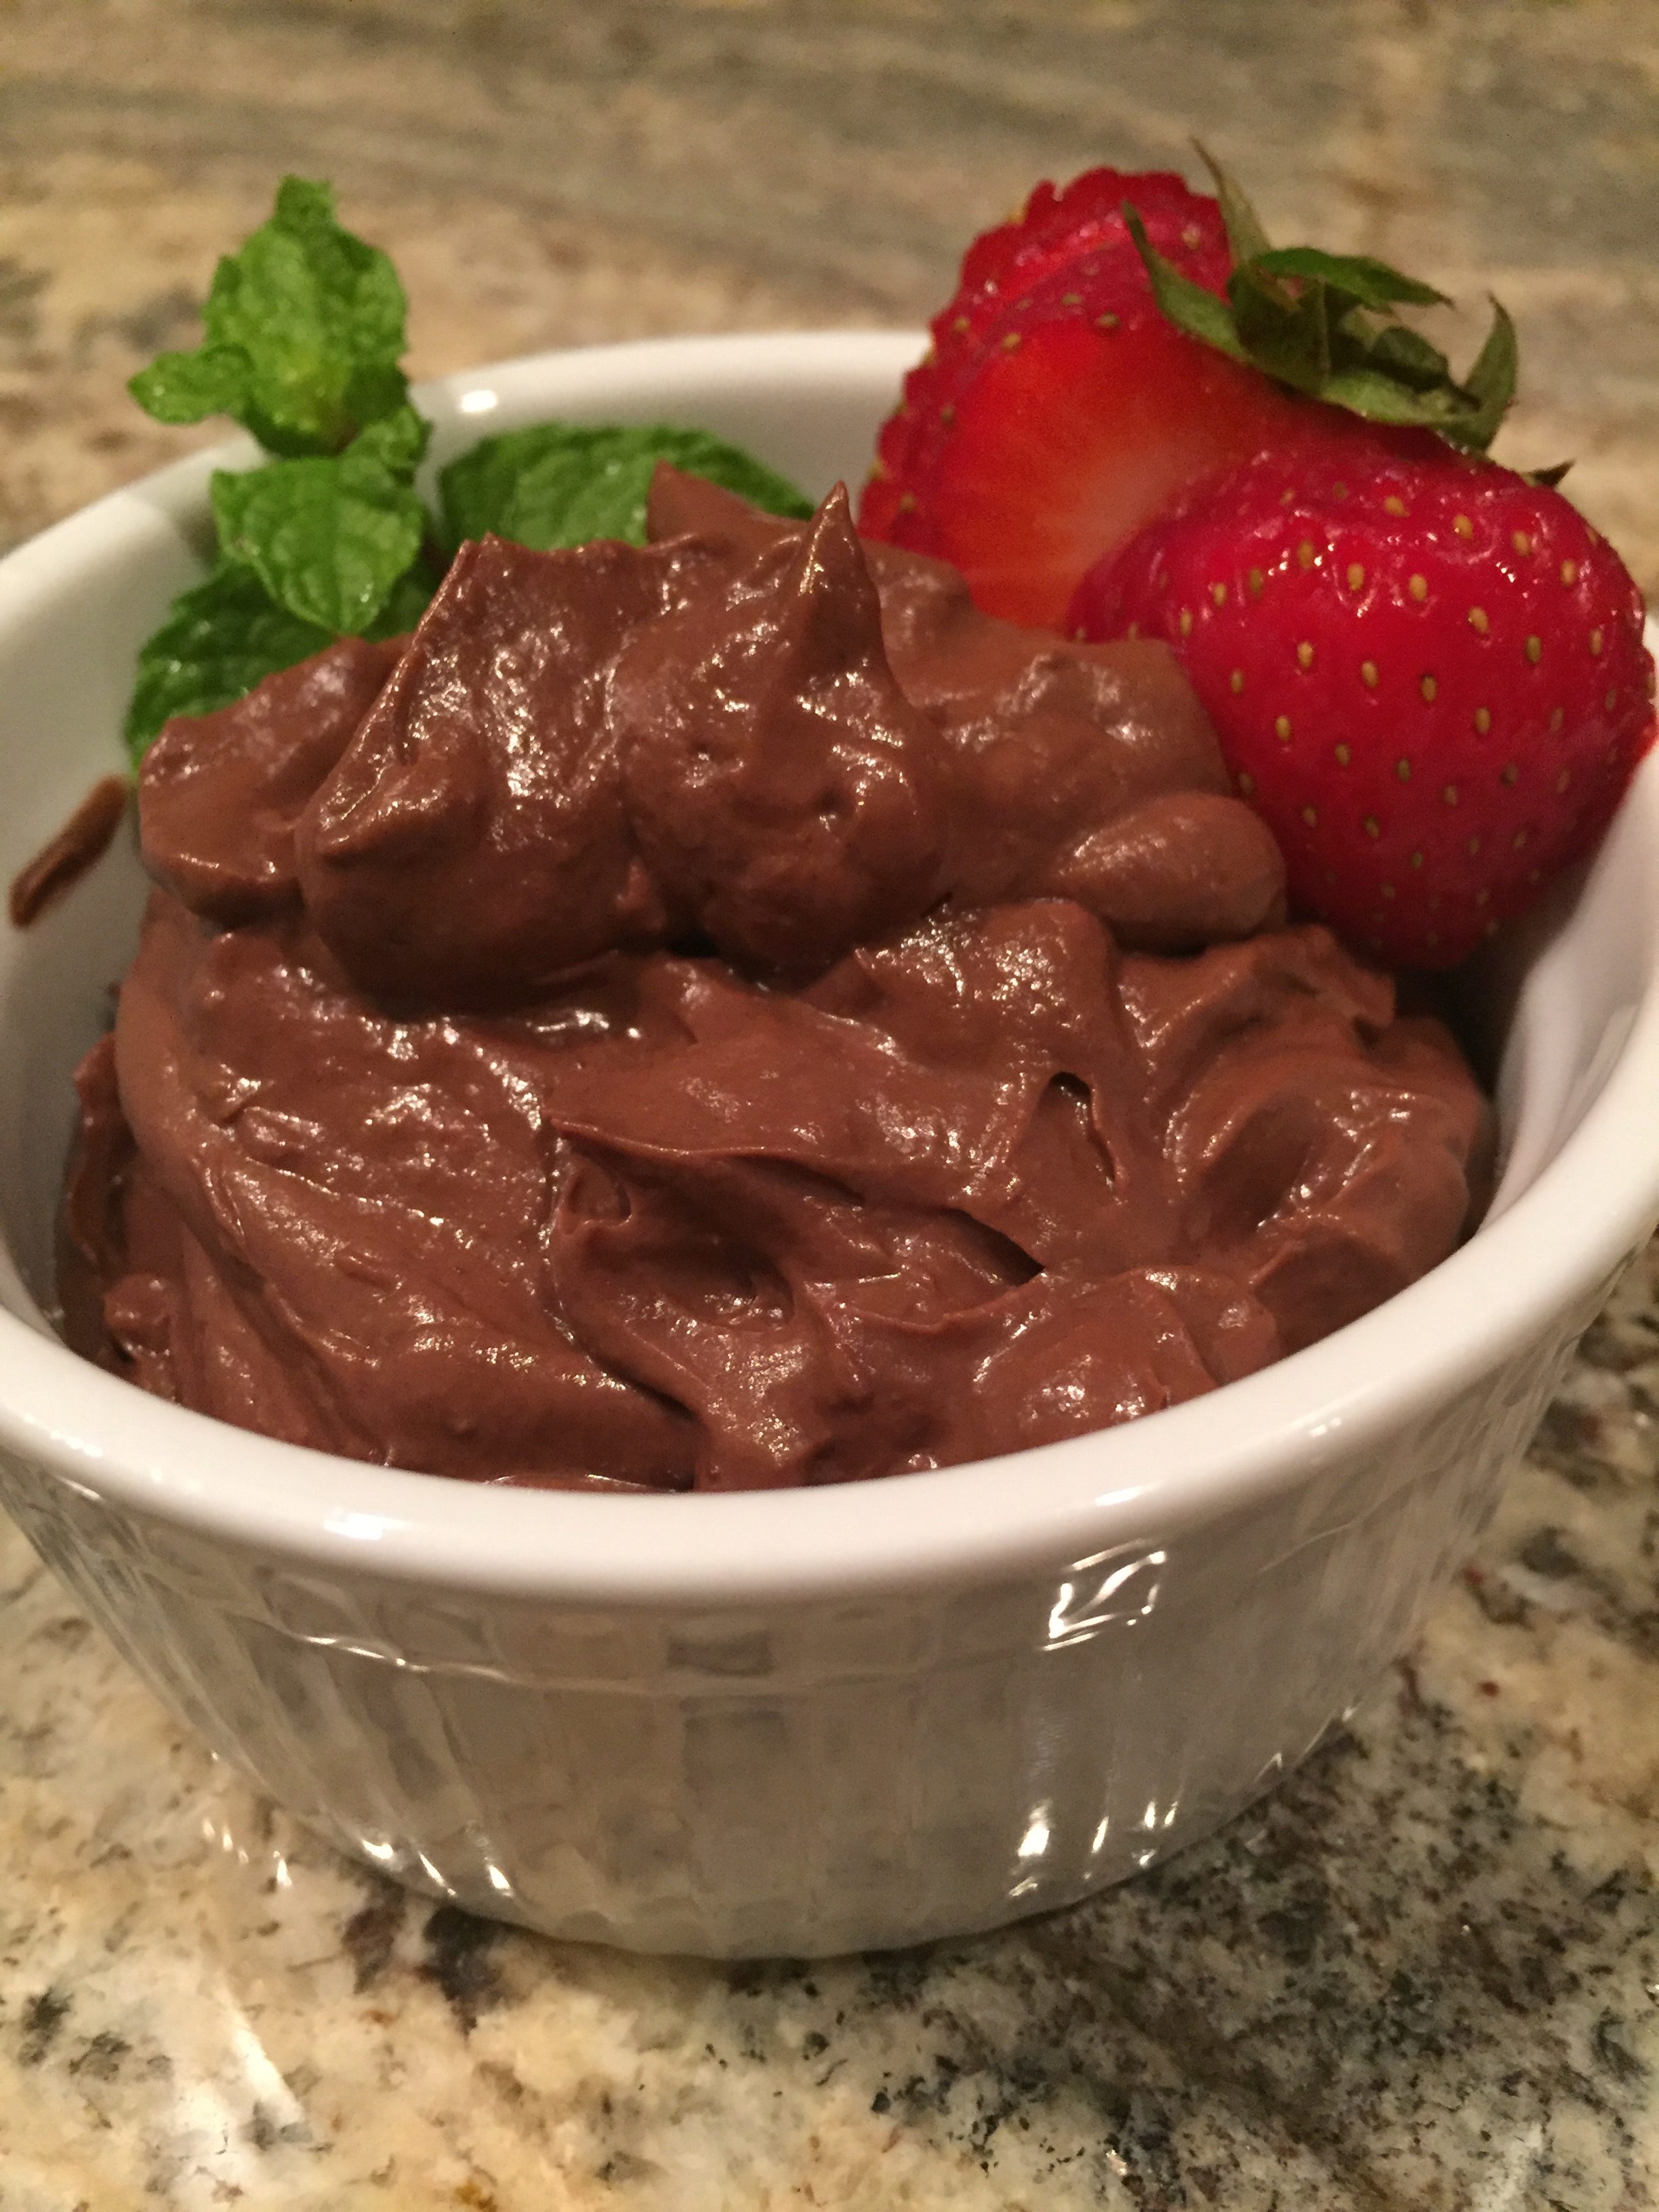
- 1 large ripe avocado
- 1/4 cup (or 2 oz.) dark chocolate (73% or higher)
- 1/8 cup coconut milk or almond milk
- sugar or other natural sweetener (approximately 1 tspn or to taste, depending on the bitterness of the dark chocolate)
- 1 tsp natural vanilla extract
- 1/4 tspn ground cinnamon
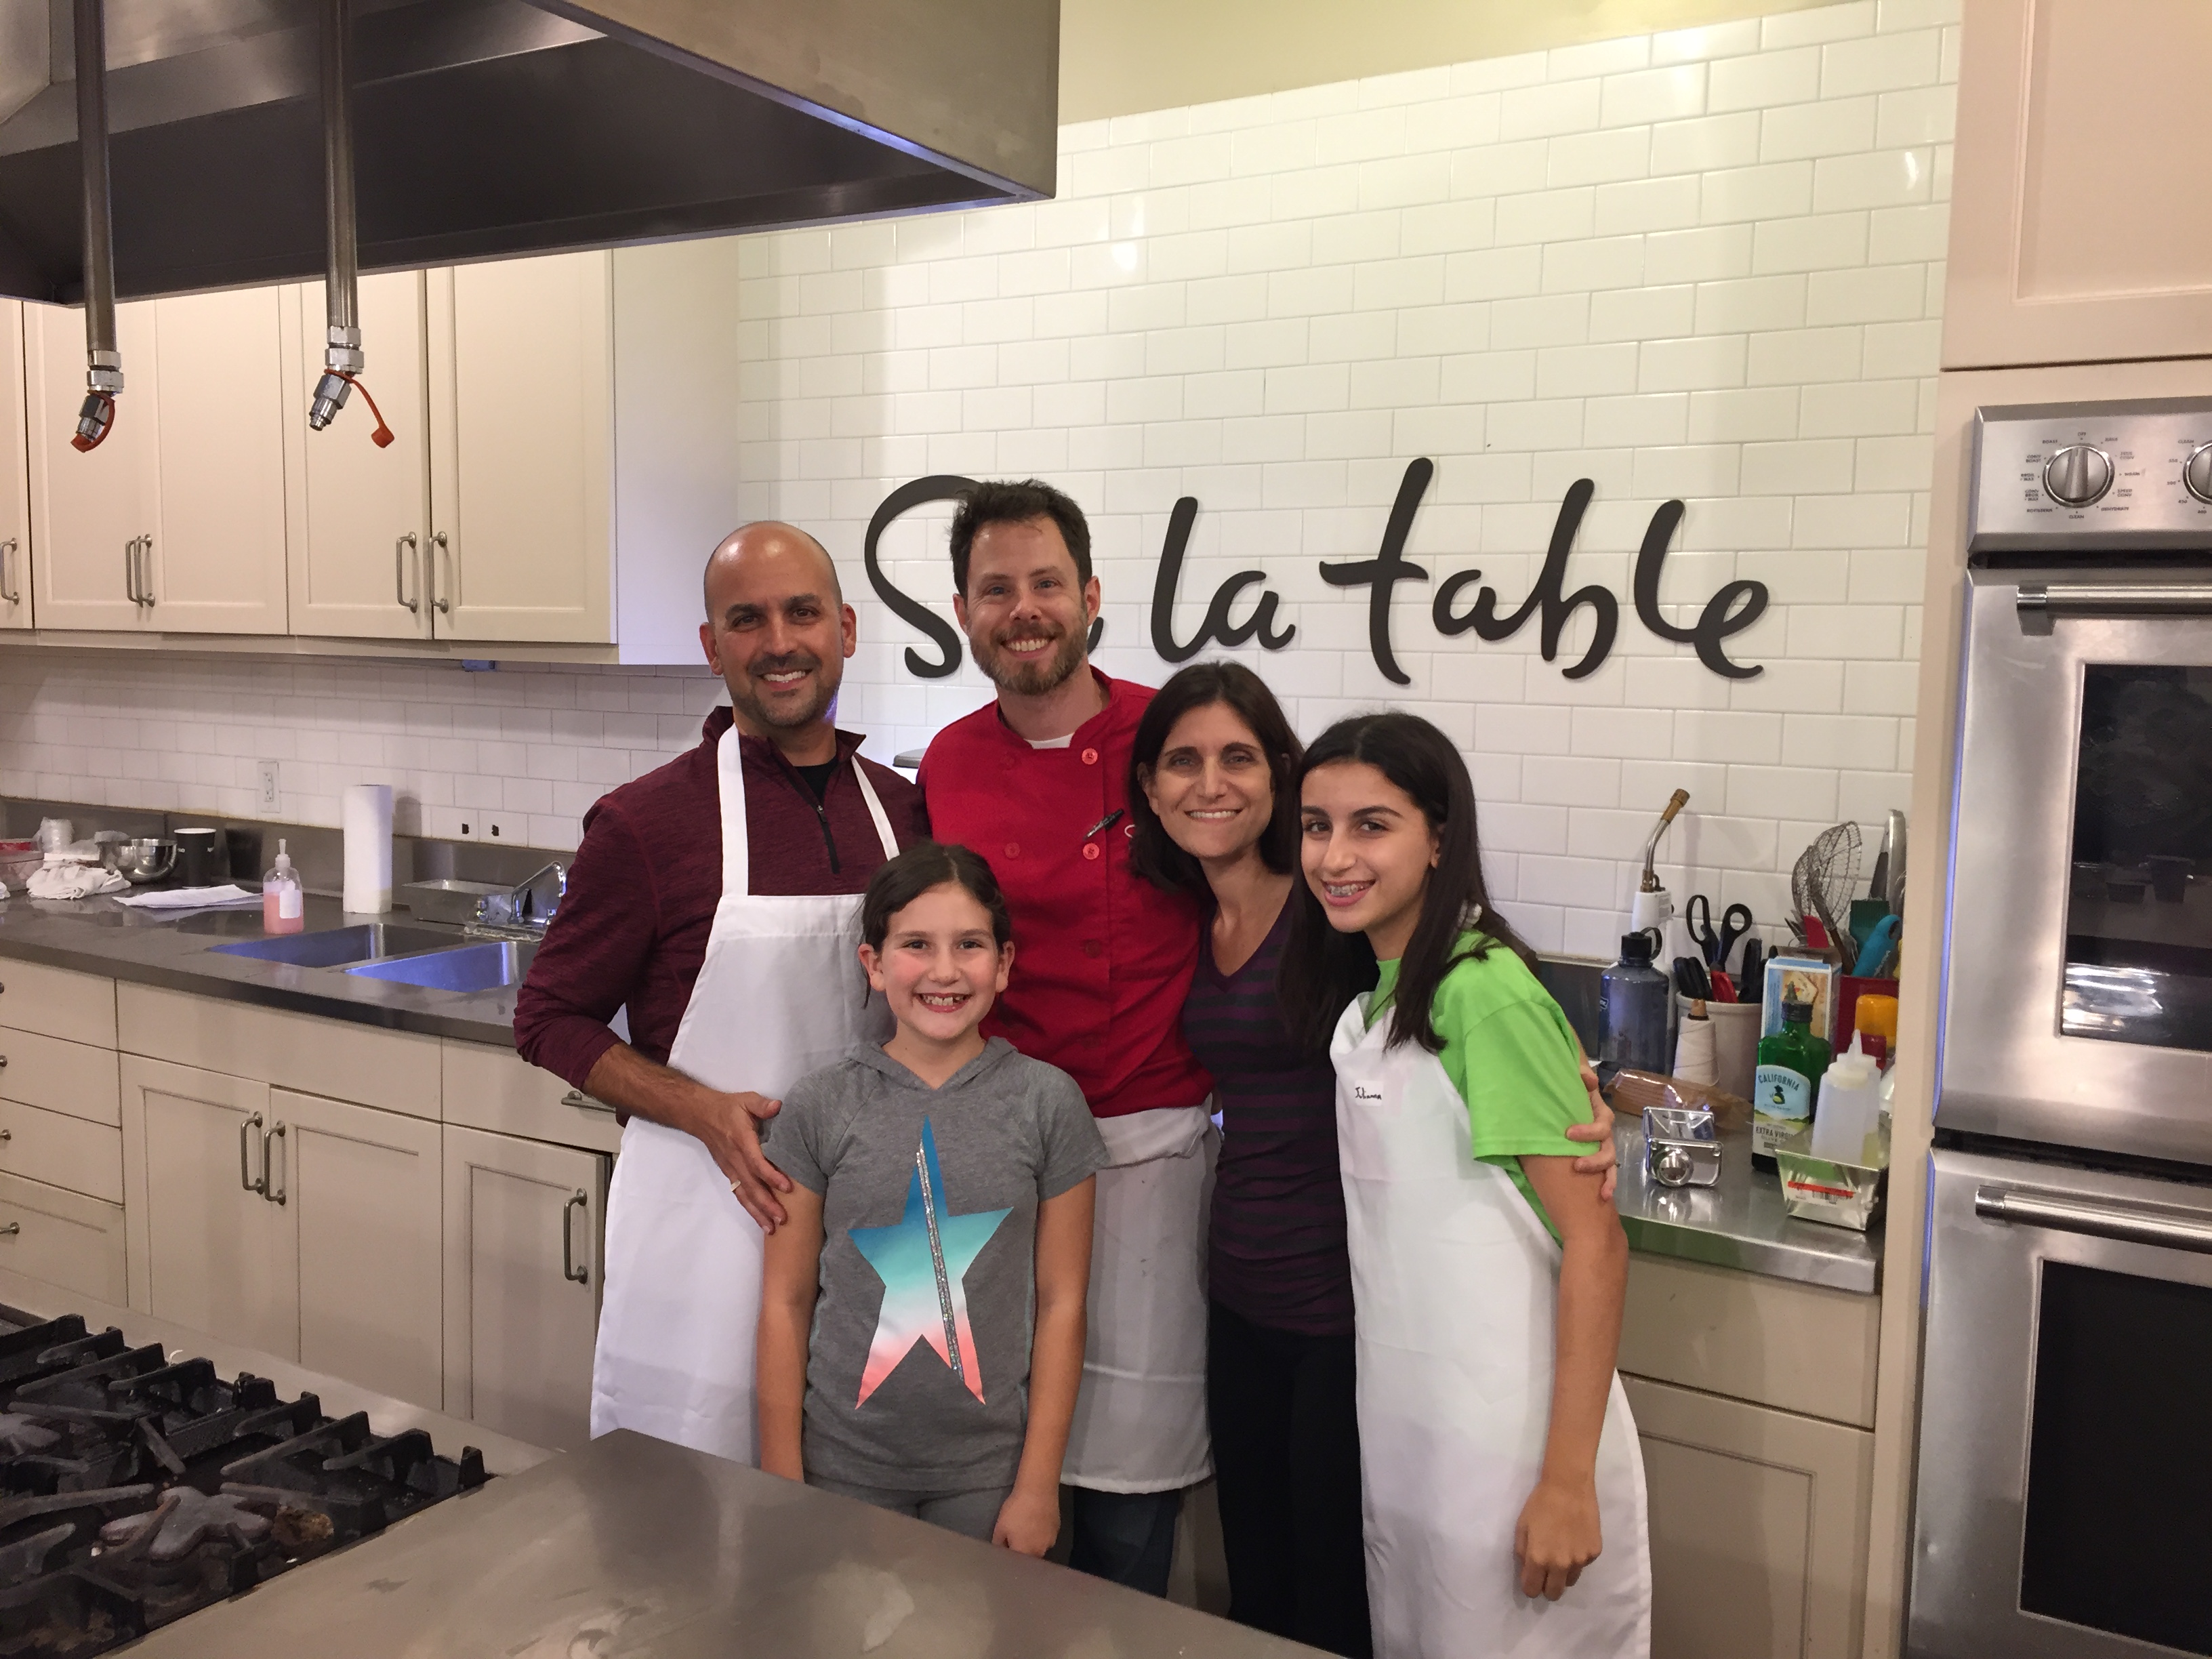
Our Family Cooking Class at Sur La Table
Purchasing a gift for a loved one can sometimes be a bit of a challenge, especially when you are also responsible for purchasing a gift for Mom or Dad from the kids. This year, all of the above was taken care of in one easy step as my kids and I treated my wife for her birthday to a family cooking class at Sur La Table.
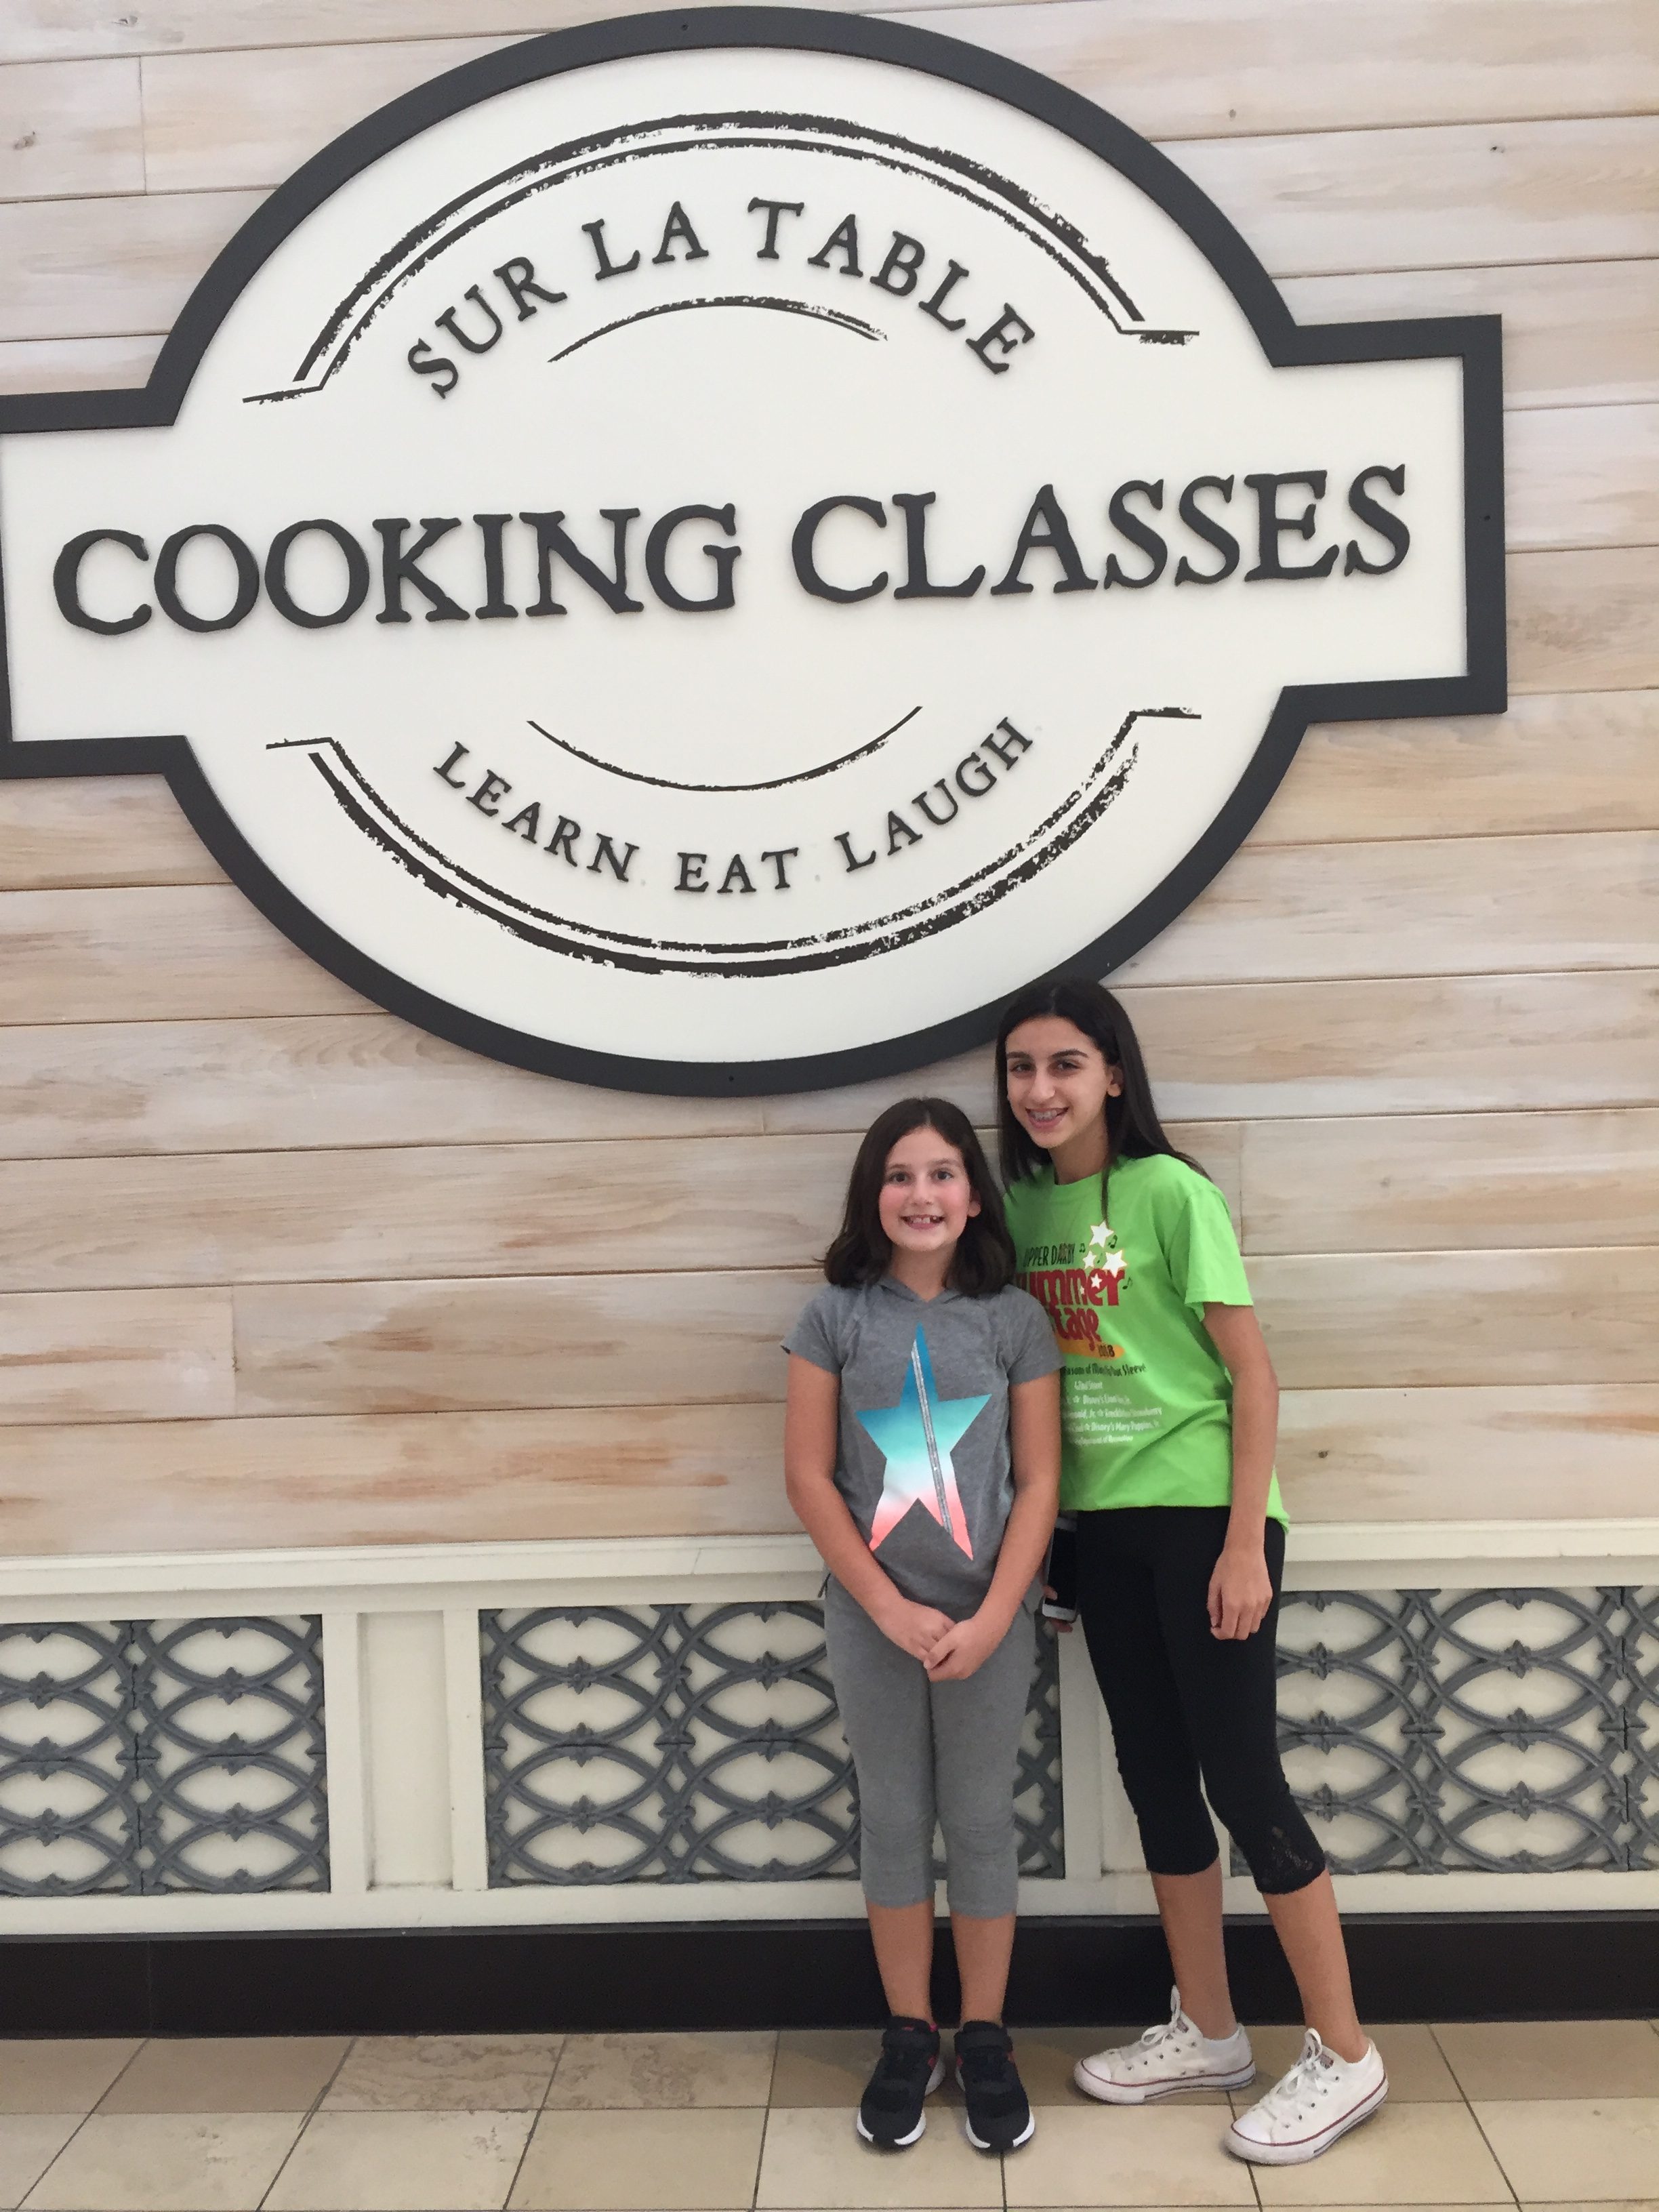
Located in the Court at the King of Prussia Mall (as well as many other locations across the country), Sur La Table is a kitchenware retail company that specializes in cookware, cutlery and cook’s tools, bakeware and glassware, along with many other food and kitchen related items. Many of their stores also offer on-site cooking classes that cover various topics, such as pizza night, knife skills, seasonal favorites, grill mastering and pasta workshops. Classes may also be built into special themed nights, such as date night, seasonal specialties and family dinners. These special cooking events have always been on my radar, so celebrating my wife’s birthday with a family cooking class would no doubt make for a fun and memorable evening for us all.
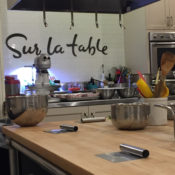
The evening started with a warm and friendly greeting from Chef Michael, who is the resident chef and instructor at the King of Prussia location. The classroom generally accommodates up to 16 people, and we were at full capacity. There were families of four (including ours), along with a few groups of two. The class is set up with two prep stations that fit up to eight people at each station. We were paired up with another group of four, and would spend the evening helping each other through the steps and procedures that Chef Michael would demonstrate. The front of the classroom was equipped with a fully functional gas range and oven, with both a reflective mirror above and a tv camera off to the side to help us view the lesson from different angles. And of course there were a number of hand washing stations in various corners of the room. One of Chef Michael’s rules was to always wash our hands after handling food, along with any contact that our hands made with our faces, our hair or our phones. Yes, our phones can be pretty gnarly!
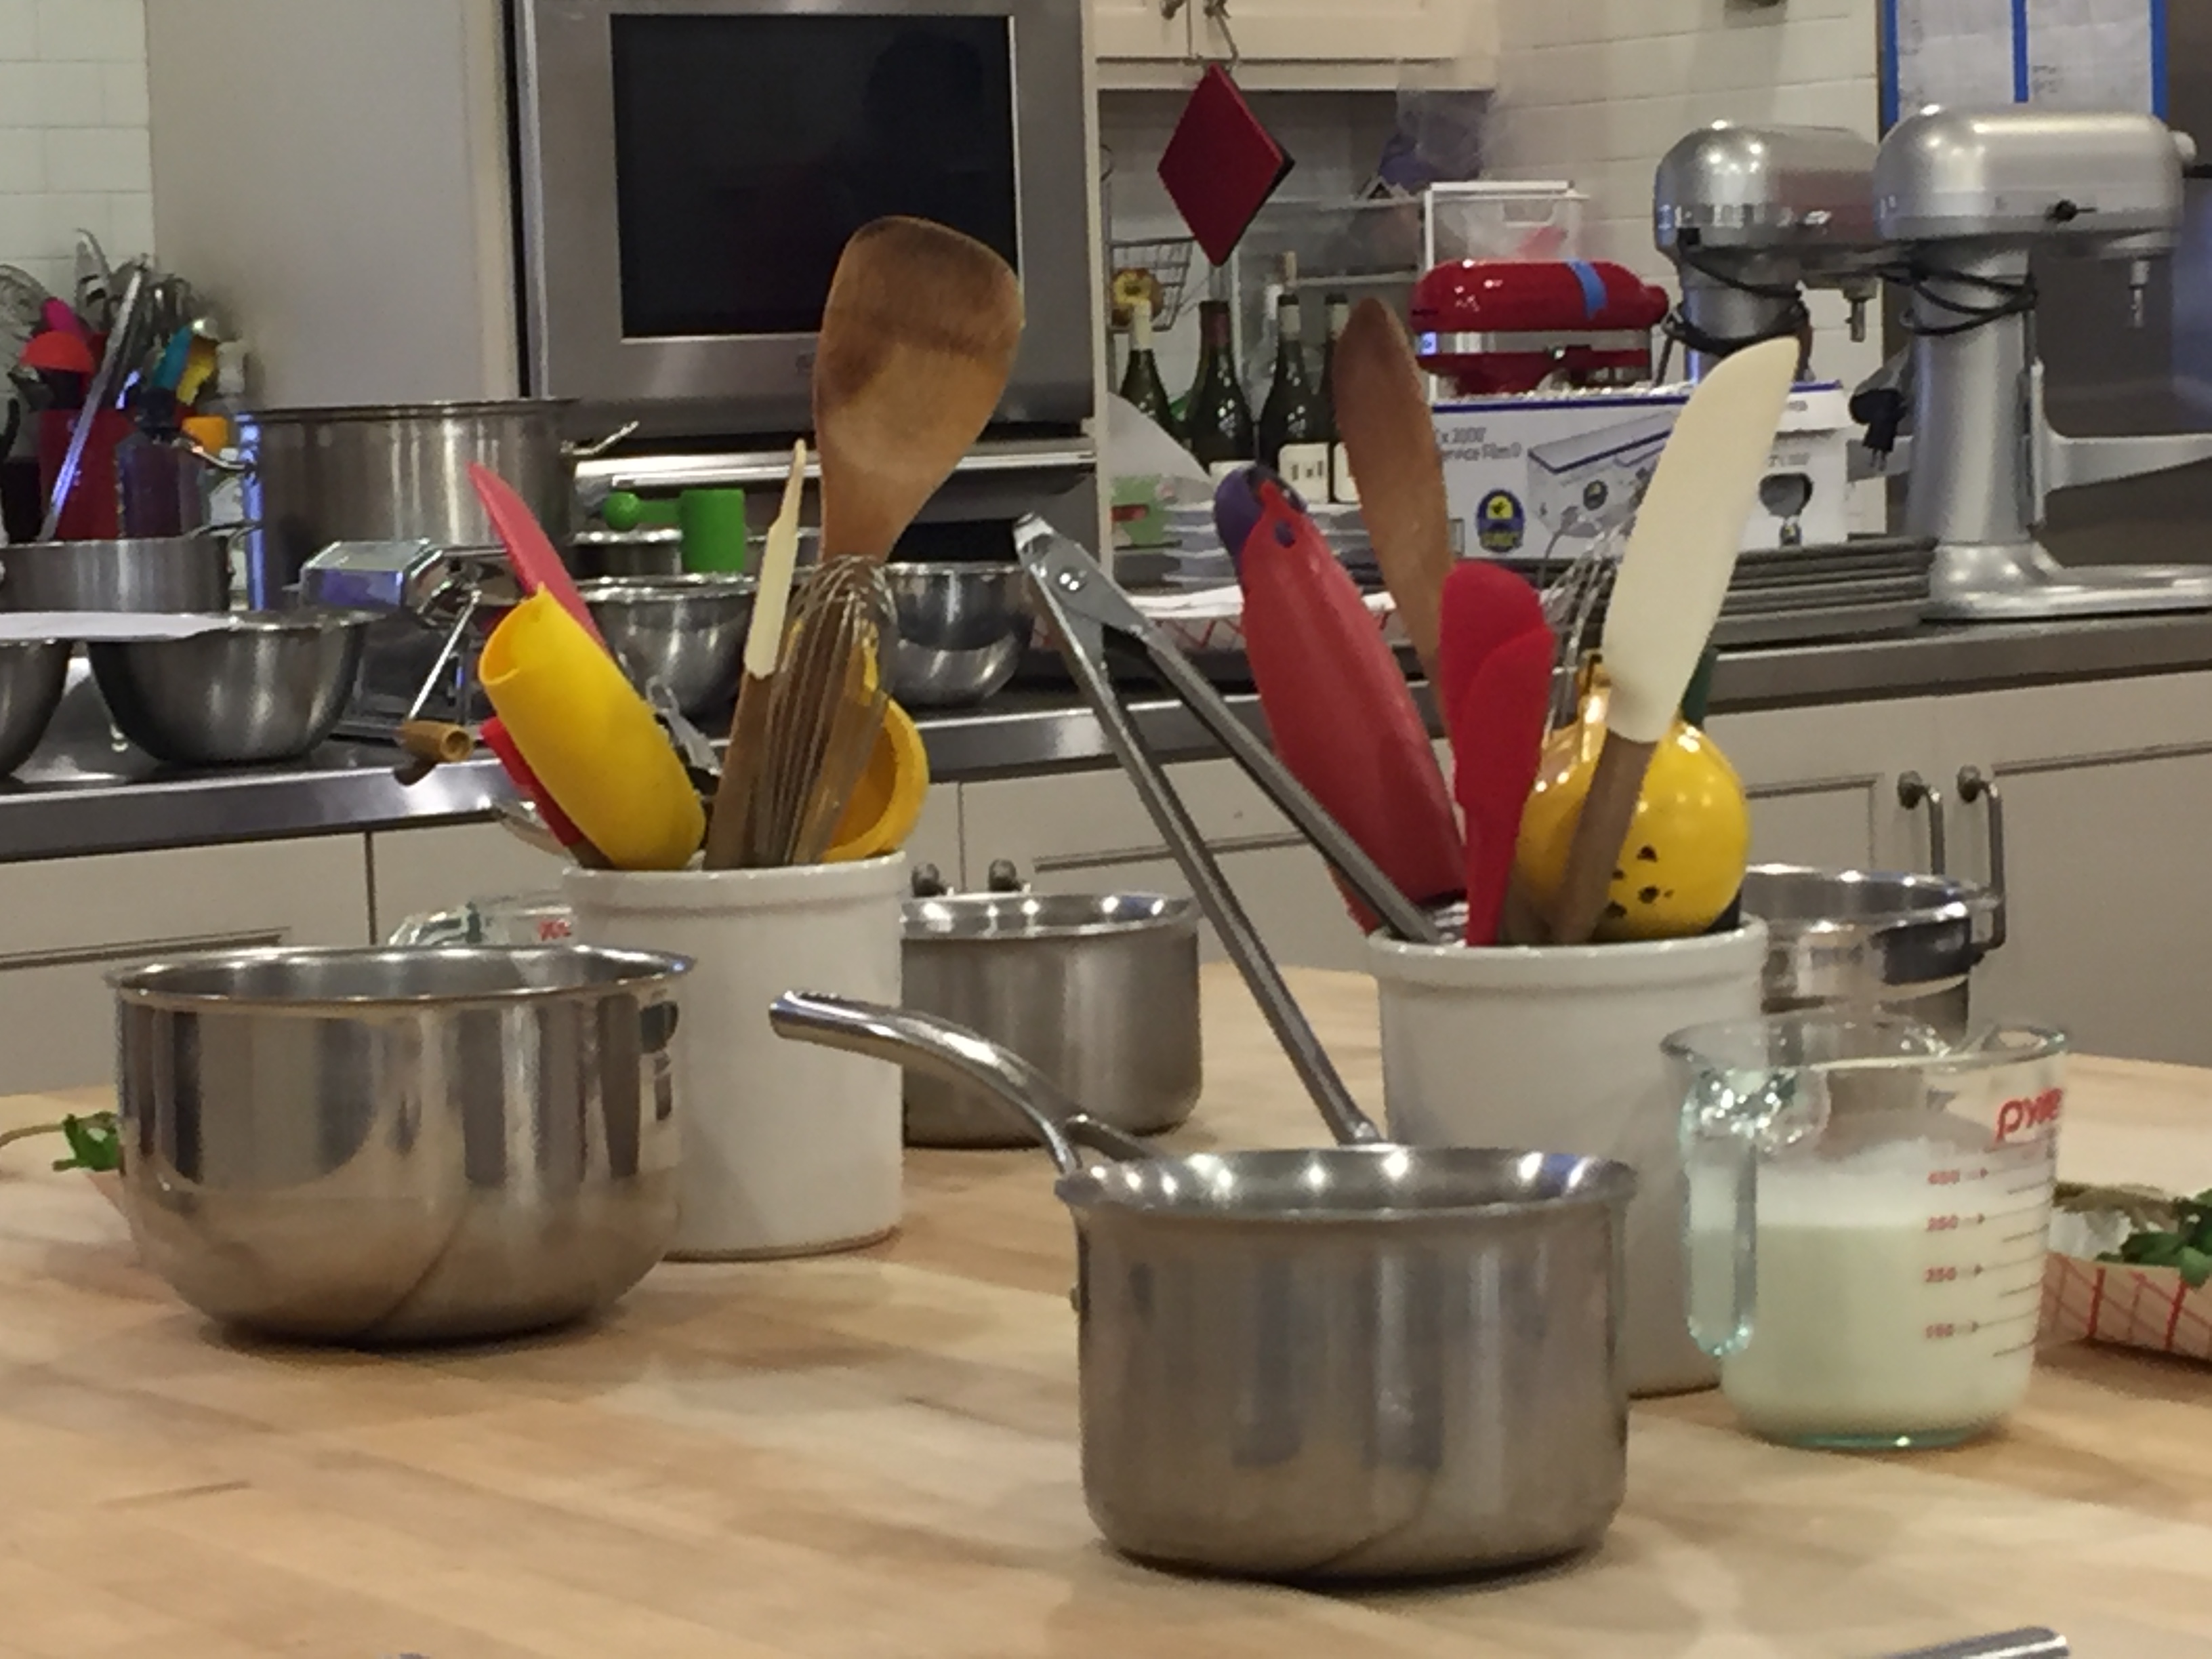
The prep area.
The theme for the evening was Italian Favorites, and our menu consisted of Fettuccine Alfredo, Chicken Parm and Chocolate Mint Gelato. Now, I’ve made each of these dishes a number of times, and I’m sure that many of you have as well. While we each may have our own methods and tricks while making these dishes, I do find it very inspiring and helpful to step back and learn the most basic yet perfected methods to a classic recipe. Chef Michael did an exceptional job of not only explaining each of the recipe steps to us on a level that both the parents and kids could understand, he also explained why the steps were being taken and how the recipe would be altered if the steps weren’t followed properly. Chef Michael also took the time to demonstrate and explain the techniques involved with preparing the dishes. Again, while many of the techniques were basic and familiar to all, there were still more than a few tips and tricks that I found to be helpful and will be sure to put them to practice in my own kitchen. Let’s take cracking an egg, for example. I’ve probably cracked a million eggs in my lifetime, and I’ve worked long and hard to perfect the skill of the single-hand crack. What I wasn’t aware of was the damage that I was potentially causing to the yolk by cracking the eggs on the lip of a bowl. That’s right, cracking an egg on the lip of a bowl can penetrate the yolk and cause it to break. It is much safer to crack one egg on a counter top or table top, dropping the egg about the distance of a closed fist. If you are using two or more eggs, simply crack the eggs by tapping them together. The shells will break, but the yolk will not. Quite a few other fun and informative tips and techniques were shared throughout the evening, but I won’t spoil the fun of you finding them out for yourself.
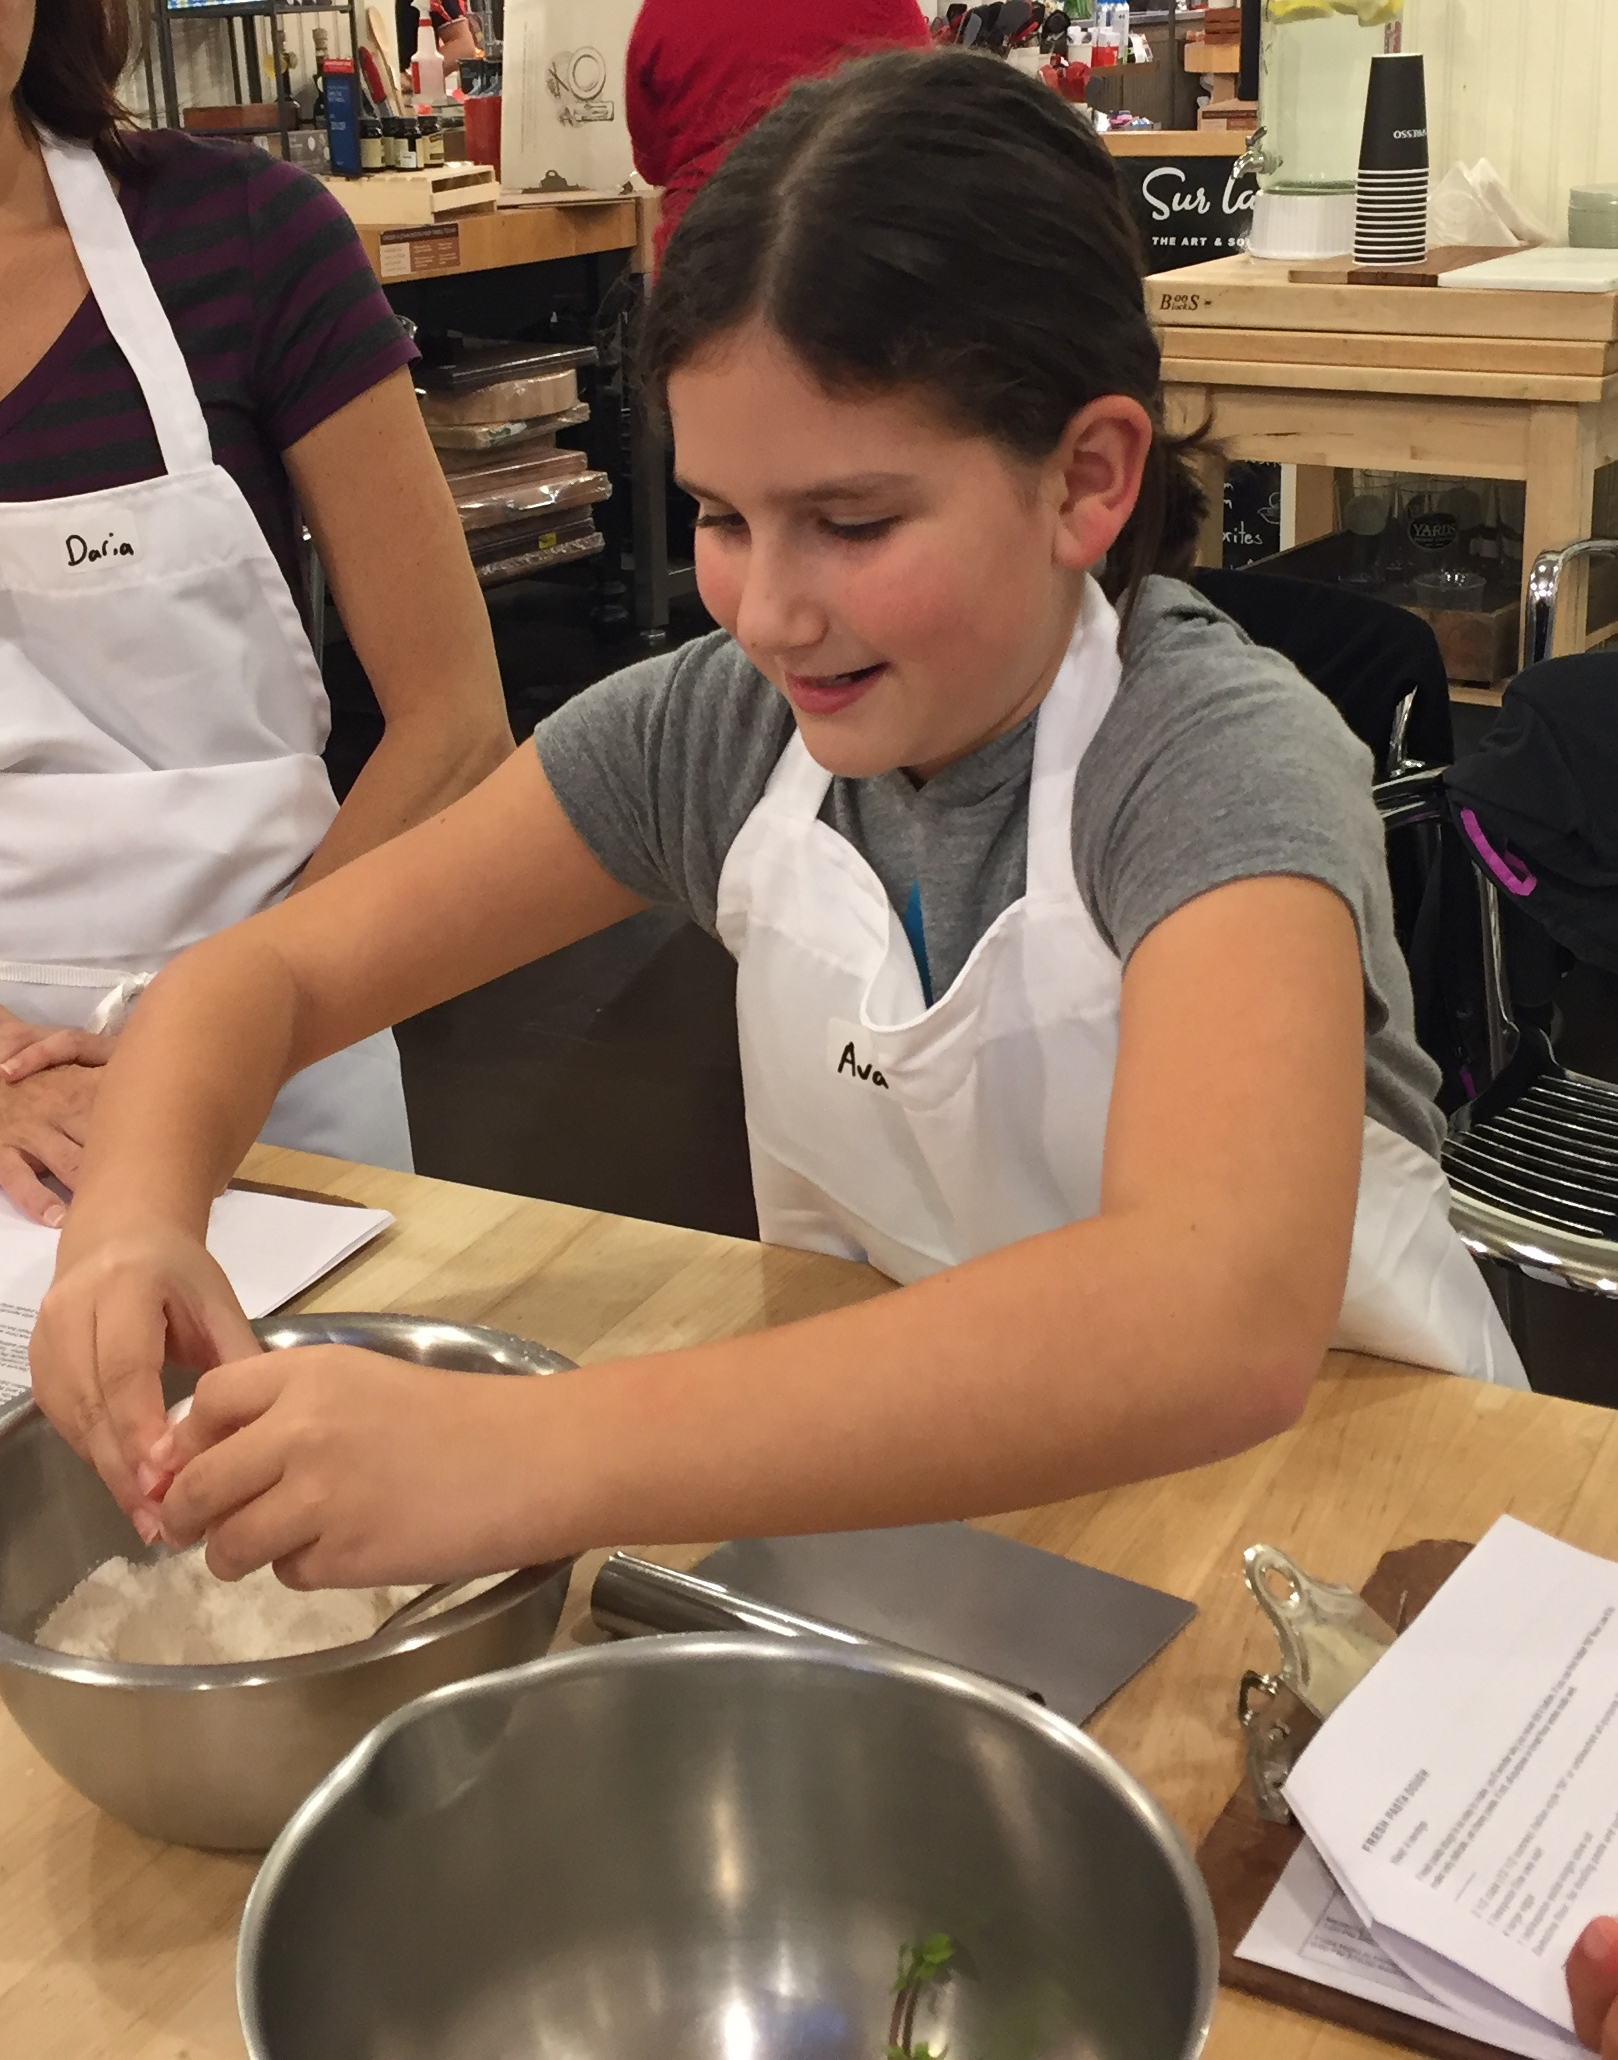
Ava gets crackin’!
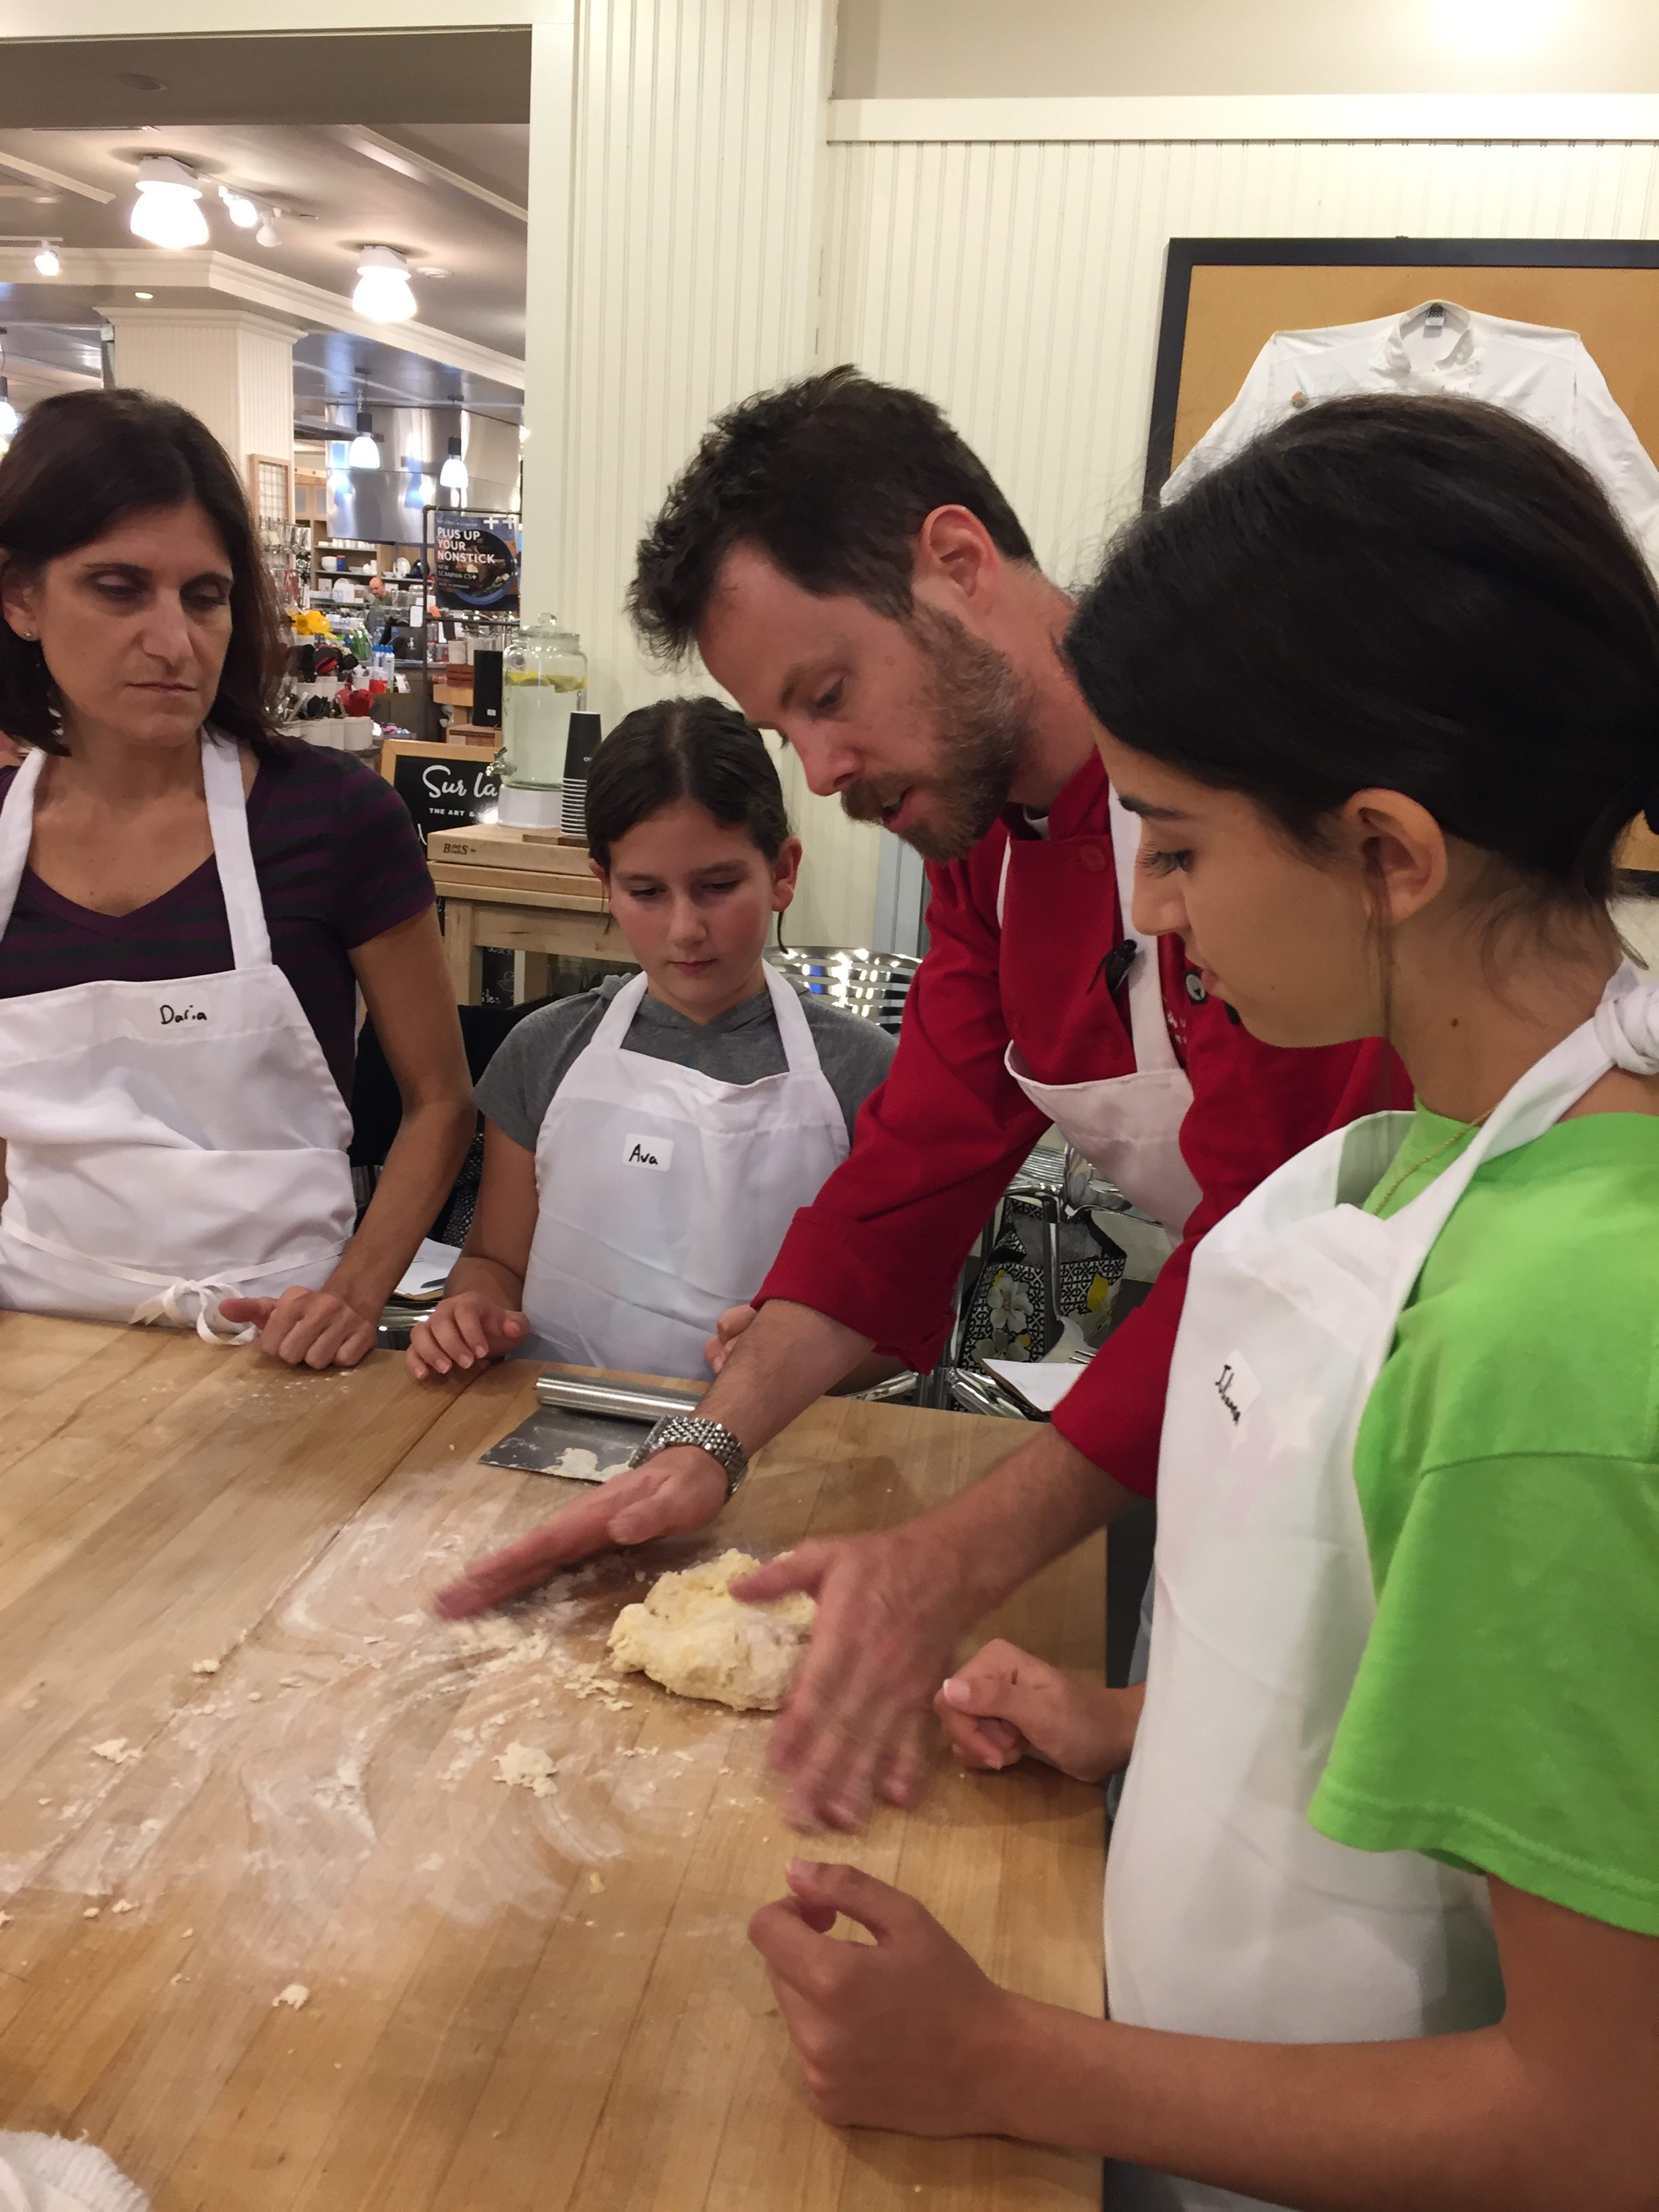
Chef Michael demonstrating how to properly knead dough.
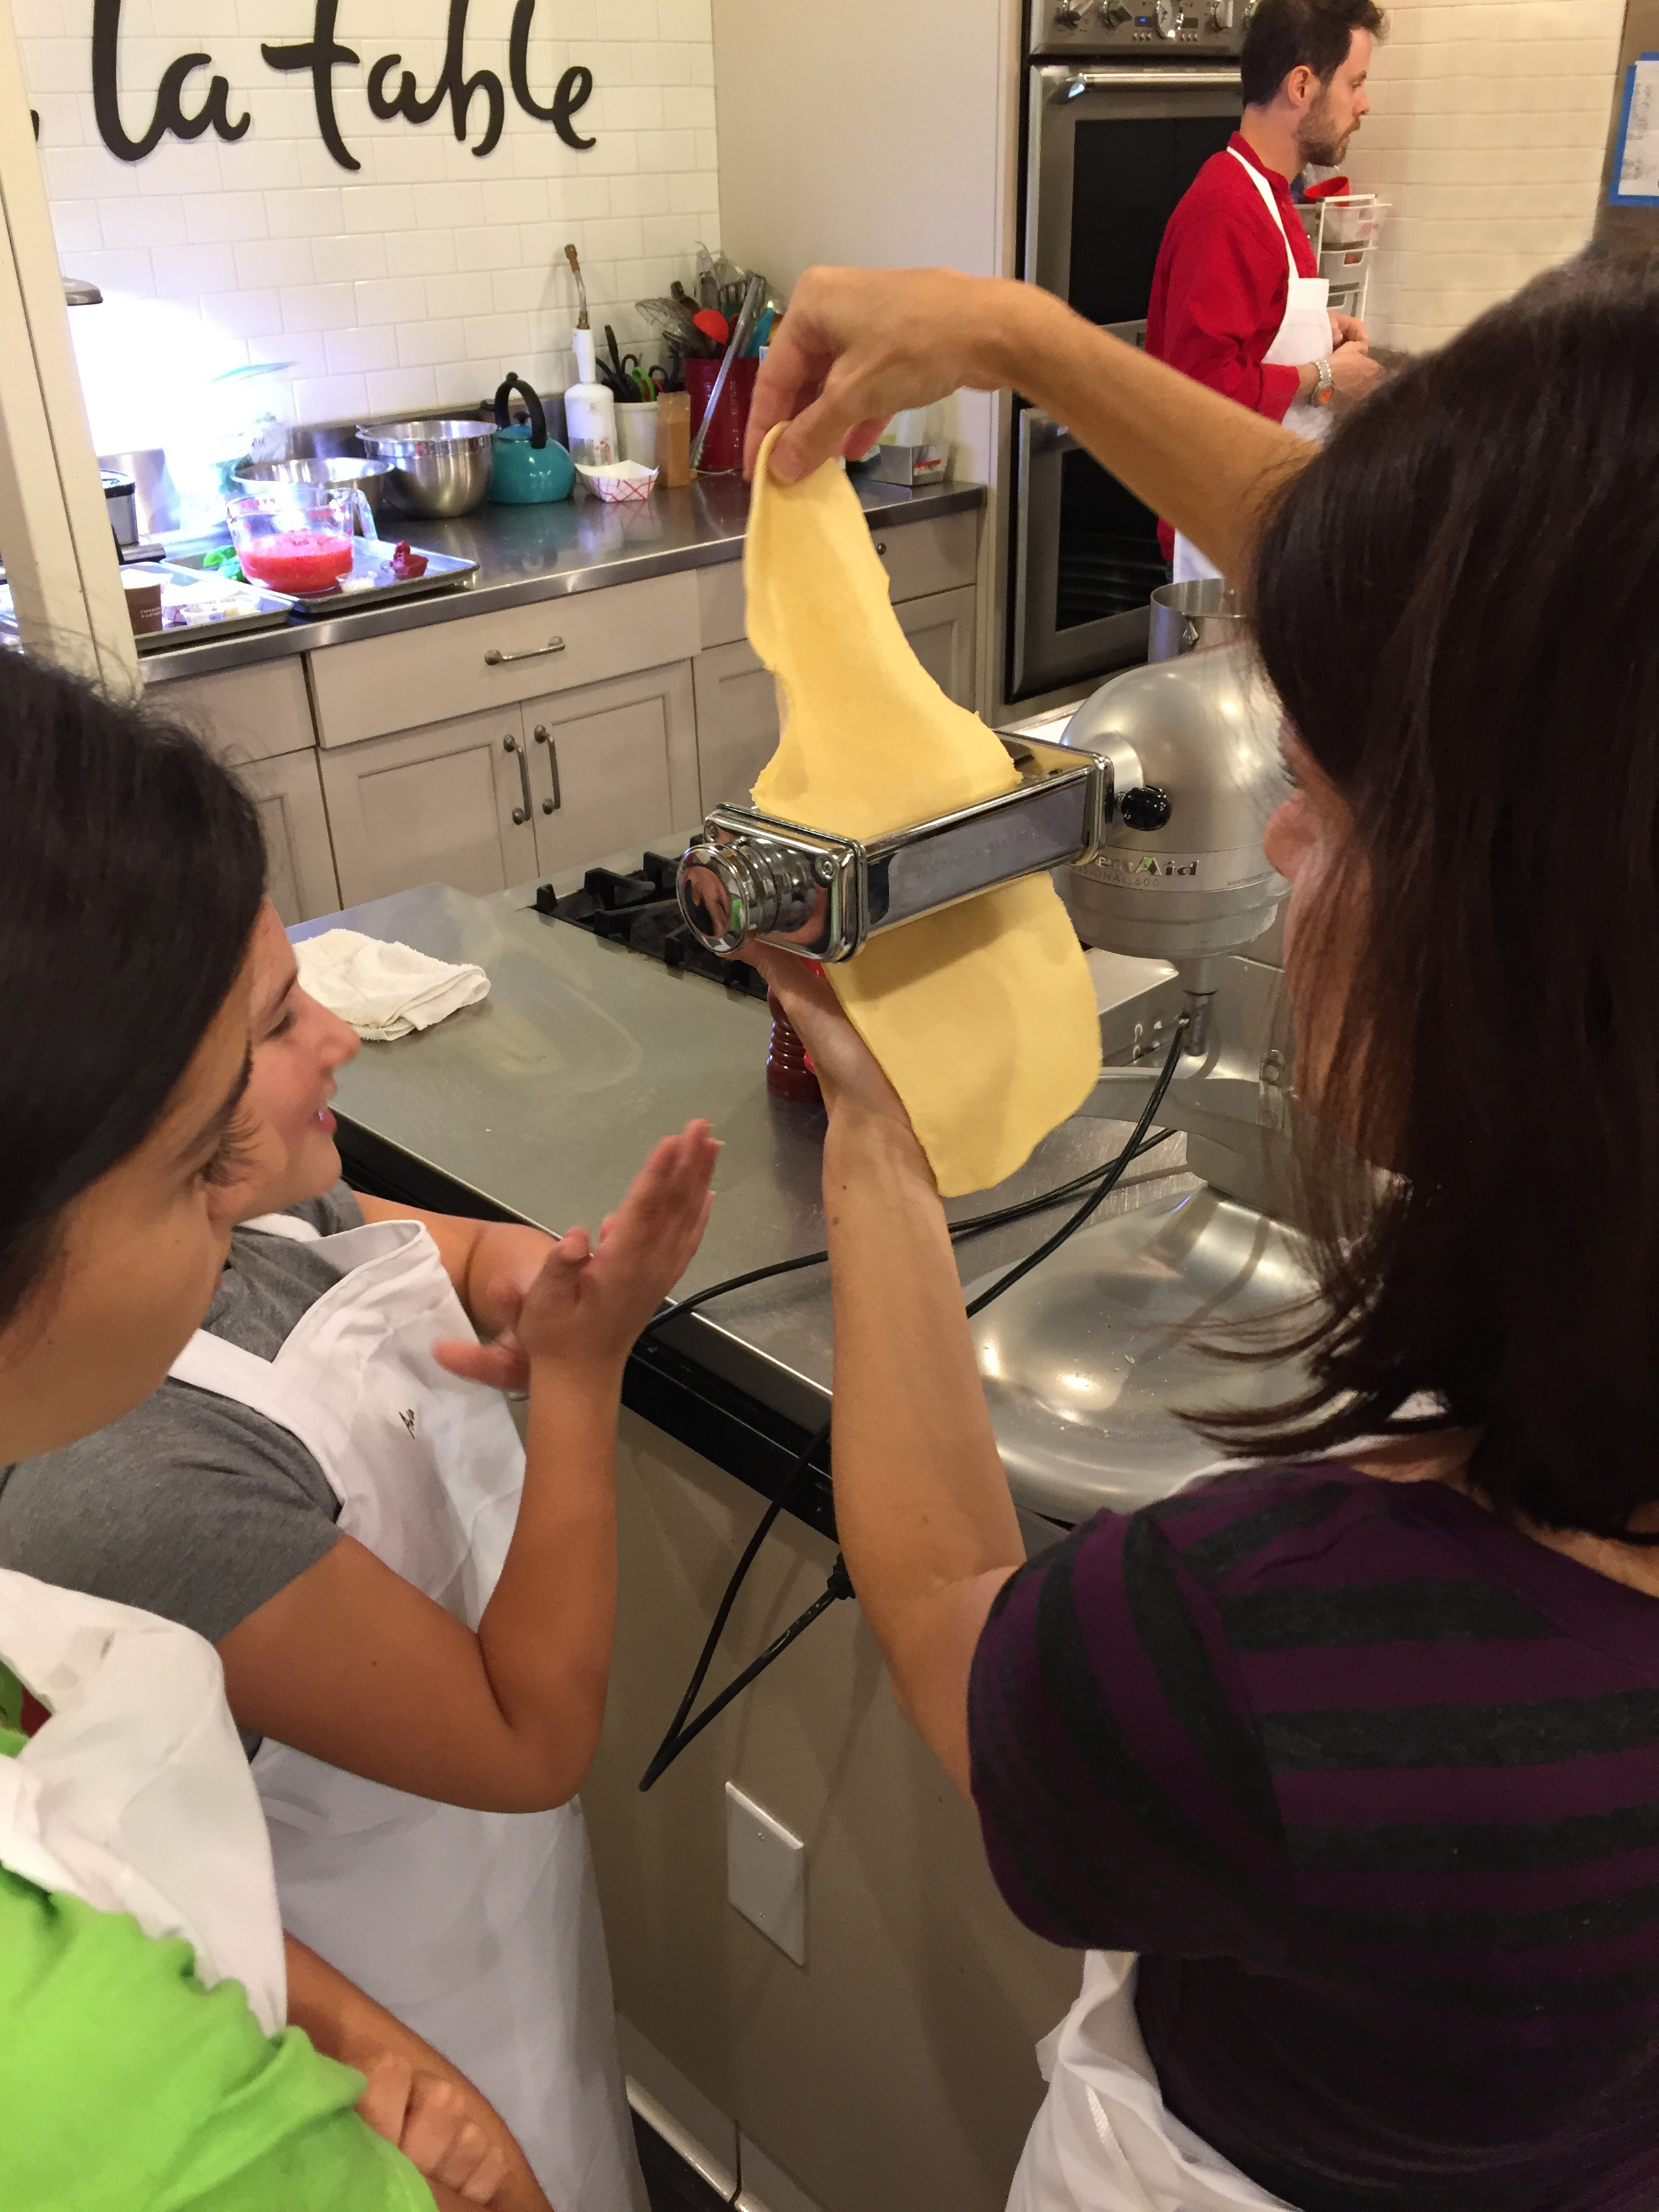
Rolling out the dough.
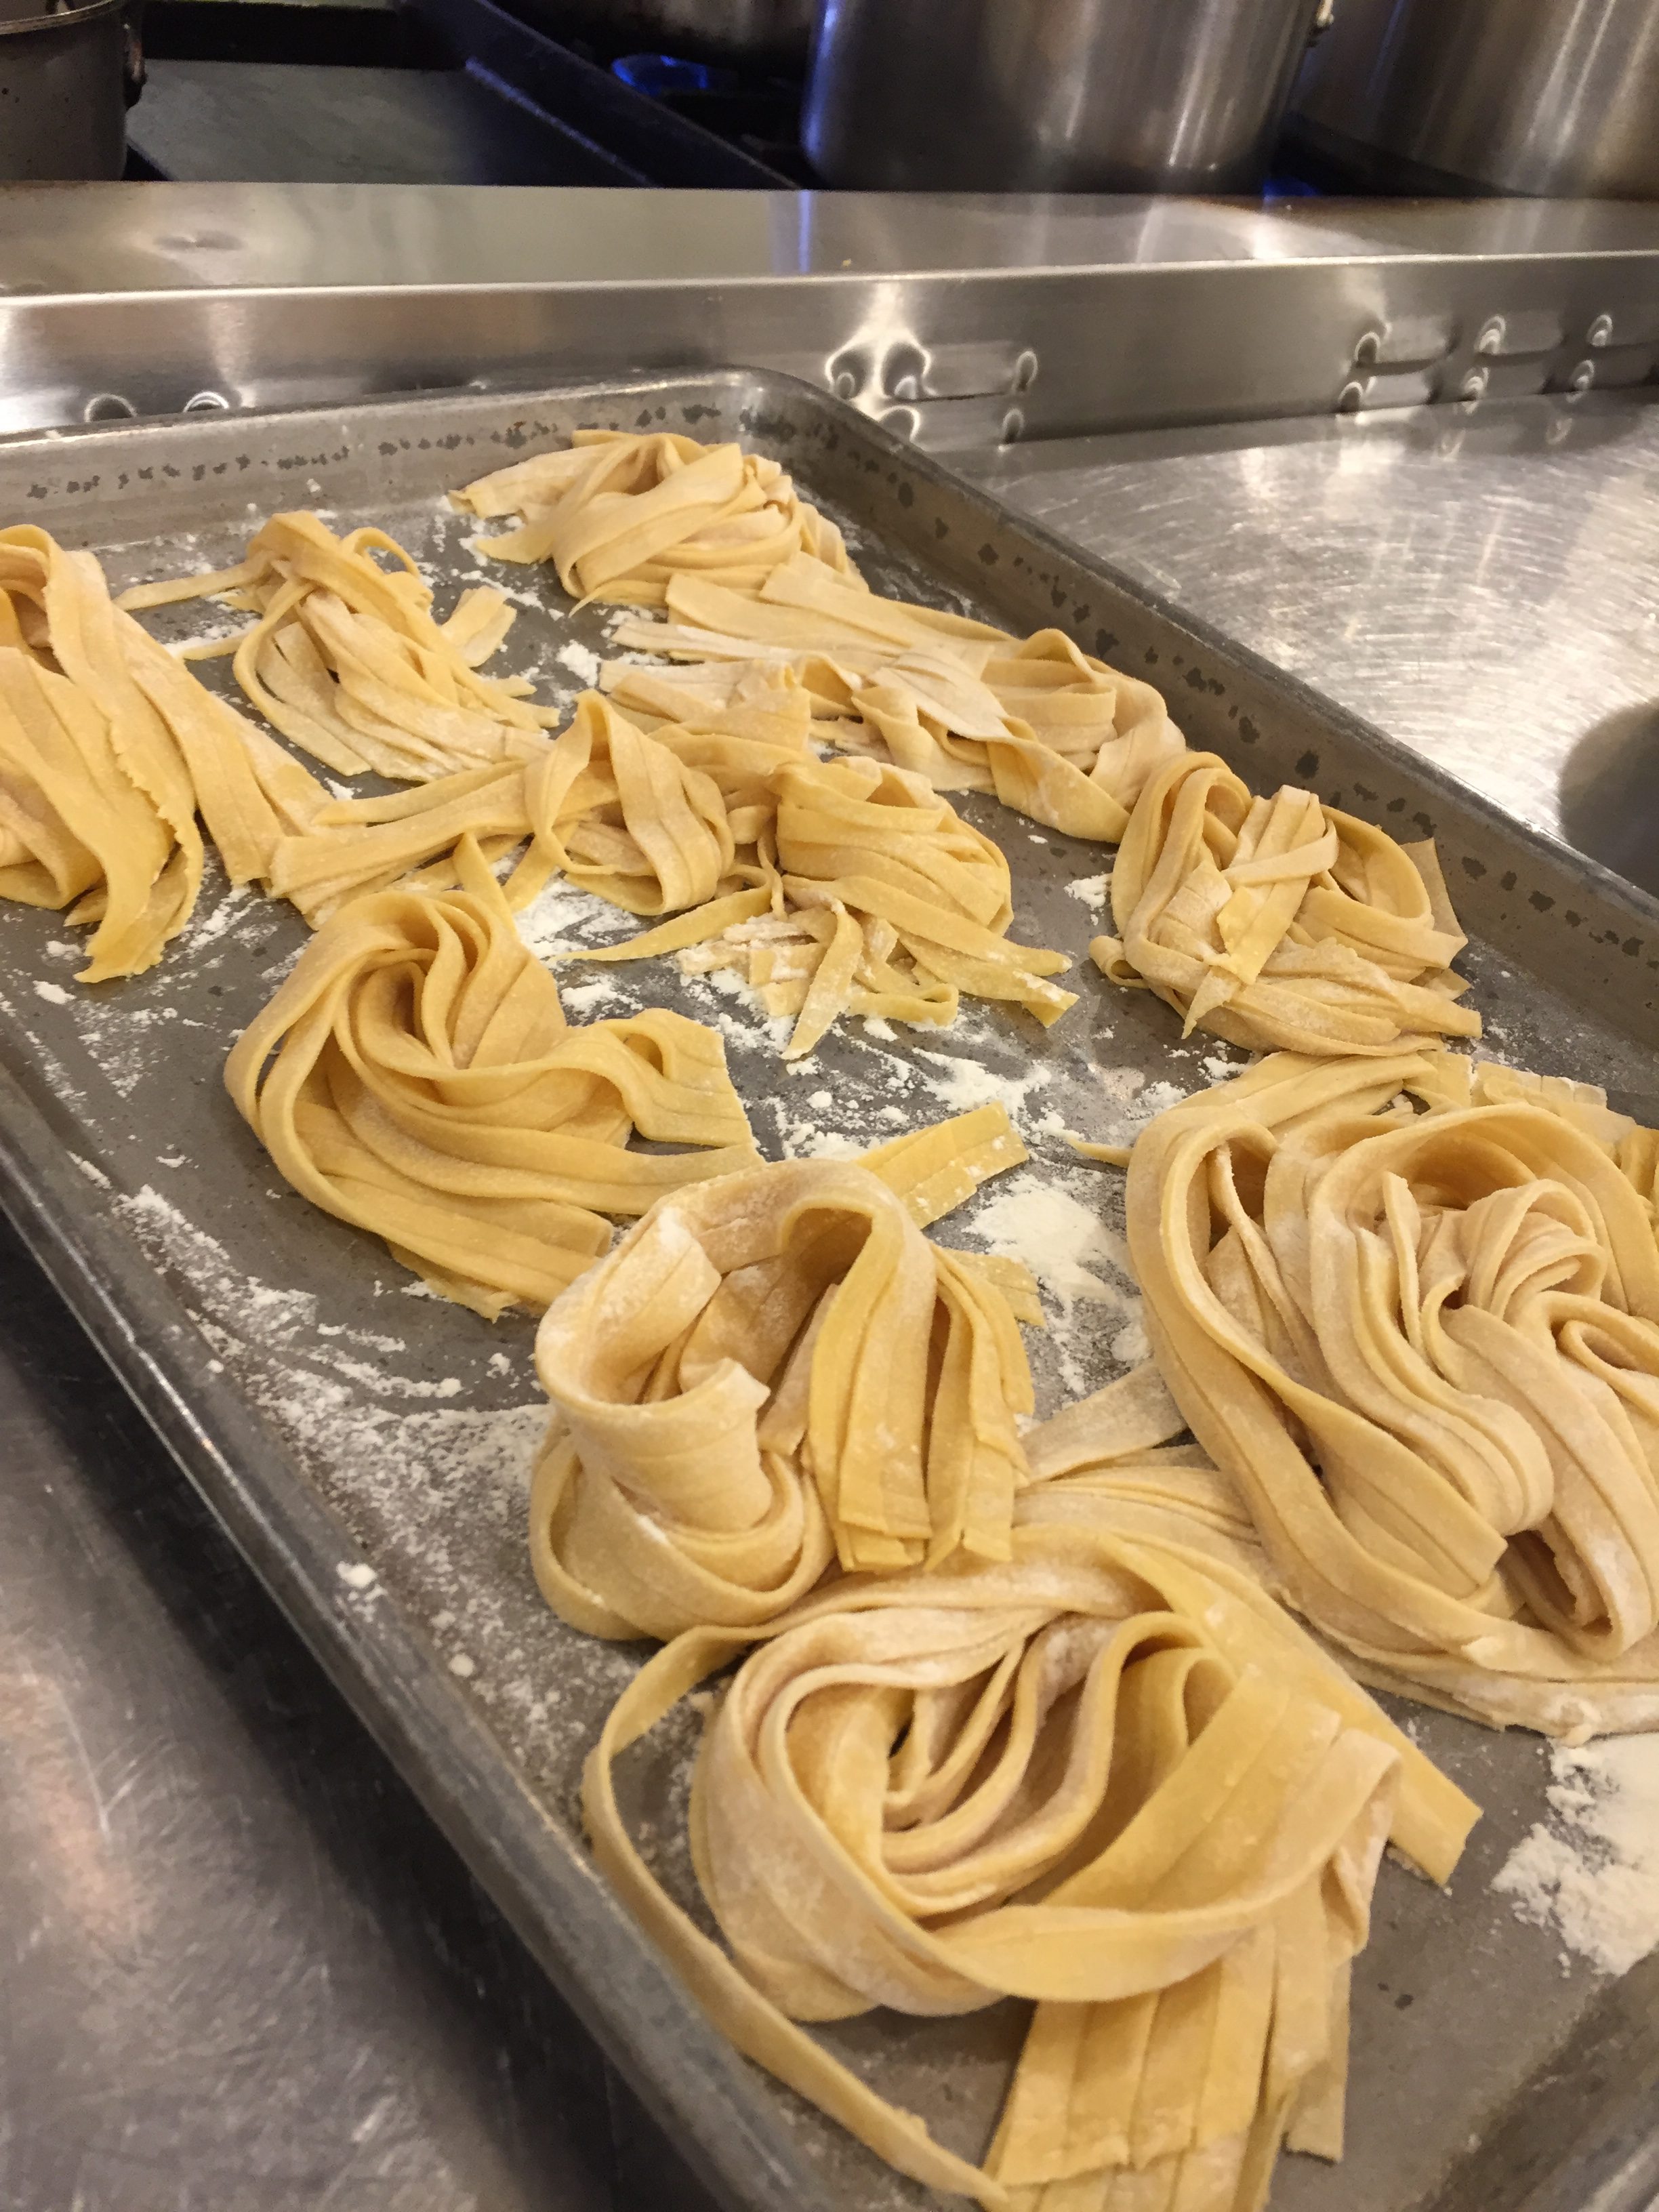
Fettuccine noodles, ready to be boiled.
Because this was a family class, there was a nice balance of kids both young and old. Chef Michael did a phenomenal job of keeping everyone involved, knowing when to ask the help of the younger students (folding the pasta dough, for example), and when to instruct the parents to take the reigns (frying up the chicken cutlets and operating the pasta machine). There was plenty of mixing, folding, flipping and stirring for everyone to enjoy, and the chicken cutlet breading assembly line made sure to keep us all involved. There was also the dessert, which was actually the first recipe that we started with (the gelato mixture needed to chill, which takes a bit of time). Making ice cream or gelato may sound intimidating to some. But with just a few simple ingredients (whole milk, heavy cream, sugar, egg yolks), plus the additional ingredients for the custom flavor that you choose (vanilla bean, mint, melted chocolate, strawberry), and a fairly inexpensive counter top ice cream maker to churn your mixture, you would be surprised on the decadent creations that you could create. Chef Michael gave us some very tasty and informative tips and tricks to make home made ice cream and gelato, but again I must leave it up to you to discover these tips for yourself.
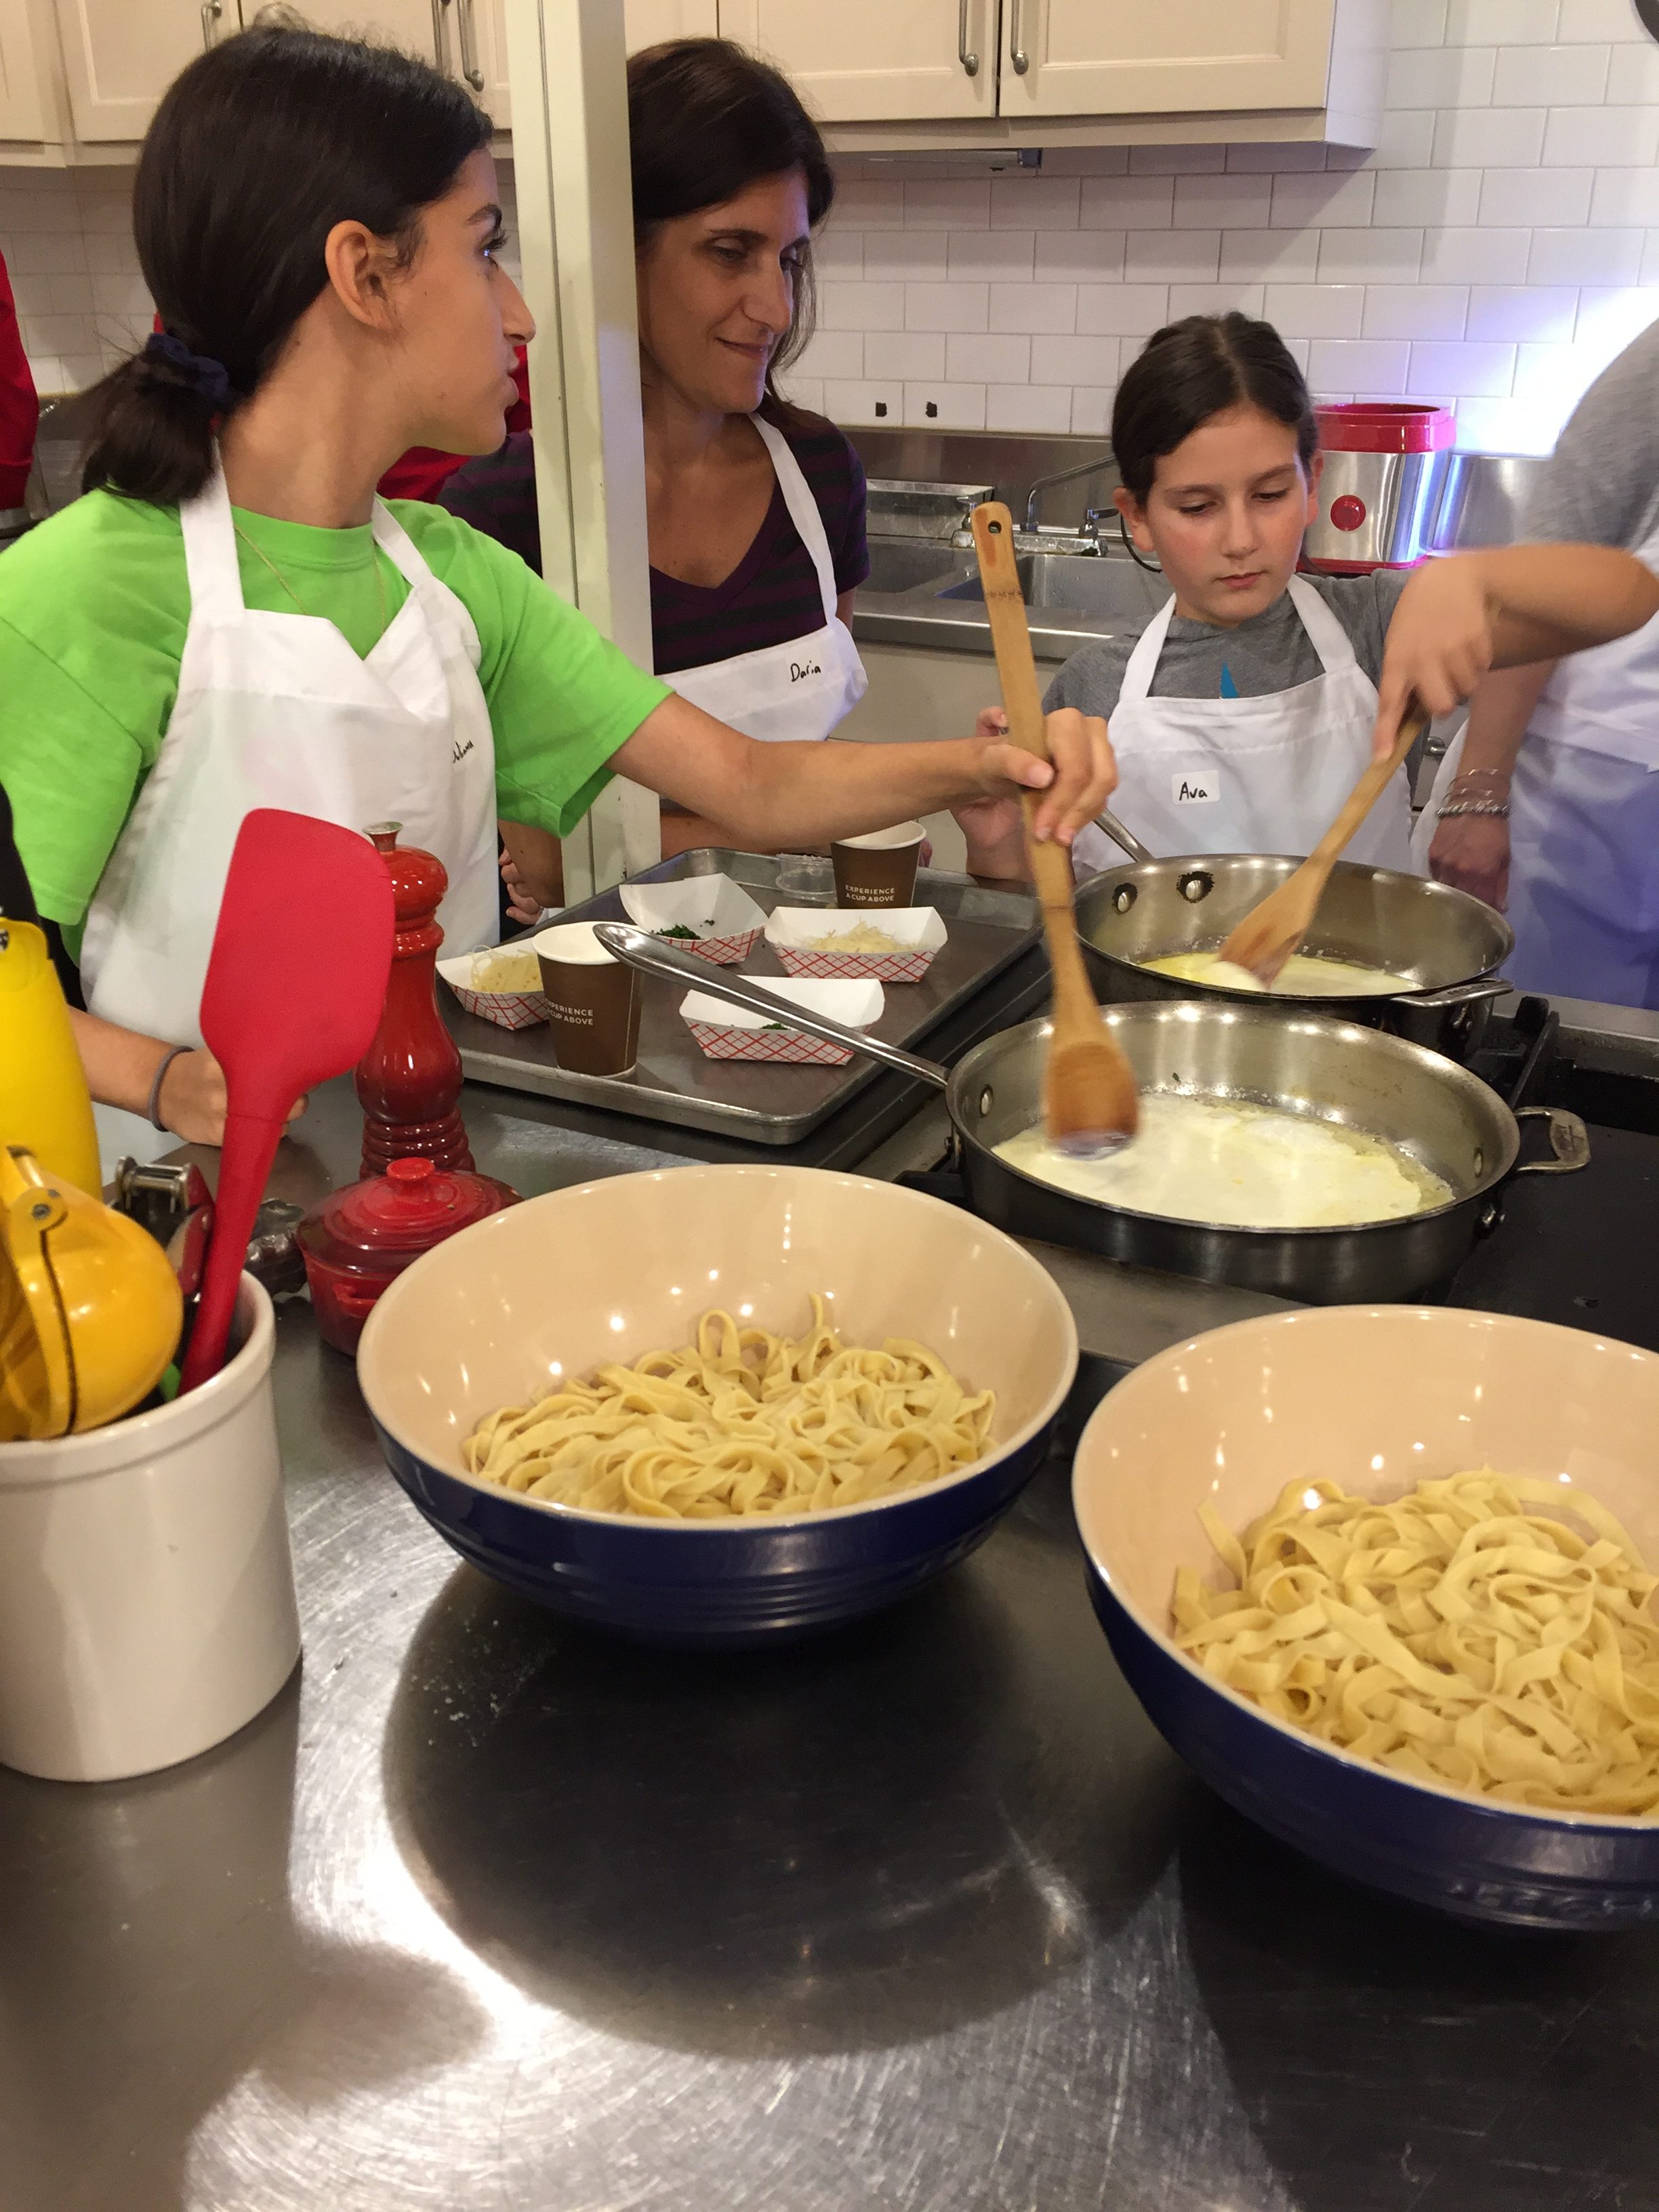
Stirring the Alfredo sauce.
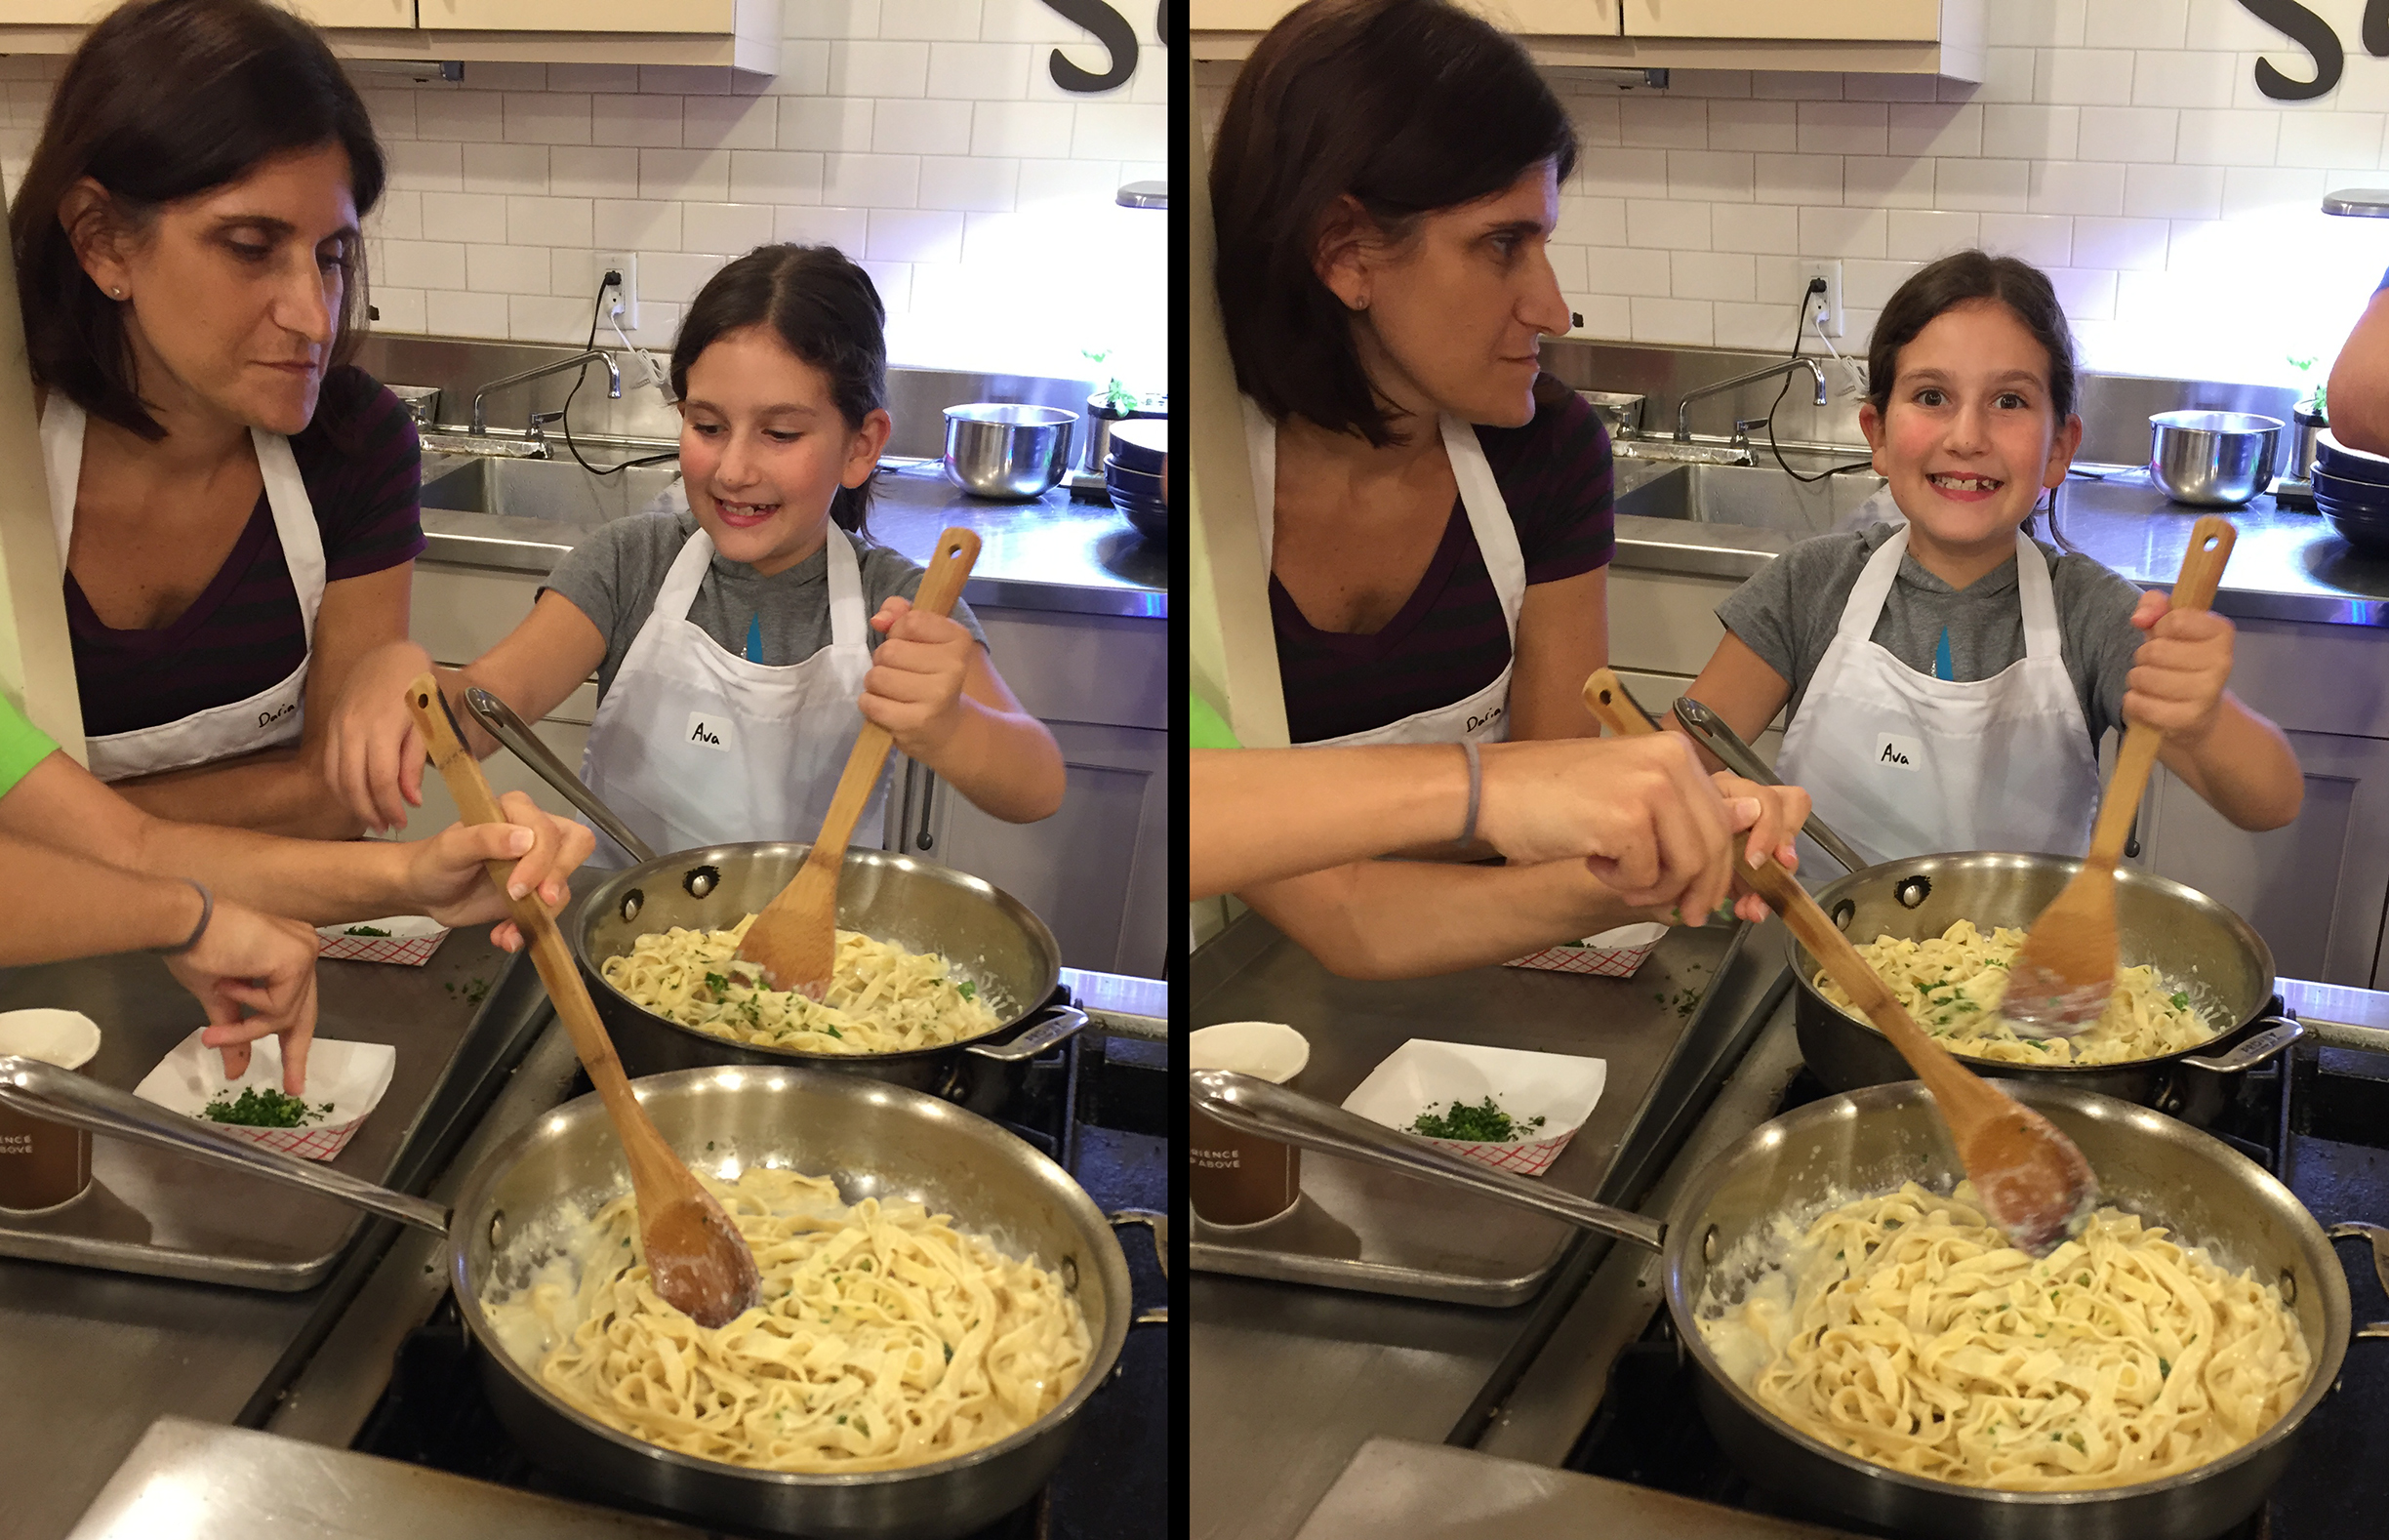
Folding in the fettuccine.
I have to give huge credit and props to Chef Michael’s kitchen assistants. Not only were they available for questions or assistance throughout the evening, they also made sure to stay on top of our mess during clean-up. If we were called up front to watch Chef Michael give a demonstration, you could be sure that we were walking back to a perfectly cleaned working station. The staff was also responsible for following through with finishing touches on our dishes while we moved on to the next recipe.
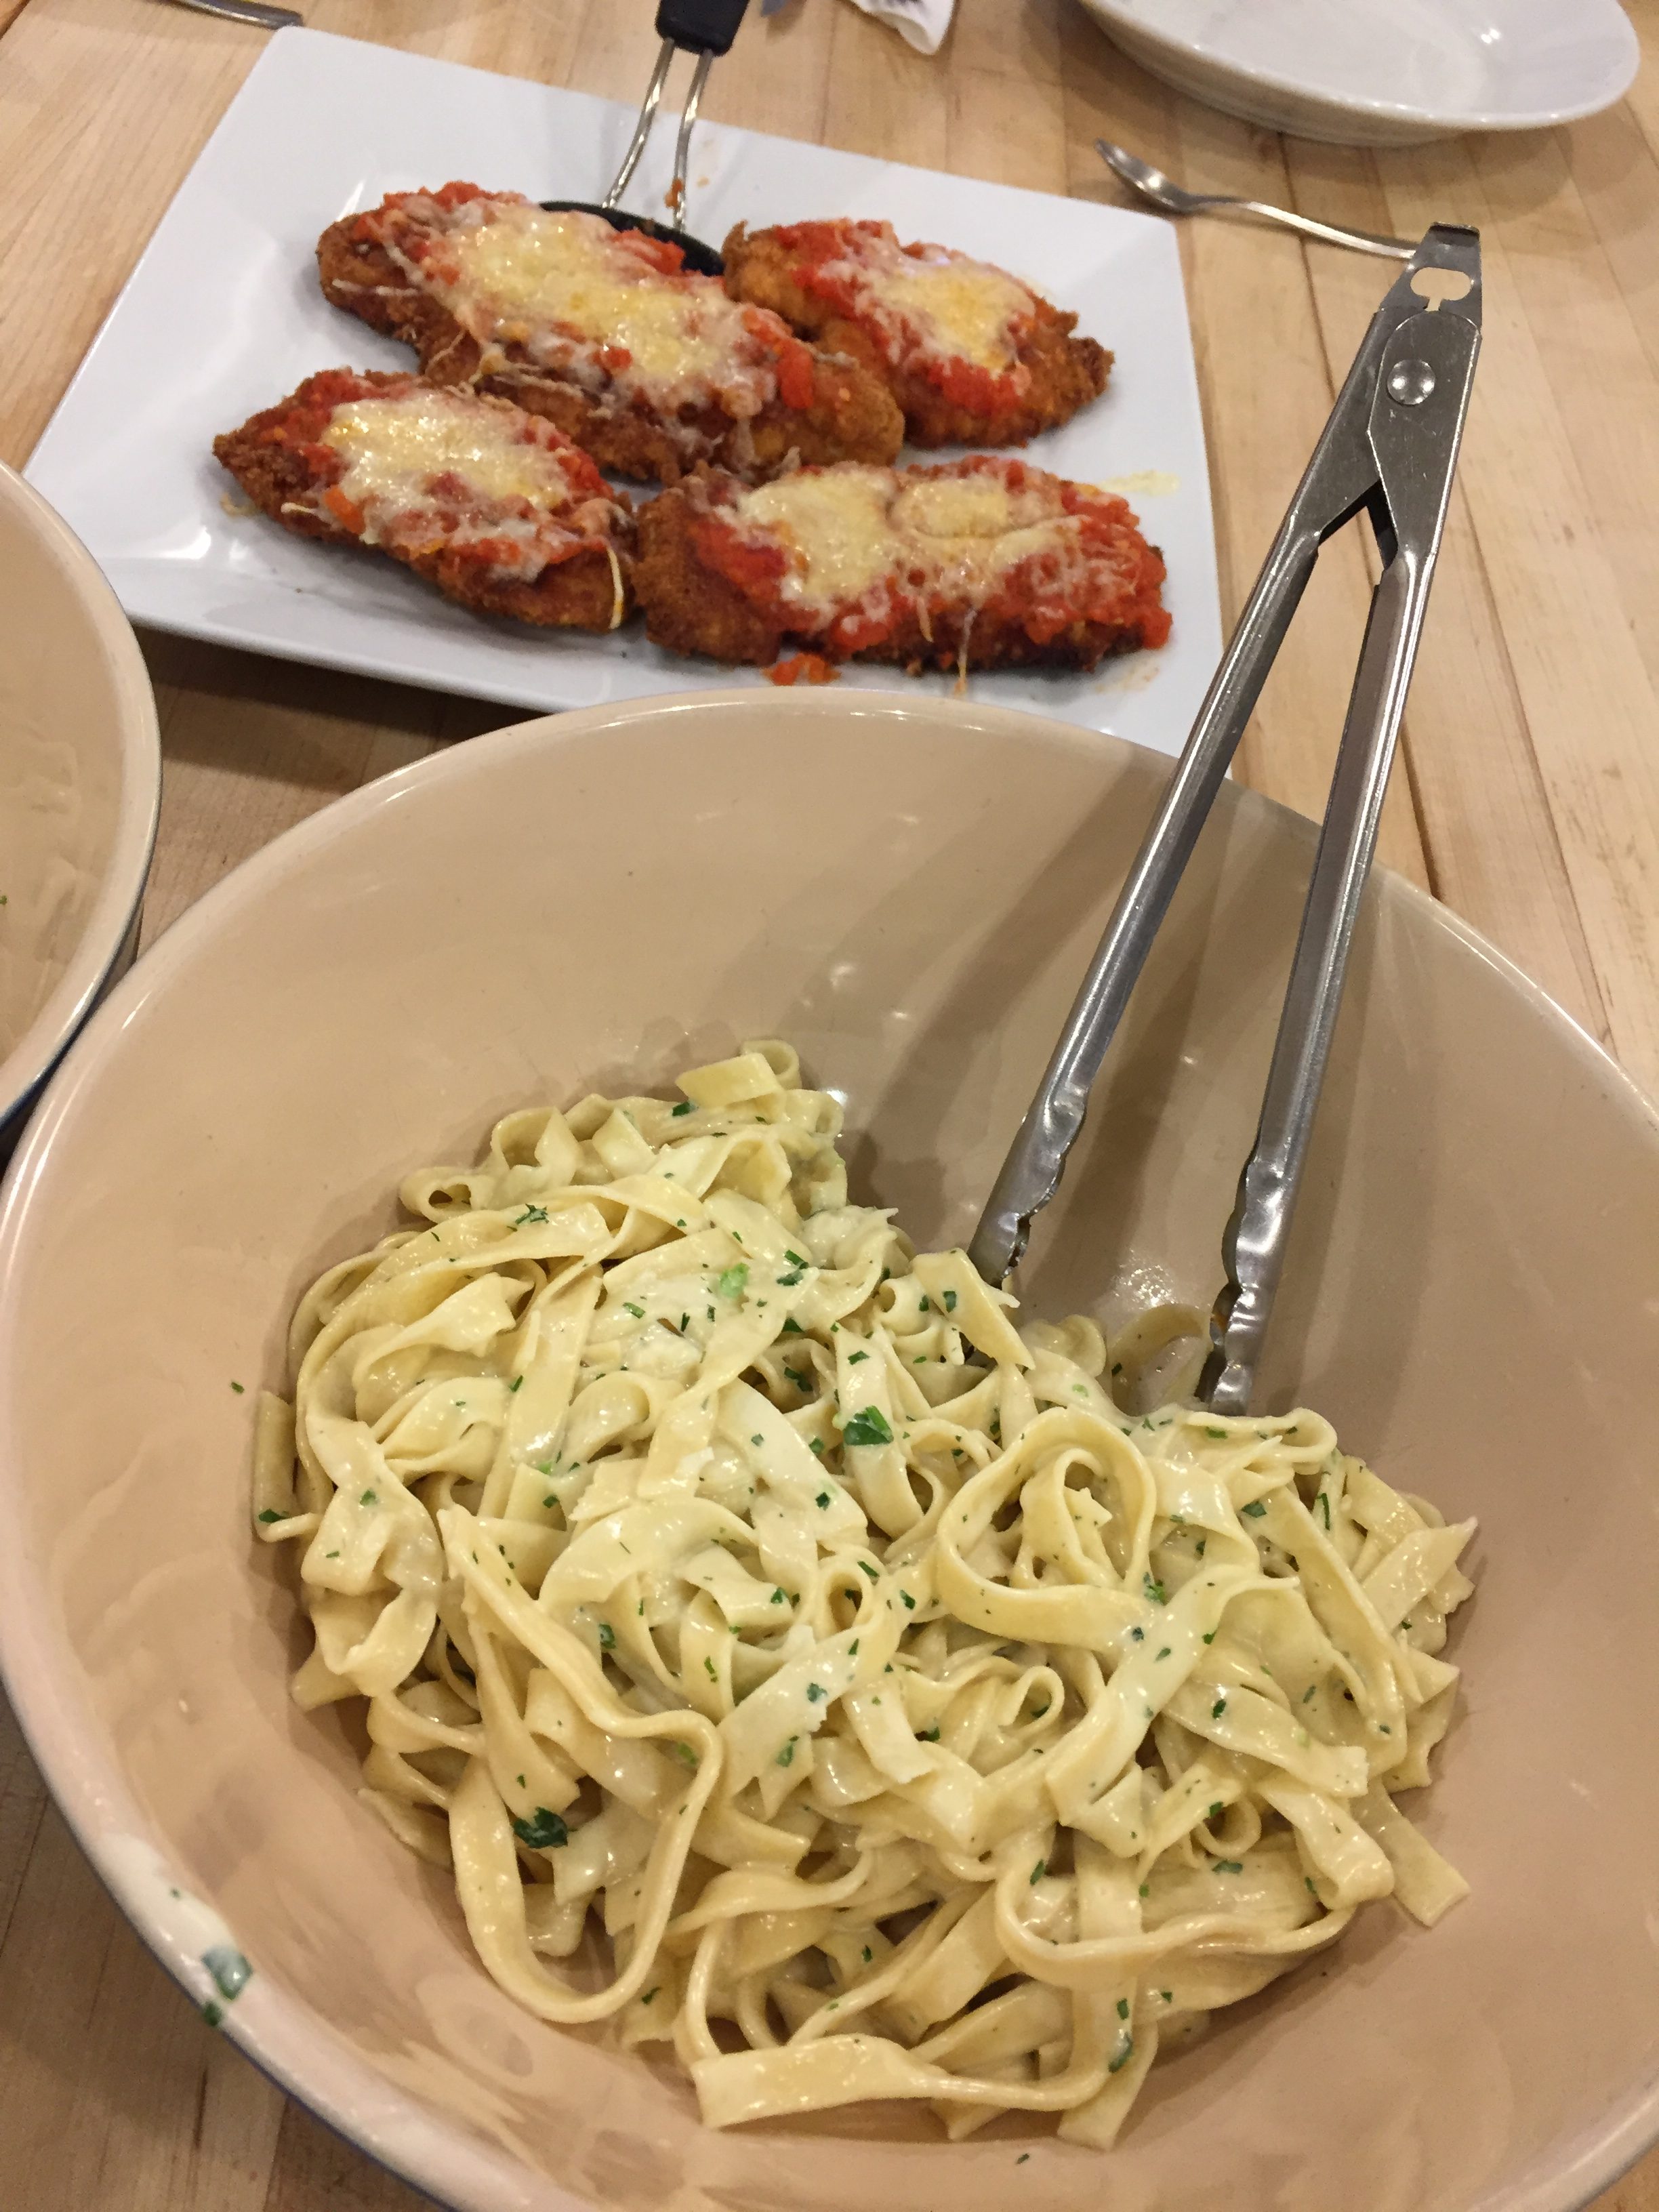
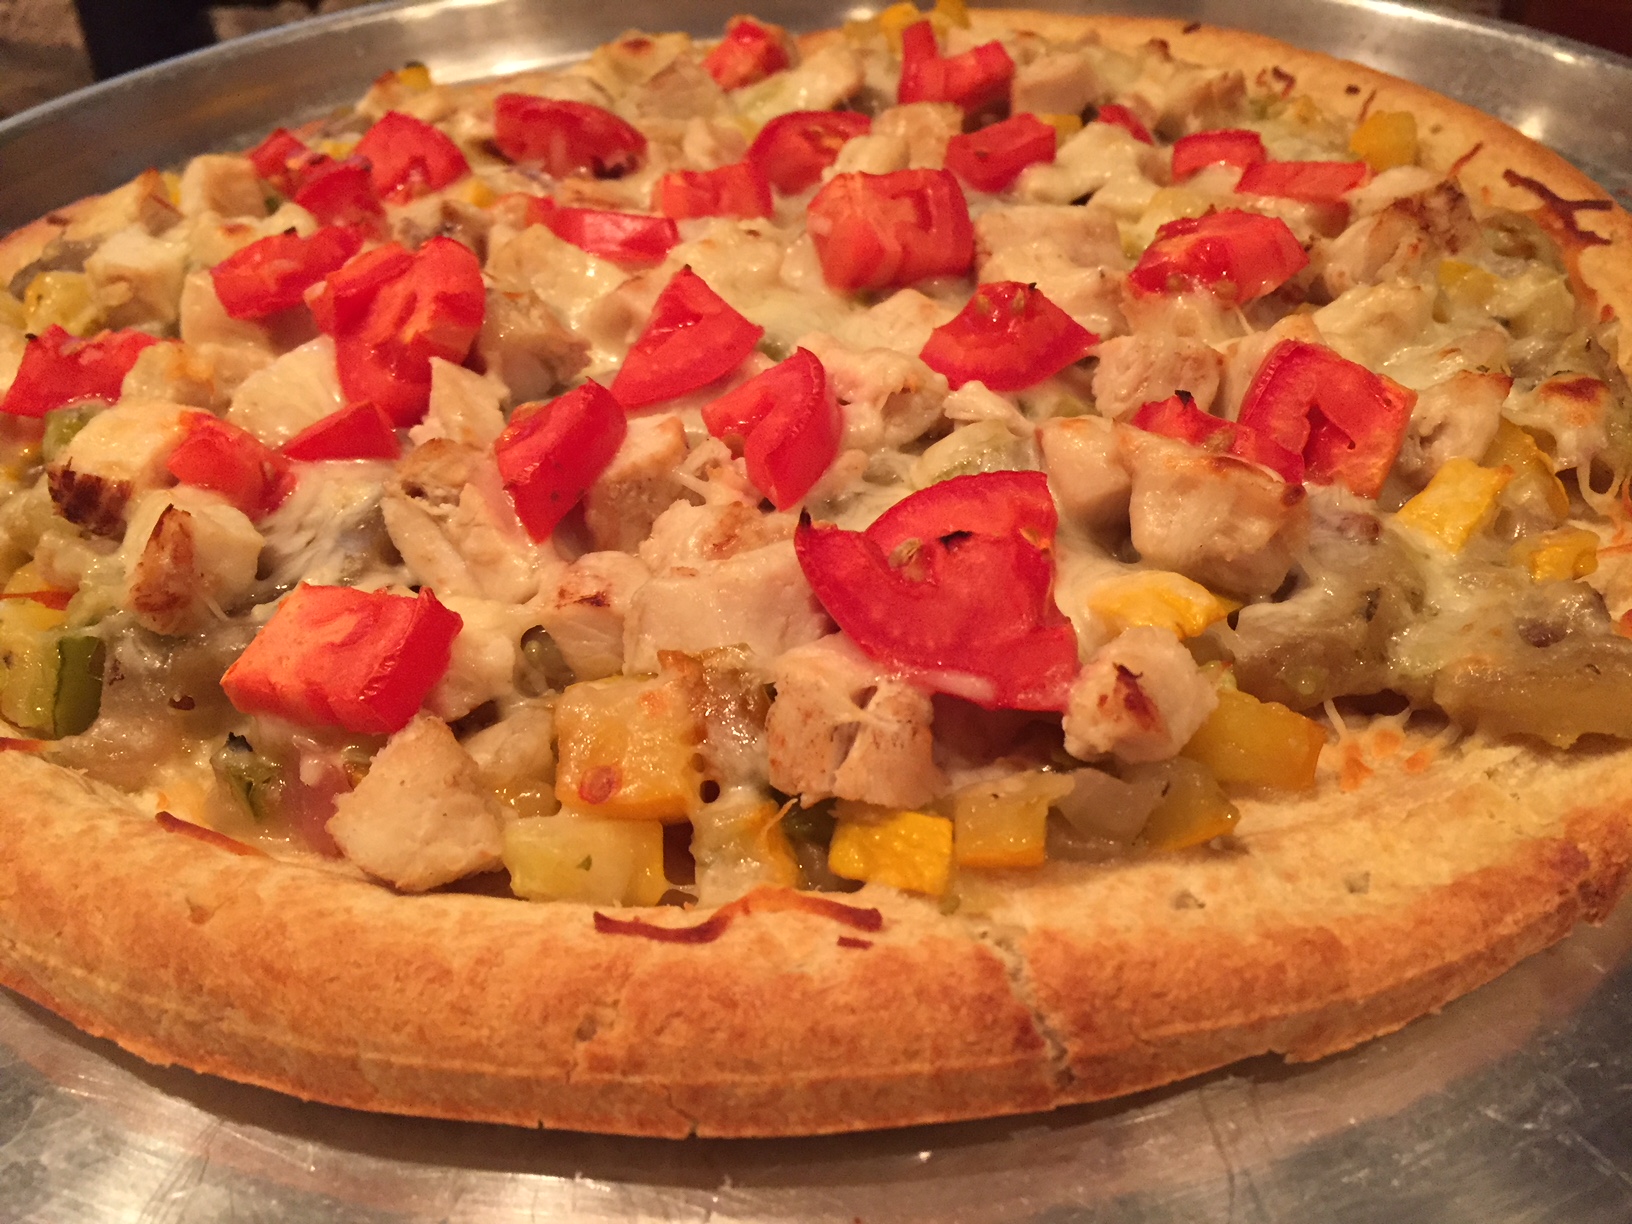
Dinner is served!
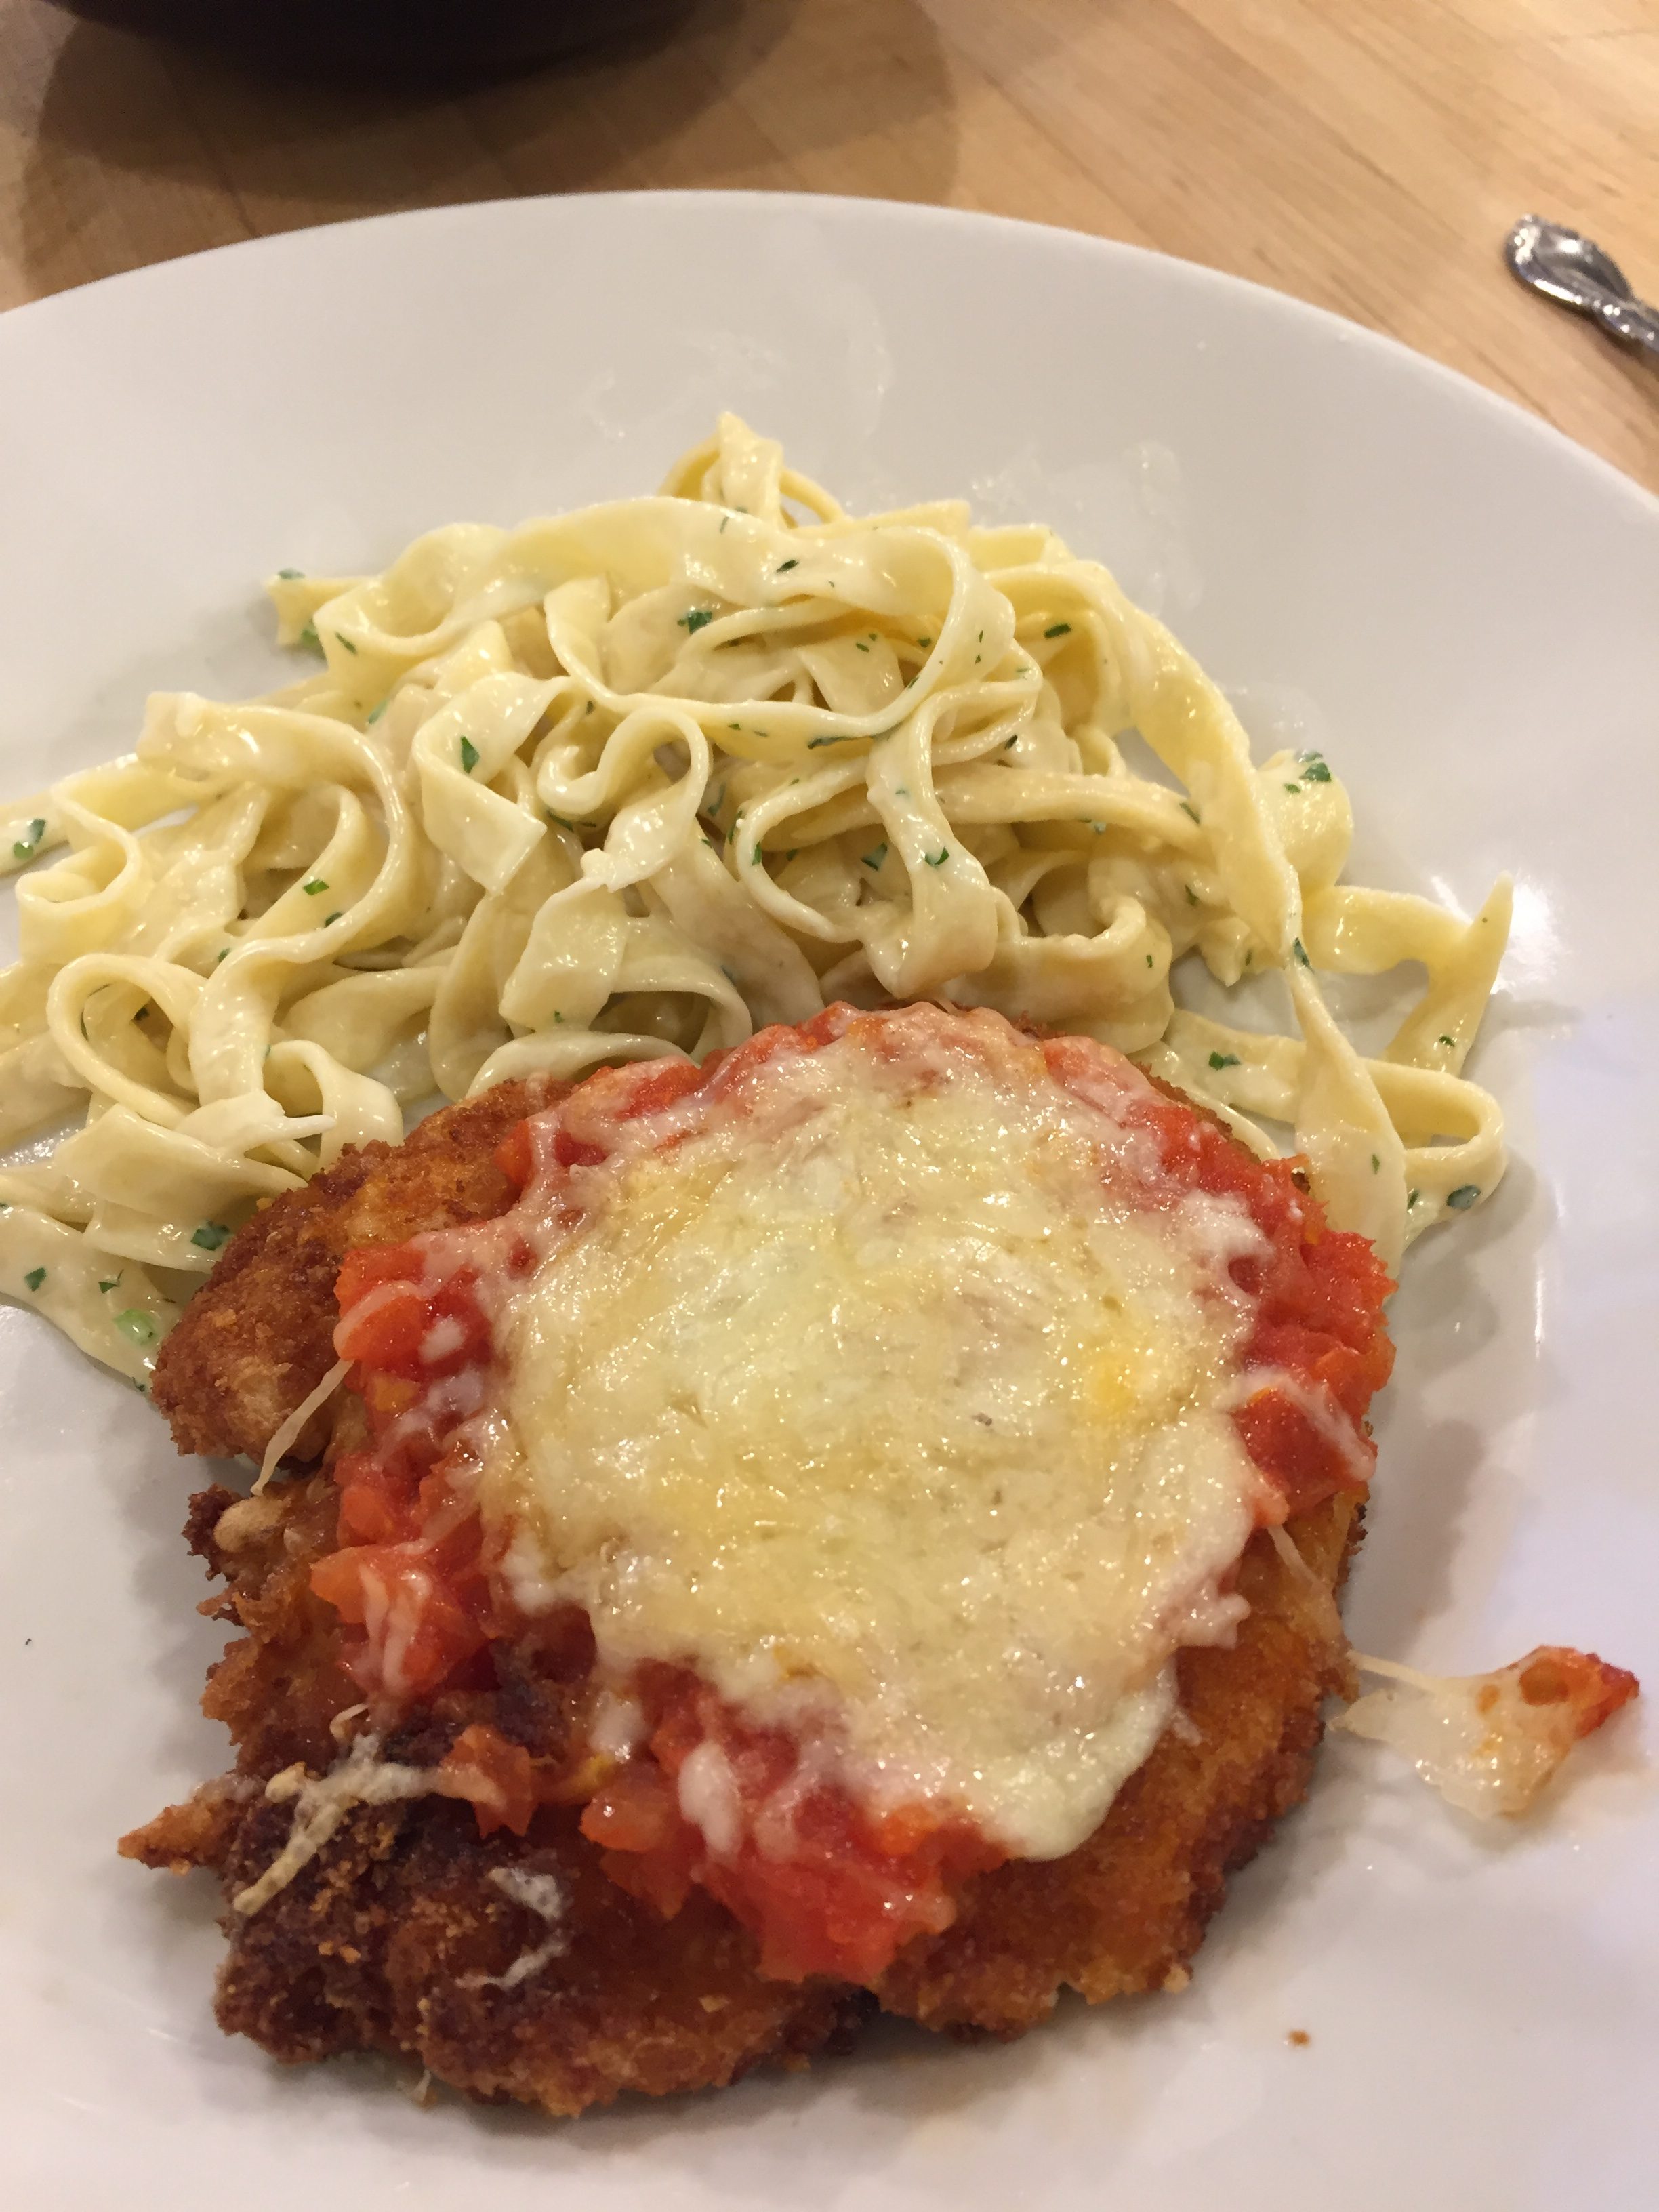
Plated and ready to eat!
If you have ever considered looking into a cooking class – whether it be as a couple, a family or even on your own – I would highly suggest looking into one of the many wonderful in-store classes held at Sur La Table.
For more information, please visit the Sur La Table website.

Recent Comments