
‘Tis the Season, Part 2: Smoked Paprika

In my previous post, I shared with you one of my favorite go-to seasonings, Everything Bagel Spice. Many of you offered up a lot of great tips and suggestions on the Dom’s Kitchen social media pages, and I thank you all for the comments! For today’s post, we’re going a little bit deeper into the flavor profile as I share with you another favorite seasoning of mine, smoked paprika.
Before we get into my recipe suggestions using smoked paprika, I’ll quickly explain the difference between smoked and traditional paprika. Paprika is a spice made of ground chili peppers, which has a bit of a ‘sweet-heat’ taste to it. Specialty spice shops offer different varieties of paprika, some being more sweet, and some bringing more heat. If you purchase paprika at a supermarket, it’s going to be a mild heat, semi-sweet version. It is a perfect accent to a variety of foods, such as soups, stews, poultry, fish, vegetables and sauces. It is a nice addition to dried rubs, and is often used as a garnish, sprinkled over potato salad and deviled eggs.
Smoked paprika is made with chili peppers that have been smoked before being ground. Smoked paprika offers up a bold and more outdoorsy flavor, reminiscent of a campfire. There is a lot more depth and flavor in smoked paprika, which also allows it to work well in recipes similar to the ones I mentioned above for traditional paprika…only on a more bold level. Make no mistake, there is a lot of difference between smoked and traditional paprika, and one should never be substituted for the other without expecting a different result in taste. Fore more in-depth reading on the comparisons between traditional and smoked paprika, visit www.pepperscale.com.
A lot of times when I use smoked paprika in a recipe, it is often a last minute decision. I’ll give my recipe a taste, and it’ll hit me that “oh yeah, smoked paprika will boost this up nicely!” However, two of my stand-by recipes that I used smoked paprika with are breakfast hash brown potatoes and Ground Turkey Sloppy Joes. We’ll start with the hash browns.
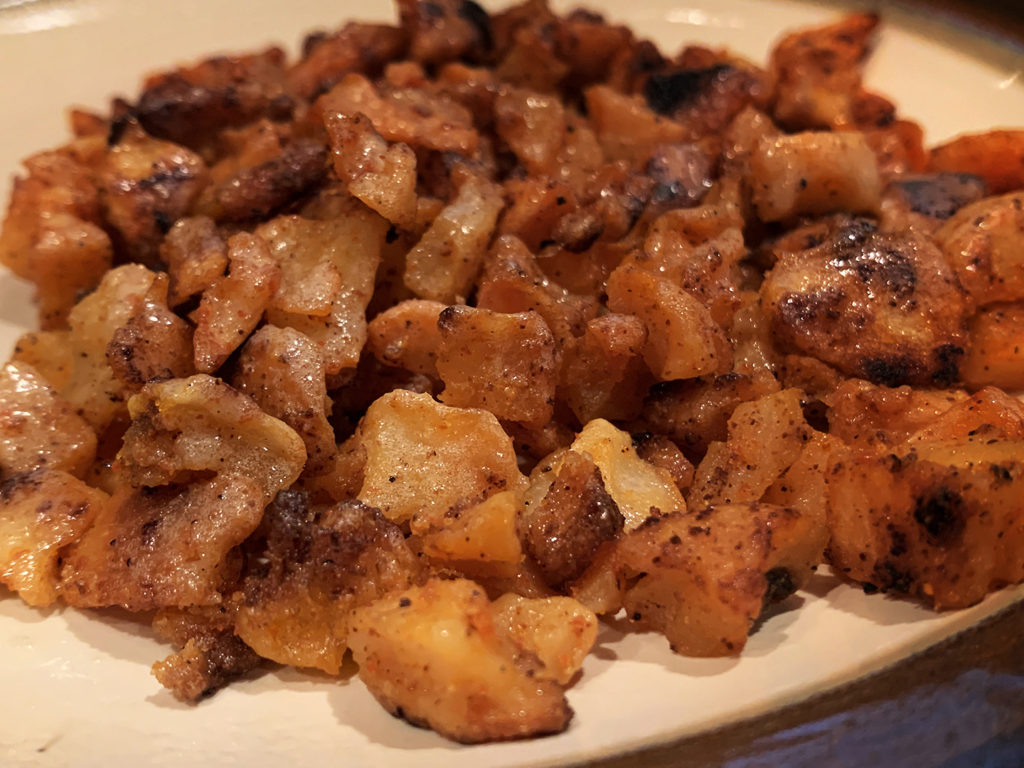
Seasoned Hash Brown Potatoes
Whenever I make hash brown potatoes (I prefer the Ore-Ida frozen diced hash browns), I go with four basic seasonings – salt, pepper, onion powder and smoked paprika. The salt and pepper I add to taste, but I load up on the onion powder and smoked paprika. Sounds simple enough, right? But here’s the trick that I learned to really get the flavor cooked into the potato. I start by heating up a few tablespoons of canola oil in a pan (vegetable oil will work as well). Before I add the potatoes, I sprinkle some onion powder and smoked paprika onto the oil. As the oil heats up, it becomes infused with the flavors of the onion powder and smoked paprika. Once you add the potatoes, the flavor starts to cook into the potatoes immediately. I then add more seasoning to the top of the potatoes and let it cook over medium heat for a good 6-8 minutes, until the bottom starts to brown. As you flip the potatoes, the flavor will be well incorporated . You can adjust the seasoning to your liking until the potatoes are crips and golden brown.
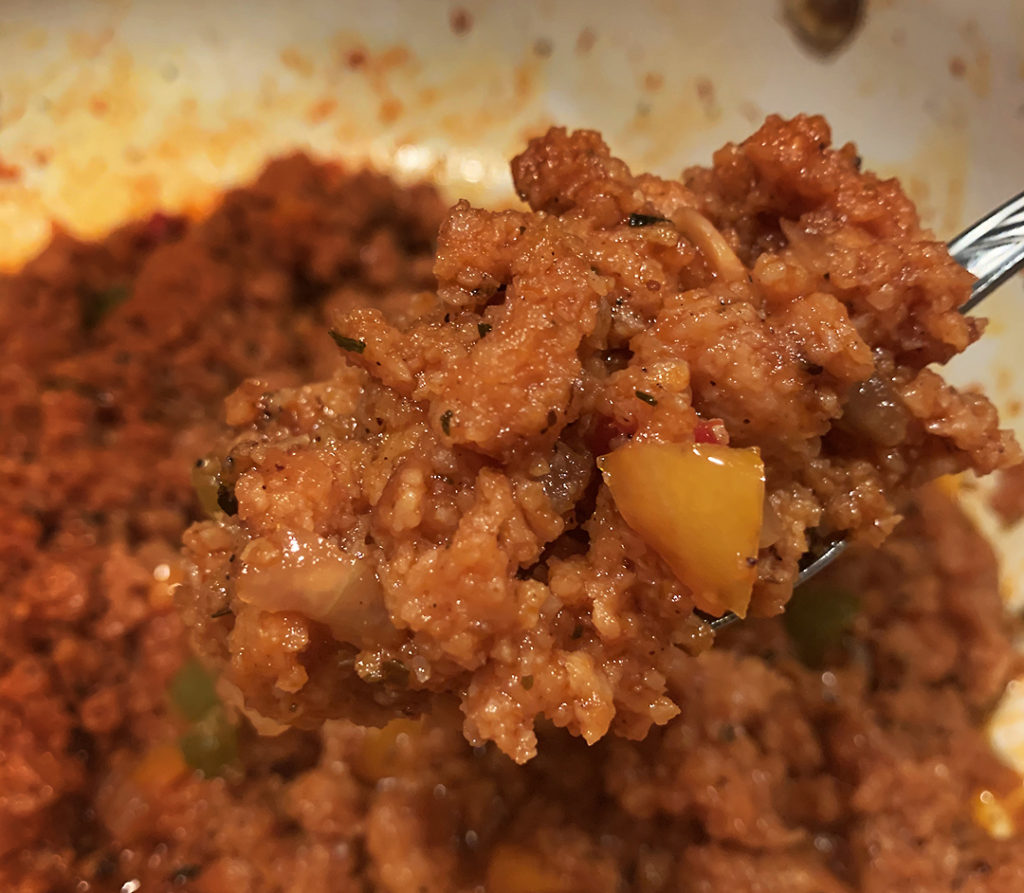
Ground Turkey Sloppy Joes
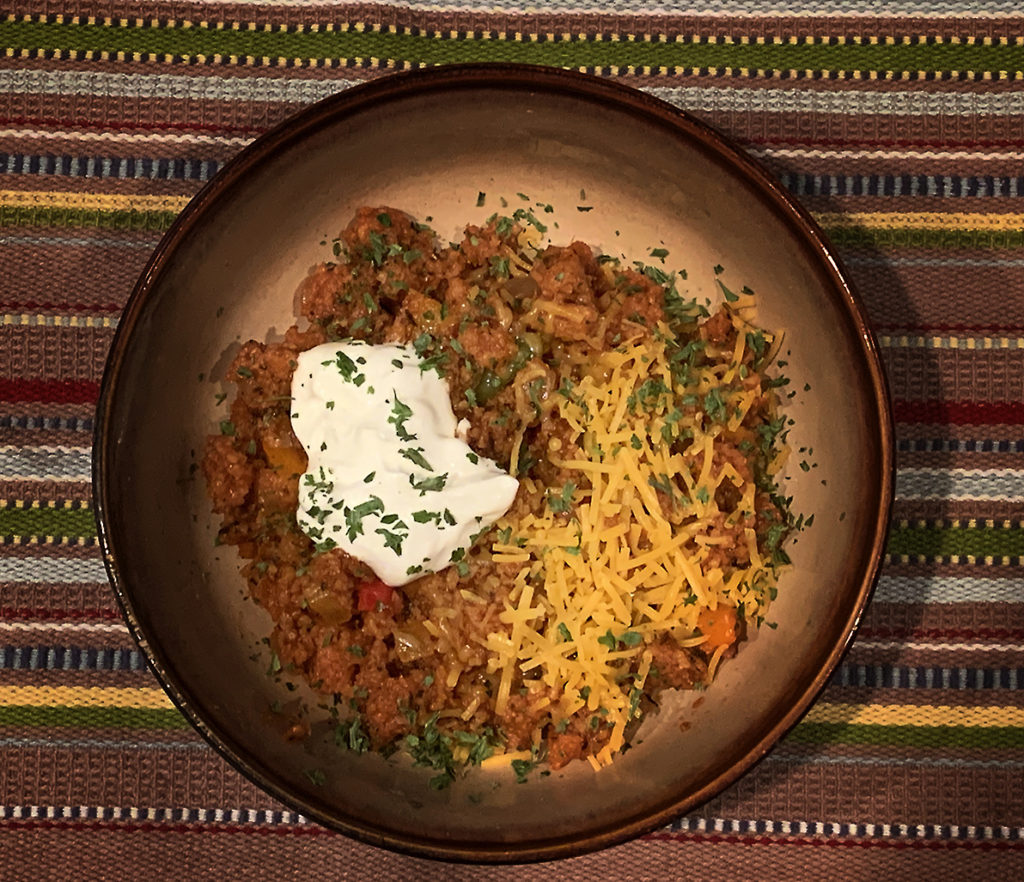
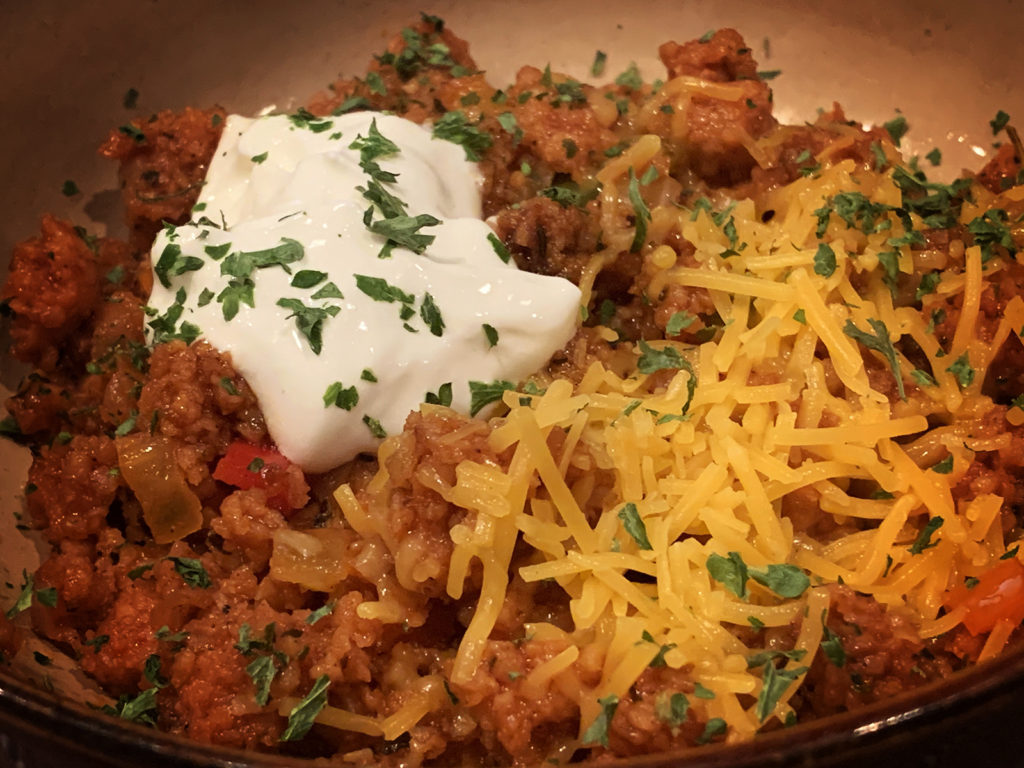
If you cook with ground turkey, you know that it usually needs a little help in the flavor department. Even if you go with 93/7 mixture (meaning 93% lean and 7% fat), flavor enhancements are usually necessary. Not only does this recipe incorporate smoked paprika to help boost the flavor, it also includes fresh peppers, onions and garlic, along with some additional seasonings and spices. While I do enjoy a little bit of spice, my kids have a low heat tolerance. My workaround is to simply spice up my own serving with a few dashes of hot sauce. As always, I encourage you to adjust the flavor to your liking. Although it may be traditional to serve Sloppy Joes as a sandwich, we actually enjoy this meal topped with shredded cheddar, a dollop of sour cream, and a plate full of tortilla chips for dipping!
1lb ground turkey (93/7 mixture)
2 tablespoons olive oil
1 small onion, diced
1 clove garlic, minced
1 bell pepper (red or green), finely chopped (you can also use a hotter variety of pepper if you like)
salt and pepper to taste
1/4 teaspoon ground cumin
1/4 teaspoon ground chili pepper (my preference is ancho chili pepper)
1 teaspoon smoked paprika
1 8-ounce can tomato sauce
1/4 cup barbecue sauce
(you can add additional seasonings or flavoring of your choice)
Heat oil over medium heat in a large pan. Add the diced onion, sauté until onions start to soften. Add garlic and chopped bell pepper, stir together. Once the mixture starts to become fragrant, add the ground turkey. Stir together, let cook until the ground turkey browns. Drain liquid from the pan. Season to taste with salt and pepper.
Next, add the ground cumin, ground chili pepper and smoked paprika. Add the tomato sauce, stir together. Once the sauce starts to heat, stir in the barbecue sauce. Let simmer for about 10 minutes, until the sauce starts to thicken.
You can serve it as a sandwich, as a dip with tortilla chips, or even over pasta!

Recent Comments