Pinwheel appetizers are a party classic for just about any celebration during any time of the year. Whether you choose to serve them cold in a tortilla or warm in a baked and flaky pastry crust, pinwheels are the perfect appetizer…quick to assemble and easy to serve. Combinations are endless. Buffalo Chicken, Turkey BLT, Spinach Artichoke, Pepperoni Pizza and Italian Hoagie, just name a few. There is a guaranteed pinwheel variety for all crowds.
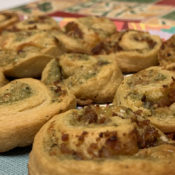
For this post, instead of trying to reinvent the wheel (see what I did there?), I’m offering up one of my favorite flavor combinations in a baked crescent crust. The zesty combination of pesto and shredded parmesan are a good balance to the salty goodness of the bacon. The warm and flaky crescent roll holds it all together, giving you a heavenly taste with each bite.
Be sure to use shredded parmesan, as opposed to grated. If you find a pack of 6 cheese Italian blend, all the better! There is also no need to worry about making a batch of homemade pesto. While homemade is always a great choice, a small jar of store bought pesto will do the trick.
Pesto Bacon Parmesan Pinwheels
Measurements are approximate. You can use more or less to your preference. 1 8-ounce can refrigerated crescent rolls 1/4 cup or one small jar of pesto 1/2 cup cooked bacon pieces 1 cup shredded parmesan cheese (or 6 blend Italian cheese)
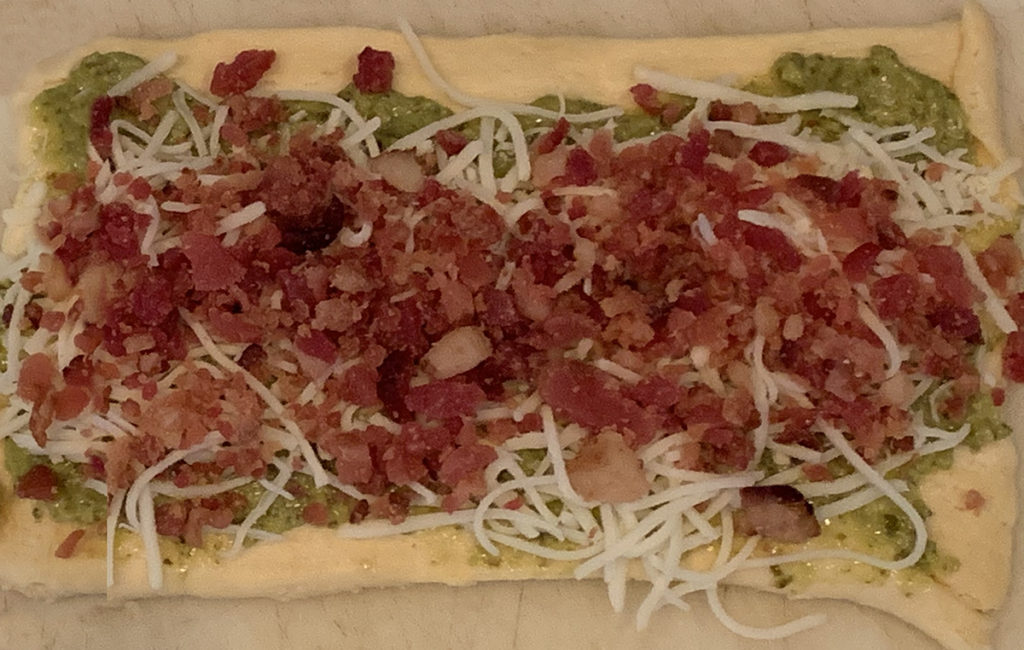
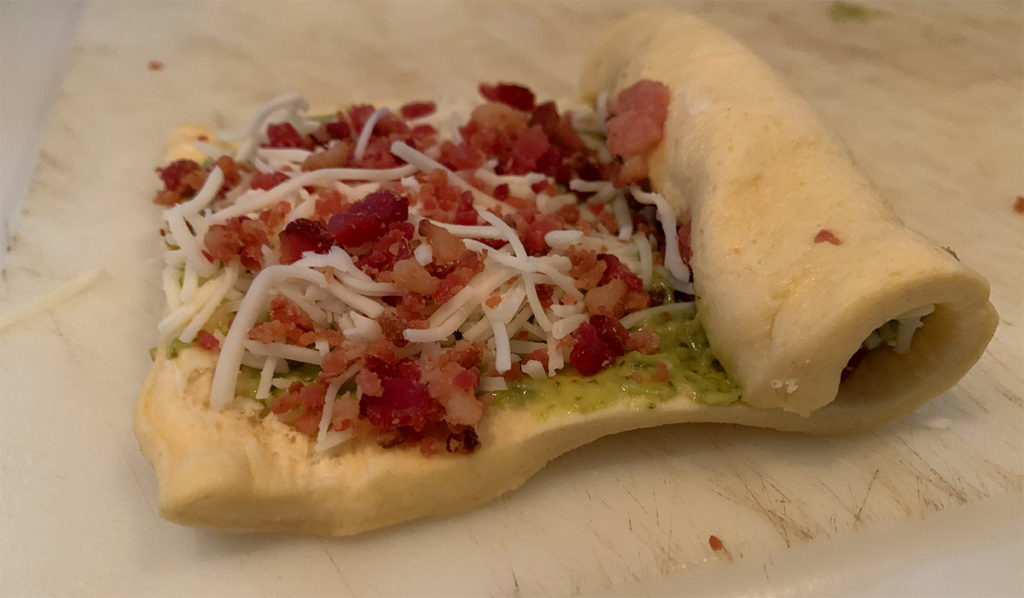
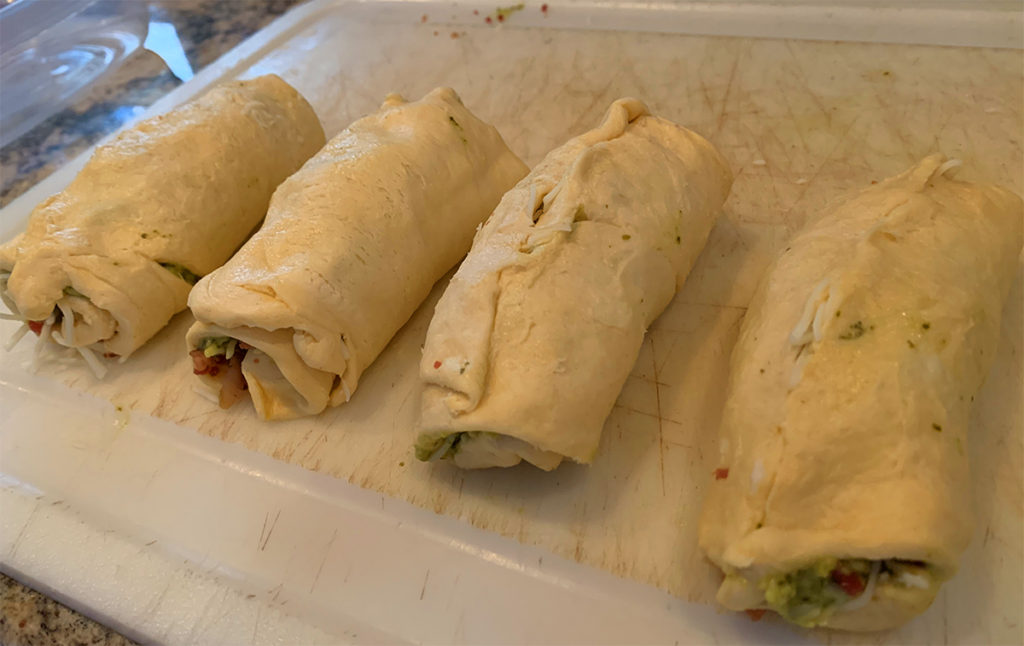
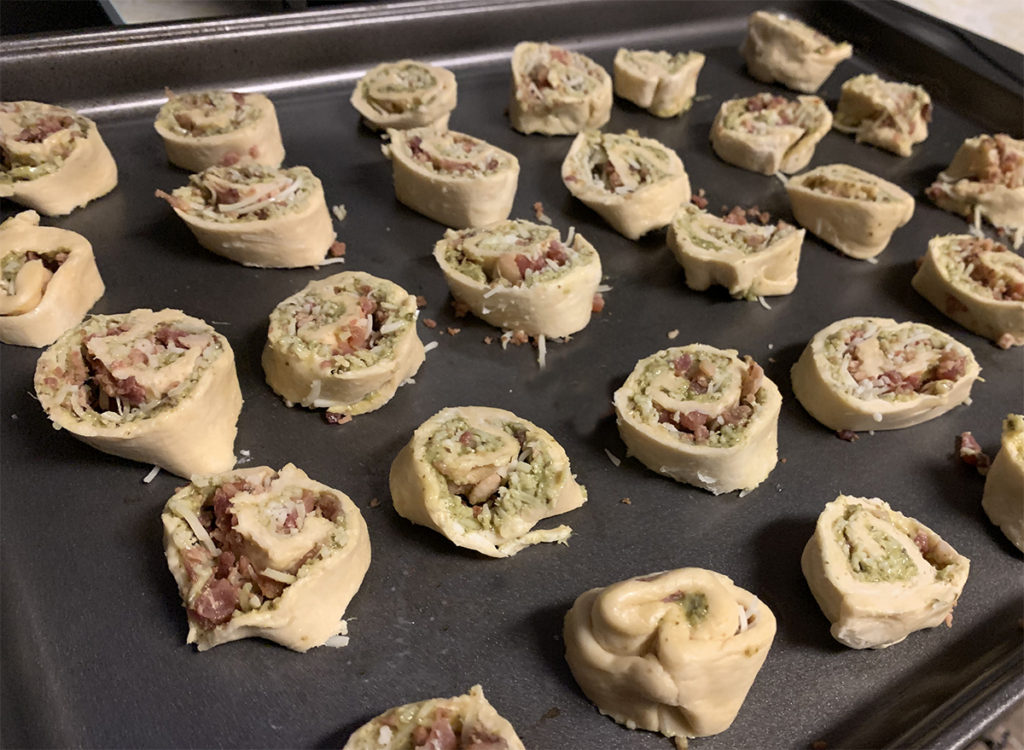
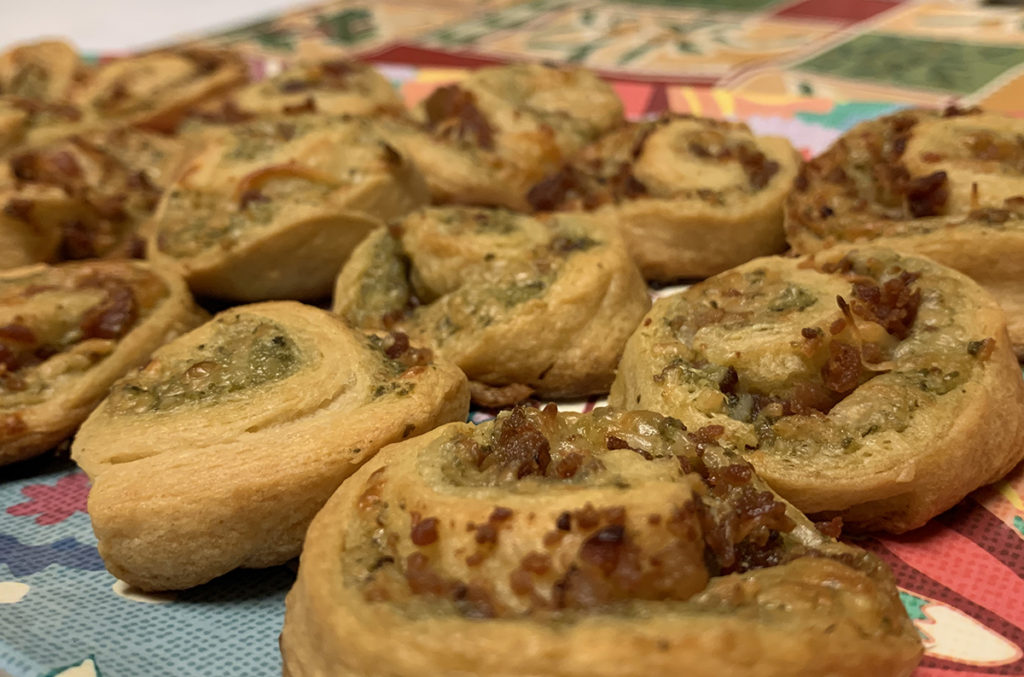
Step 1: Separate the crescent dough into four rectangles. Pinch the perforated diagonal lines together to prevent the rectangles from breaking into triangular pieces. Spread a layer of pesto onto each rectangle, leaving about a 1/4 inch edge. Sprinkle the parmesan cheese on top of the pesto, then sprinkle with the cooked bacon pieces.Step 2: Roll the dough starting from the far right side to the left side. Gently pinch the dough closed to avoid it from splitting or separating.Step 3: Place the four rolls into the freezer for about 45 minutes. This will allow the rolls to slice easier.Step 4: Using a serrated knife, slice each roll into six pinwheel pieces. Place the pinwheel pieces on a non-greased cookie sheet. Bake at 350 degrees for 15 minutes or until the pinwheels start to turn a golden brown.Step 5: Remove from oven. Serve warm and enjoy!
With Thanksgiving being less than one week away, my tastebuds have already started firing on all cylinders as we all get ready for the annual feast. Two of my favorite flavors that work well for a Thanksgiving dish are sweet and savory. The recipe that I’m sharing with you in this post brings both of those flavors together with an additional crunch factor to make for a fun and tasty appetizer.
If you are a fan of butternut squash, then you know that a beautiful and tasty sweetness comes through when seasoned and baked, especially when prepared with ingredients like cinnamon and maple syrup. Goat cheese, on the other hand, lends itself naturally to savory dishes. For me, it is an excellent spread for bread and crackers when accompanied by olives, crunchy vegetables, or seasoned with fresh herbs.
The key ingredient to this recipe, which helps bridge the sweetness of the butternut squash and the savory of the goat cheese, is fresh sage. If you’re not familiar with sage, it is a soft, almost velvety-like leaf that has an earthy flavor that is very complementary to butternut squash. A rich butter sage sauce screams all flavorful things autumn. The way that we are incorporating the sage in this recipe really helps drive home that savory taste.
In order to help bring out the flavor of the sage, we start by sautéing the leaves in olive oil for about 30-45 seconds, until the leaves become fragrant and start to crisp. After removing the leaves, the oil will retain the earthy sage flavor. The infused oil can now be used to coat the butternut squash prior to baking, enhancing the flavor of the butternut squash as it bakes. Adding a few of the chopped sautéed leaves to both the baked butternut squash and the goat cheese mixture will really help bring all of the flavors together.
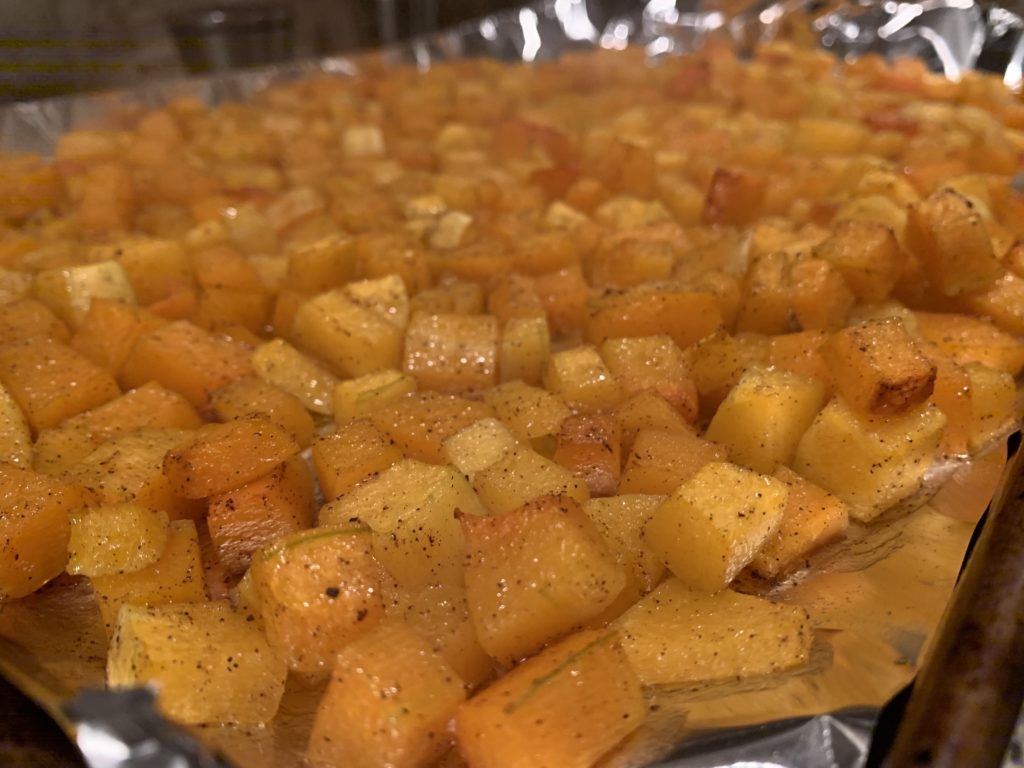
Perfectly roasted butternut squash, seasoned and coated with sage-infused olive oil.
Aside from representing some of the classic tastes and flavors of Thanksgiving, this recipe is also fairly easy to make (although a food processor is recommended), and the butternut squash and goat cheese spreads can be prepared up to a day in advance. By allowing yourself 10-15 minutes for assembly, your appetizer will be ready to go without much effort involved on the big day. You can even purchase toasted crostini chips from your grocery store if you are short on time to toast up your own baguette slices. Now that’s something to be thankful for!
Butternut Squash and Goat Cheese Crostini
Makes approximately 36 Crostini
Ingredients: 1 medium-to-large butternut squash, peeled, seeded and cut into 1 inch cubes 6 fresh sage leaves 3 tablespoons olive oil, plus additional as needed 1 teaspoon salt, plus additional as needed 1/8 teaspoon ground black pepper 1/2 teaspoon cinnamon 1 tablespoon maple syrup (you can add a bit more syrup for a sweeter taste if you prefer) 1/4 cup garbanzo beans 4 ounces goat cheese 2 tablespoons sour cream or plain Greek yogurt 1/4 cup pecan pieces (optional, and toasted if you prefer) One baguette or long thin loaf of crusty bread, cut into 1/2 inch slices (or you can purchase toasted crostini chips)
Preheat your oven to 400 degrees. Peel, seed and cut up your butternut squash. Next, you will heat up the three tablespoons of olive oil in a small sauce pan. Add the fresh sage leaves to the heated oil for about 30-45 seconds, until they start to darken in color. Remove the sage leaves from the oil, pat them dry and set aside. Let the sage-infused oil cool slightly.
Place the cut up butternut squash into a large mixing bowl. Add the sage-infused oil, one teaspoon salt, black pepper, cinnamon and maple syrup to the bowl. Mix together so that all of the butternut squash is evenly coated. You can drizzle a bit more olive oil if necessary to help coat the squash. Spread the squash on a large baking sheet that is lined with aluminum foil. Bake for 25-30 minutes, or until the squash is tender and starts turning a golden brown. Remove from oven and let cool.
If you are toasting up your own crostini, leave the oven on, turning the temperature down to 350 degrees
While the squash is baking, you will prepare the goat cheese spread. Add the goat cheese, sour cream or Greek yogurt (whichever you prefer to use), a pinch of salt, small drizzle of olive oil and three of the chopped sage leaves to a bowl. Mix well. For a creamier texture, you can mix it in a food processor. Adjust the salt and olive oil to taste. Set aside when mixed.
Once the squash has cooled, you will place the squash, garbanzo beans and three remaining sage leaves into a food processor or blender. Blend until smooth and creamy. You can season with additional salt, pepper and cinnamon to your liking.
If you are using purchased crostini chips, then you are ready for the assembly.
If you are toasting up your own crostini, place the slices of bread on a large baking sheet. Lightly drizzle each slice with olive oil and season with a bit of salt and pepper. Bake the crostini at 350 degrees for about 8-10 minutes, or until the bread is toasted. Remove from oven and let cool for a few minutes.
Now for the assembly! Spread a layer of the goat cheese mixture on each crostini. Add a dollop of the butternut squash mixture on top of the cheese. Sprinkle with chopped pecans if you desire. Plate, serve and enjoy!
When I first came across this recipe, what immediately stood out me was the use of ricotta. Any recipe that uses ricotta is a winner in my book, and if it’s a dessert, I am all in! I was also intrigued by the fact that making this ice cream recipe was a no churn process (more on that in a bit). But let’s be honest, it was mainly the ricotta that inspired me.
Before we get into the recipe itself, let me explain to you the difference between this ice cream, which is a no churn ice cream, and a traditional home churned ice cream. Churned ice cream is made with an ice cream maker. The ingredients are mixed in a chilled bowl with a slow motorized whipping paddle, which helps create a creamy, light textured home made ice cream. We have an older ice cream maker in our house and use it every once in a while. It’s not difficult to use and makes a good ice cream, but the bowl has to be chilled in the freezer for a minimum of 12 hours prior to making the ice cream. The mixed batter then has to be frozen for a minimum of 6-8 hours before serving. Serious advanced planning is involved. I don’t have much information on newer ice cream machine models, so there may not be as much ‘hurry up and wait’ involved.
This recipe that I’m sharing is for a non churn ice cream, meaning there is no need to use an ice cream maker. An electric mixer or a hand mixer is the only appliance that you need. Sweetened condensed milk is also a key ingredient in no churn ice creams, which helps create the sweet, creamy texture. No churn ice creams will be thicker and more dense, but creamy and tasty nonetheless. There is also a quicker freezing time, approximately 5-6 hours. You will most likely have to let the frozen ice cream sit out for a few minutes before scooping because it will harden up more than the airier churned ice cream, but it will be worth the wait. Now that we took care of the scientific facts, let’s get on to the recipe.
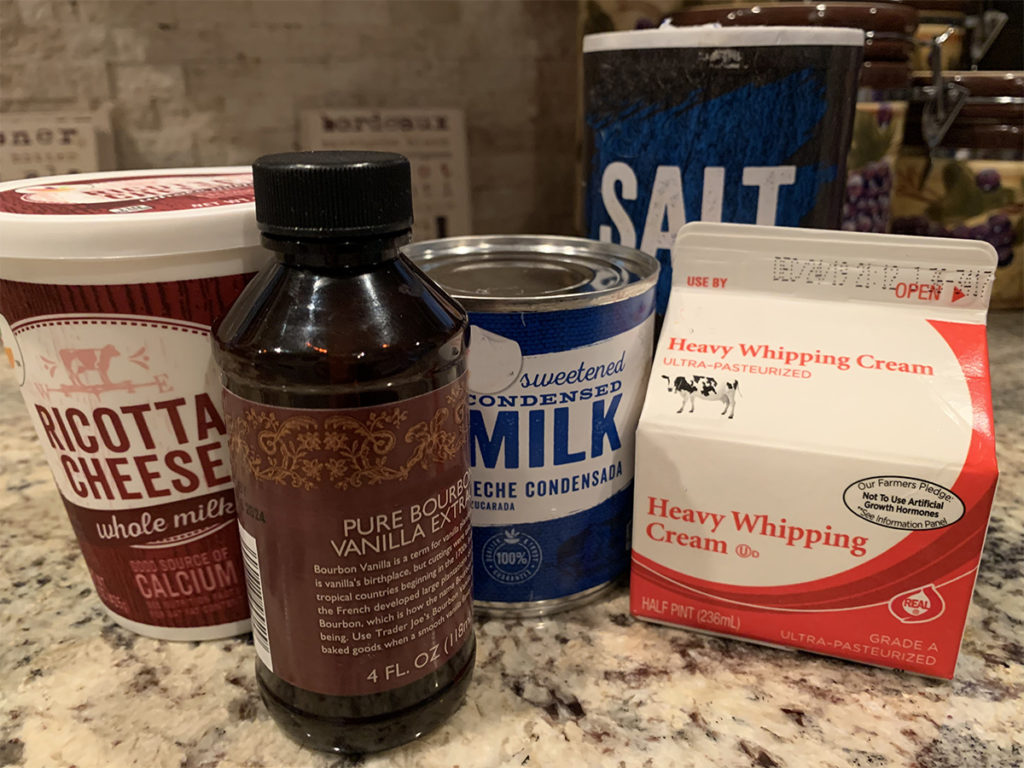
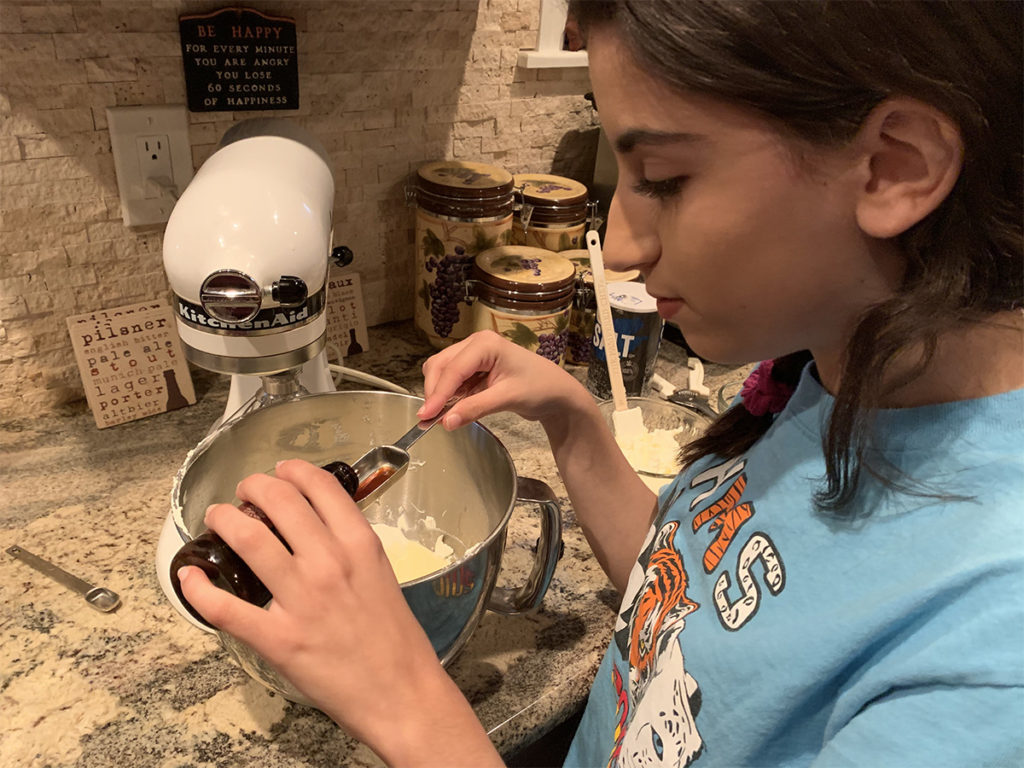
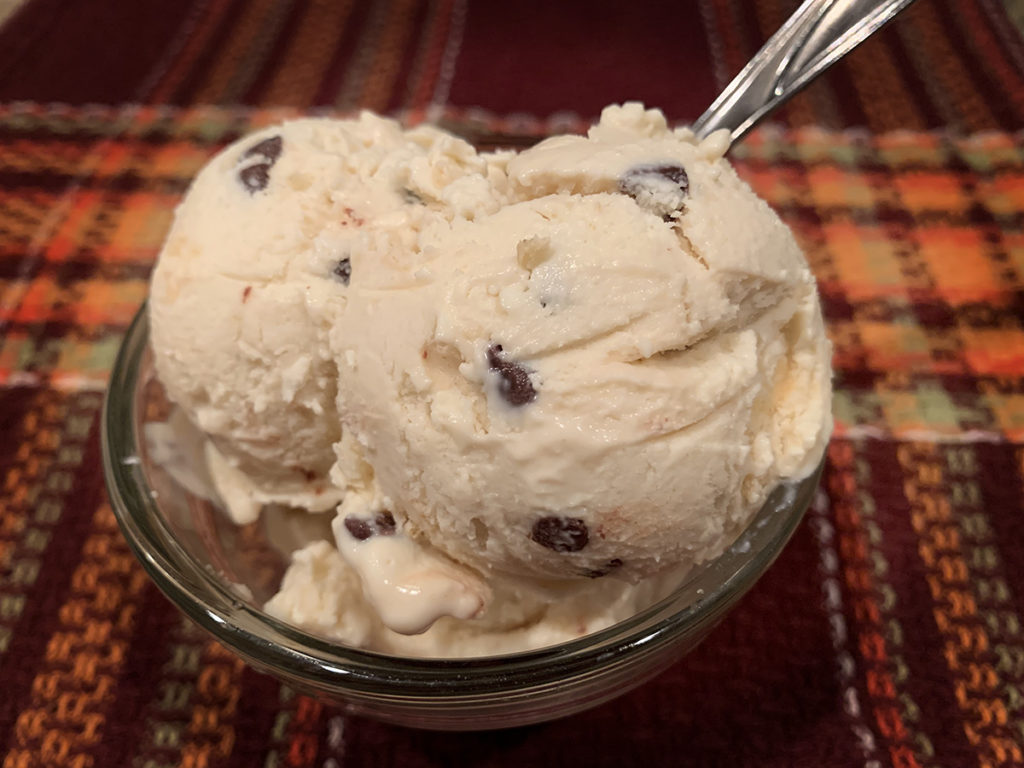
I’ve read up on quite a few no churn recipes, and the one that I have decided to follow for the base ricotta ice cream recipe could be found athowsweeteats.com. The ingredients for this recipe are very simple: heavy cream, whole milk ricotta, sweetened condensed milk, vanilla extract and a pinch of salt to help with the freezing process. We also added chocolate chips to our batter for extra goodness. The ingredients get whipped up using a stand up mixer or a hand mixer. The batter gets poured into a freezer safe container (a non-stick loaf pan works well for this), and then 5-6 hours later you have a rich, creamy and decadent home made dessert that will impress all of your family and friends!
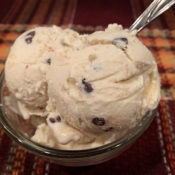
The basic ingredients for no churn ricotta ice cream.
If you are curious about how ricotta ice cream tastes, as I was before we made it, I would say that it is kinda-sorta in the cookie dough/cake batter class of ice creams, only not as sweet. You know those delicious Italian ricotta cookies, which are often served around the holidays with the light glaze and candied sprinkles on top? This is the ice cream version of those cookies.
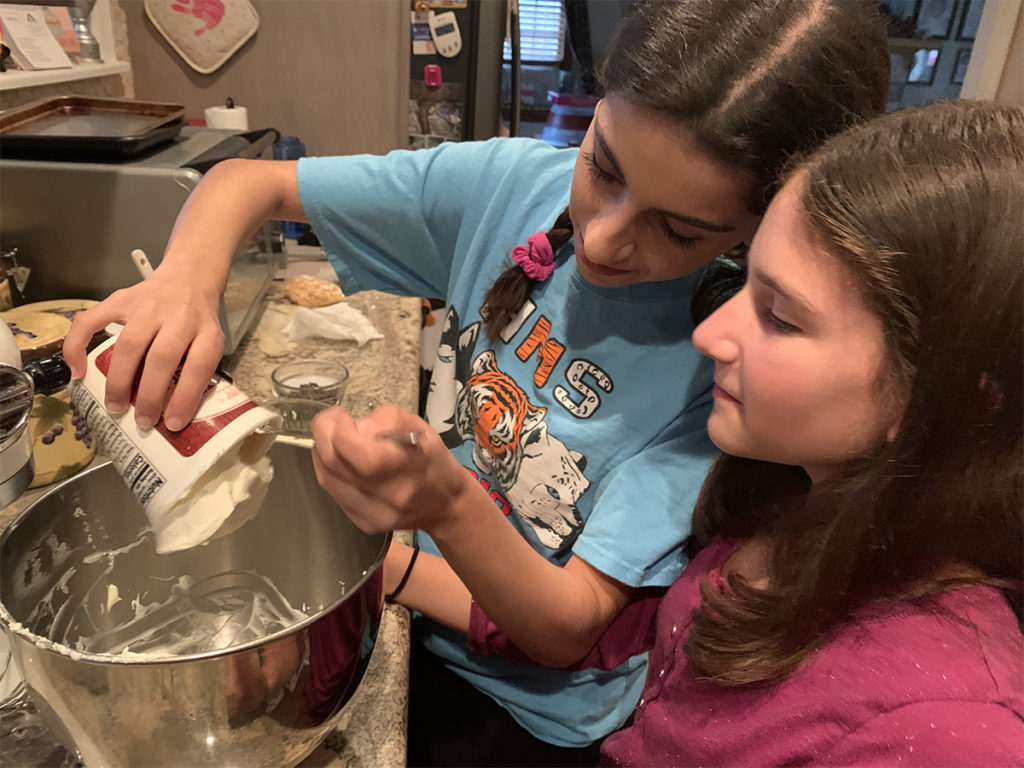
Pour heavy cream into a mixing bowl and mix with hand mixer or electric mixer until stiff peaks start to form.
In a separate bowl, mix together the remaining ingredients until well combined. If you only have one mixing bowl to work with, remove the whipped cream and set it aside, reusing the bowl for the remaining ingredients.
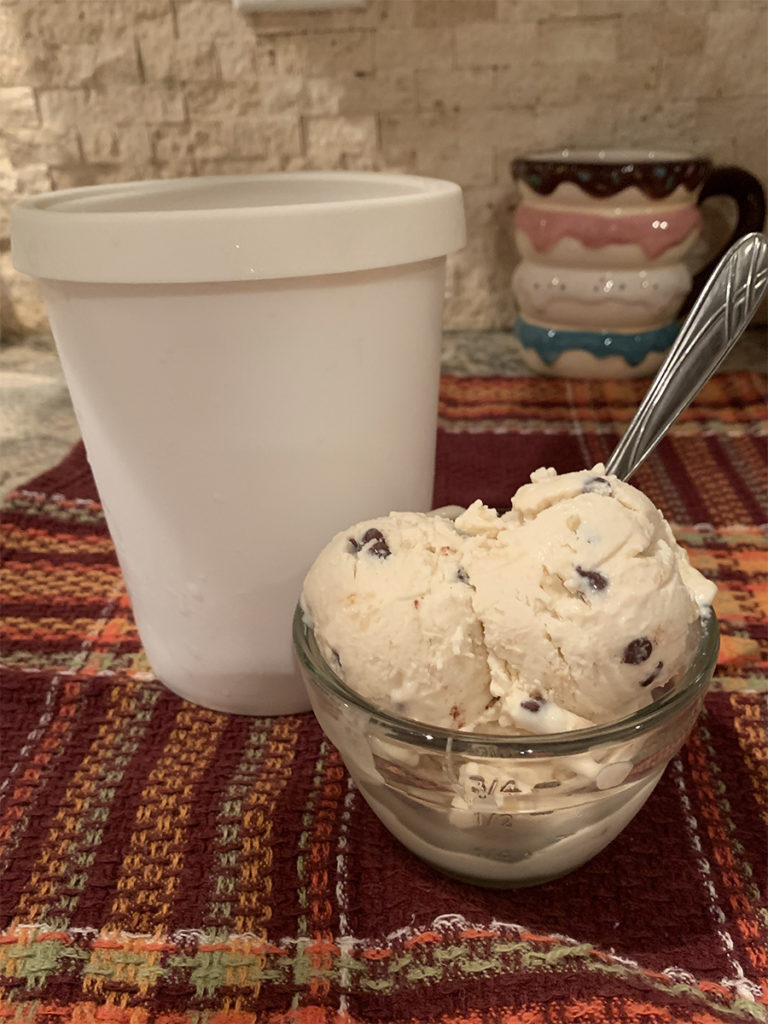
Once all ingredients are well mixed, fold in the whipped cream. Pour the combined batter into a freezer-safe container. A loaf pan works well, or you can purchase ice cream containers online or at your favorite kitchenware store.
Freeze for 5-6 hours. If the ice cream is too hard to scoop, let it sit out at room temperature for a few minutes before serving. Scoop and enjoy!
Cannoli Ice Cream
To give this ice cream a cannoli flair, add a teaspoon of powdered sugar and a dash of cinnamon to the whipped cream, then add a half cup of mini chocolate chips, half cup of chopped pistachios and a half cup of crushed cannoli shells to the batter before freezing. If you cannot find cannoli shells, you can use crushed graham crackers or crushed sugar ice cream cones.
Pumpkin Ricotta Ice Cream
There are two approaches that you can take to making Pumpkin Ricotta Ice Cream. You can simply give a pumpkin spice taste to the ice cream by adding either 1 teaspoon of pumpkin pie spice OR one half teaspoon of cinnamon, one quarter teaspoon of nutmeg and one eighth teaspoon of allspice to the batter. Or if you are a pumpkin purist, you can add one half cup of pumpkin puree to the batter along with the spices. Be sure to reduce the ricotta by one half cup to compensate for the addition of the pumpkin puree.
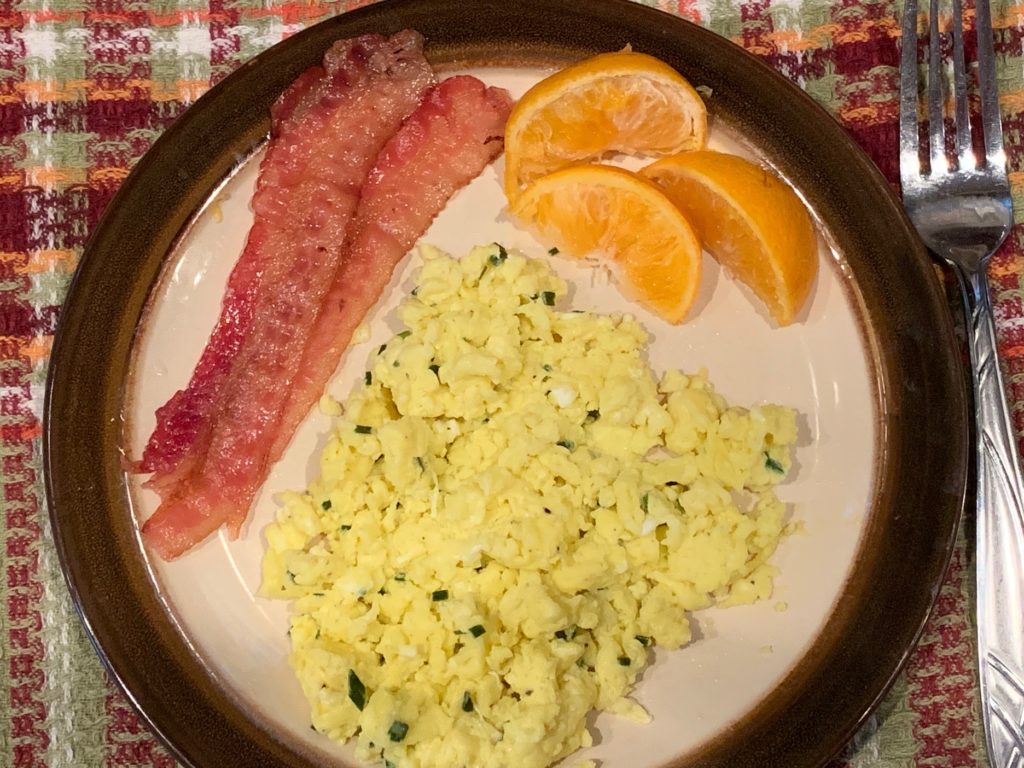
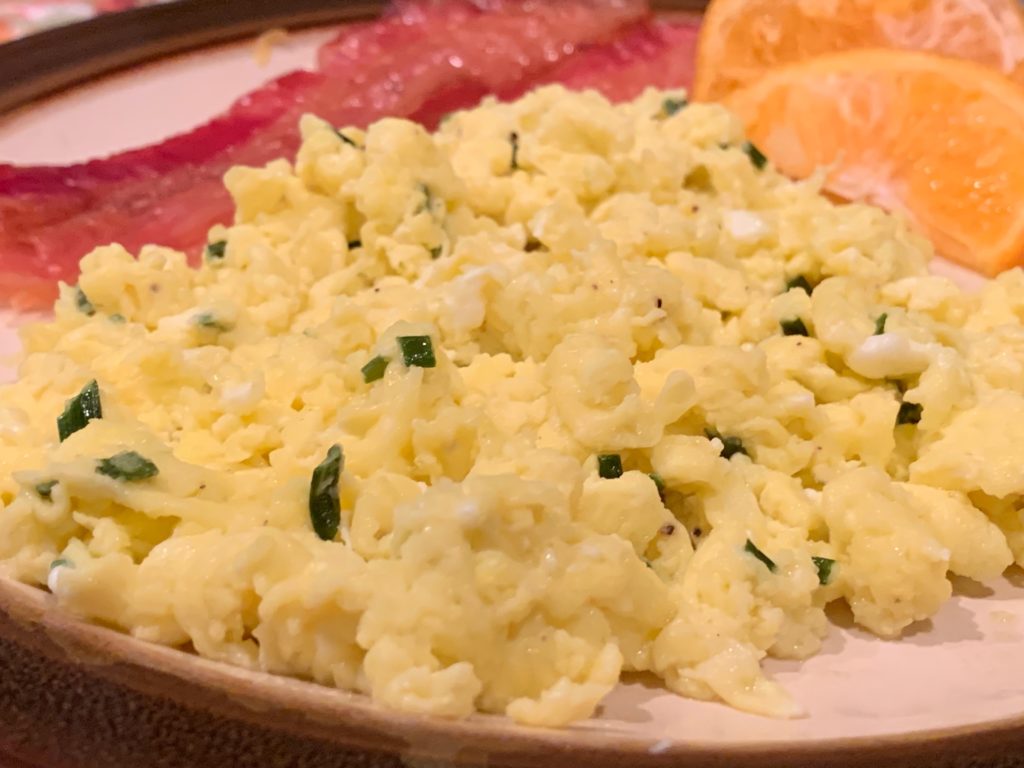
I’d like to share with you a cooking method that I recently discovered to help make really good scrambled eggs. You are probably thinking that scrambled eggs may be one of the easiest recipes to make. It was the first dish that I started making for myself when I was a kid. And I’m sure that you all have your own little ingredient tricks to make your perfect version of scrambled eggs. Some people may prefer to add milk, cheddar cheese, sour cream or creme fraiche. Mine is adding some parmesan cheese and chives along with some salt and pepper. This post is not so much about the recipe, but rather the cooking technique.
Instead of using a traditional frying pan, I have recently started scrambling my eggs in a heated non-stick sauce pan. Using a sauce pan allows you more surface area to get a good scramble going. You can tilt and move the pan while scrambling, without worrying about eggs splashing out all over the stove top. I also like to use the 20-20 method. I start by adding a small pat of butter or drizzle of olive oil to the heated pan. Then I add my scrambled batter to the pan and start scrambling immediately and constantly with a wooden spatula. I keep the pan on the stove for twenty seconds, then I lift and remove the pan for twenty seconds, while continuing to constantly scramble. The eggs will still cook in a heated pan, even if they are not over direct heat the entire time. Twenty seconds back on the stove, then twenty seconds off again. This method gives you more control over getting the eggs to the perfect temperature and texture of your liking. Continue the 20-20 on and off steps until the eggs reach your desired consistency.
So there you have it. Heated sauce pan, repeated pattern of twenty seconds on and twenty seconds off, constant scrambling with a wooden spatula until done to your liking. Now get scrambling!!!


Recent Comments