Home » Menu » Recent Articles:

Whipped Mascarpone and Greek Yogurt

August 17, 2016 Dessert, Menu No Comments

Mascarpone cheese may be one of the greatest Italian food items that I can think of. It plays a key role in two of my favorite desserts – tiramisu and cannoli, and it also makes for a delicious dessert topping when combined with heavy whipping cream. In today’s recipe, I’m substituting the traditional heavy whipping cream with non-fat plain Greek yogurt. Not only does this substitution cut down on the fat content, it also gives you a boost of protein, probiotics, potassium, B12 and other nutritional benefits! Whether you are serving this as a dip with fruit, or as a dollop alongside a piece of cake or on a puffed pastry, this version of mascarpone whipped cream will be sure to please!


Whipped Mascarpone and Greek Yogurt
Makes 1 cup

1/2 cup mascarpone cheese
1/2 cup non-fat plain Greek yogurt
2 tspn powdered sugar
2 tspn vanilla extract

Combine all ingredients in a mixing bowl. Using a hand mixer or a stand mixer, mix all ingredients together for about 2 minutes, until thick and creamy. Cover and refrigerate until ready to use.

IMG_2911

Puffed pastry topped with a dollop of whipped mascarpone greek yogurt, fresh fruit and a sprinkle of cinnamon.

Share

Book It!

August 2, 2016 Menu No Comments

Hello everyone – it’s been a couple of months now since I had announced that I would be taking a short break from posting any new recipes on this blog. I had decided at the beginning of the summer to take some time off to put all of my focus into another passionate project of mine that needed my full attention. And as promised, I am writing today to let you all know what I’ve been up to.

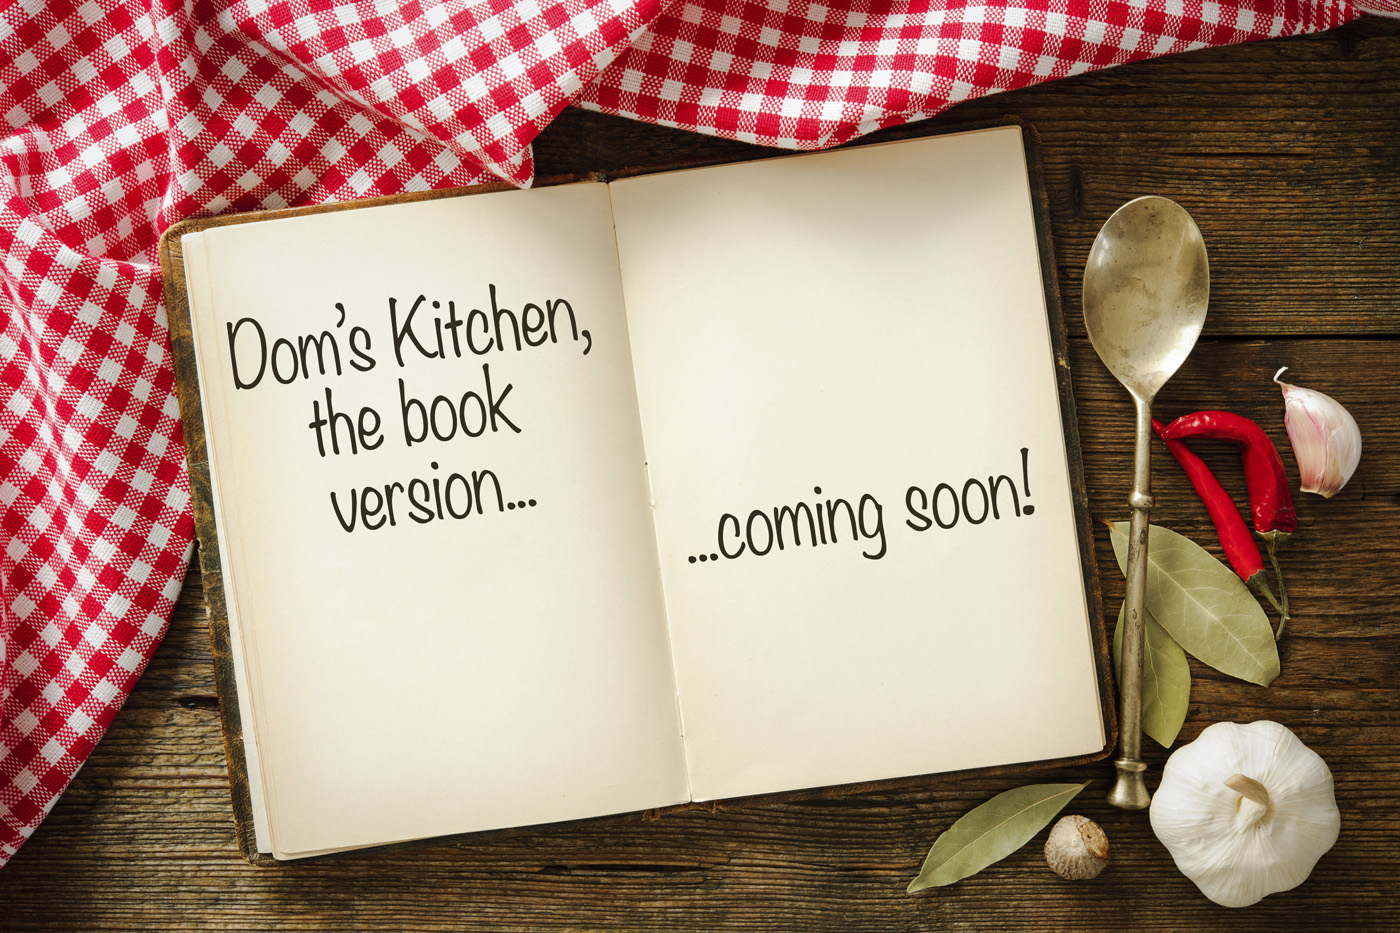
After the many requests and suggestions that I have received over the years, I am happy – and yes, also a bit apprehensive – to finally say that yes, I am putting together my own cook book! The truth is, this is something that I have been hoping and planning to do for quite a while now. I’ve actually spent the last year giving serious consideration to a few new creative options. I gave a lot of thought as to what avenues would allow me to best express my passion for cooking and blogging, while at the same time staying true to myself. Being that I have been a graphic designer in the publishing business for over 20 years now, the decision was easy…it was time to turn this blogging adventure into a book, and one that I would create on my own!

Many of you may be wondering if a book is a good option in today’s online world. After all, I myself have been writing for an online audience for over eight years now. While many may argue that print is dead, I am a firm believer that it alive and well. I still find pleasure and enjoyment in purchasing and flipping through a new book, especially one that also makes for a nice conversation piece. It’s an experience that personally can never be replaced by simply staring at a screen. Another hurdle involved is the cost and effort to have a book published and printed. Traditionally, it would take a couple of factors to successfully have your book published and sold. You would either a) need to be somewhat famous – which I am not; or b) have the money to fund the project yourself – which I don’t.

This is where the concept of self publishing comes in to play. There are a number of self publishing websites out there, which allow you to create the contents of your book and have it sold via their website. Many even offer design, layout and editing assistance if needed. Once you are happy with the layouts that YOU create, your material gets uploaded and it is printed on demand. In other words, instead of having to pay up front for thousands of copies of books that you would need to hustle to sell, your book gets printed per order. Depending on the service that is used, the reader will have the option of ordering either a hard-back, soft-back or even a downloadable electronic version of the book. So it is a win-win situation for both the author and the reader. I am still in the process of talking to and reviewing my options with a few different online publishing outfits, making sure that whoever I select will offer the absolute best product for myself and my readers.

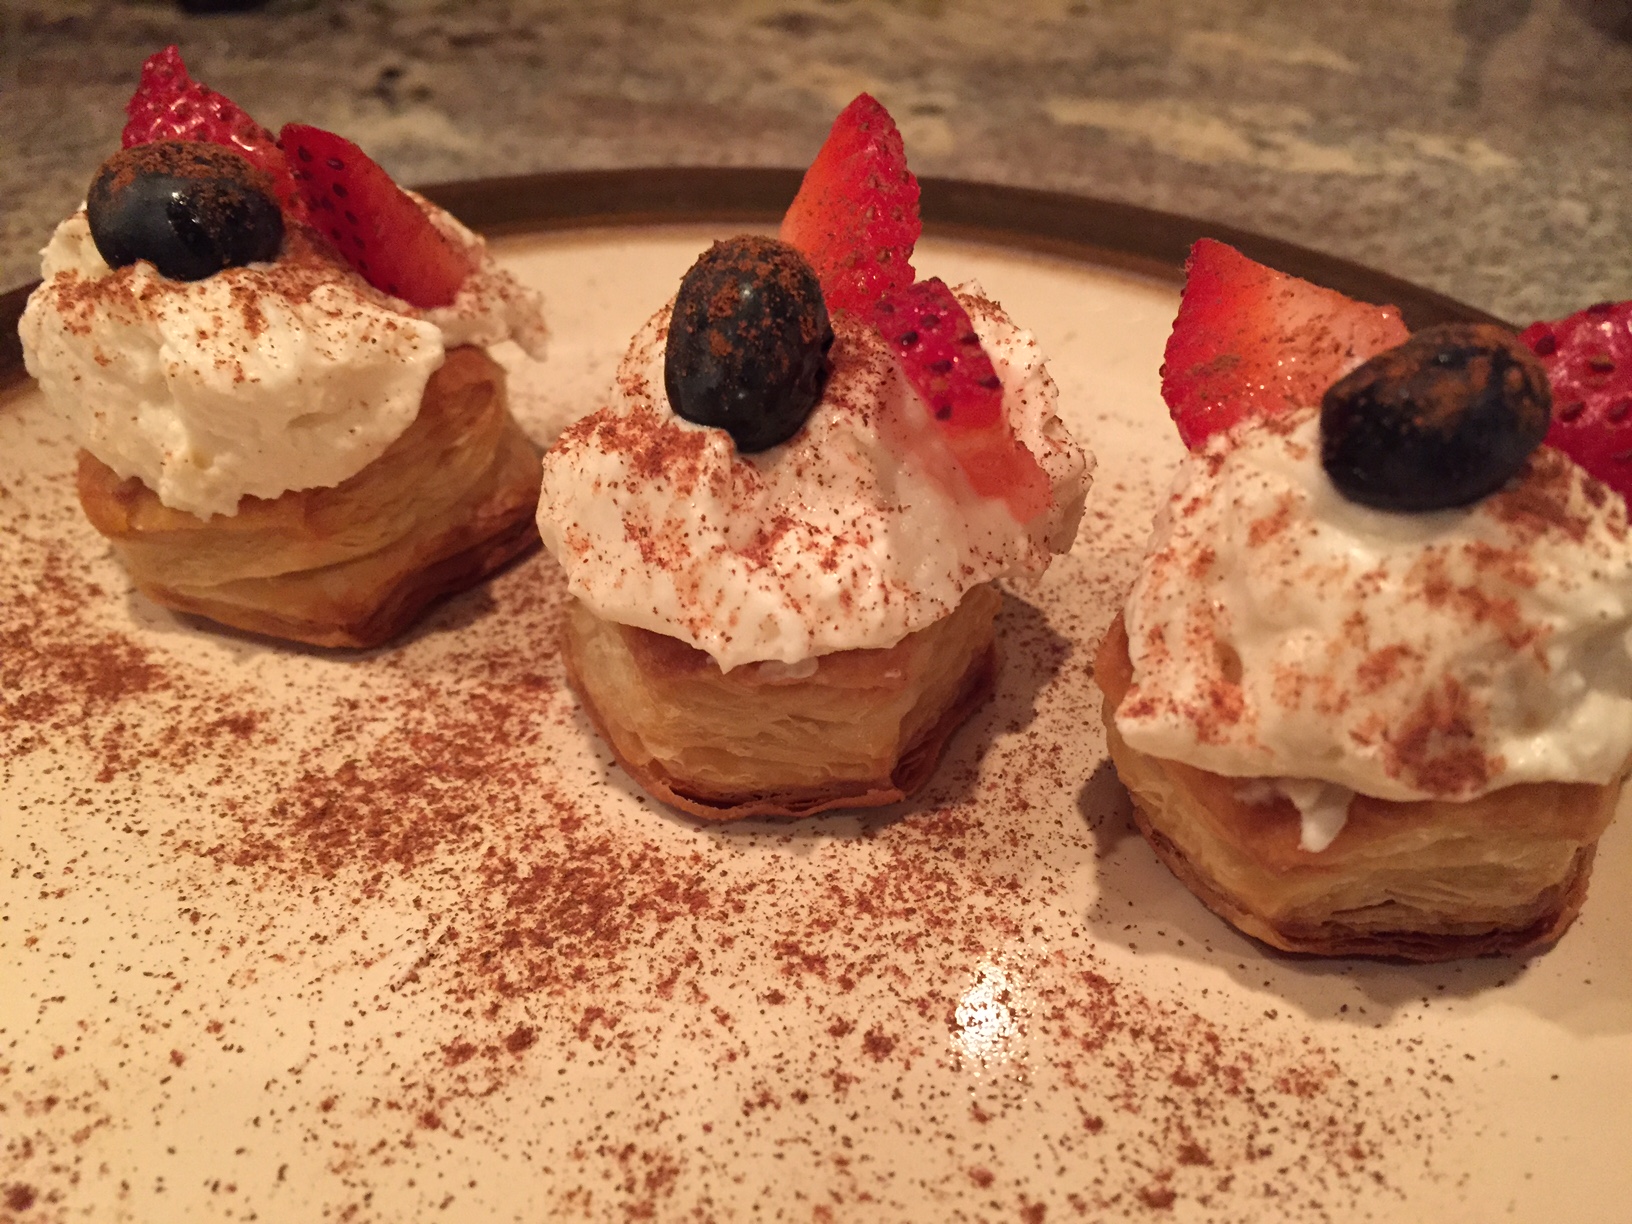
Being a designer by trade, this project has been the ultimate combination of my creative passions, and I am very excited to soon share it with all of you. I’ve been spending the past few months working up the best design and layout possible that will help translate my online blog into an actual book that I can be proud of. The book itself will be a collection of my favorite recipes. Many of them will be updated versions of ones that have appeared on this blog. Of course there will also be a good number of brand new recipes which will be exclusive to this book. There will also be memoirs of the events and opportunities that I have experienced while writing my food blog.

Much of the material, I am happy to say, has already been gathered and put into layout. As far as a release date goes…well, that will have to wait for just a bit. There is still a bit of work to be done on the project – text and photo editing, paginating and proofing, etc. It is my mission as both author and designer of the book to make sure that I am producing for both myself and my readers nothing less than the best product possible. I’ll be sure to keep you all posted as this project progresses.

So stay tuned and stay in touch! After a much deserved upcoming vacation with my family, I will get back to posting on my blog more often and more regularly.

Cheers!
Dom

Share

Raspberry Rossini

July 24, 2016 Menu No Comments

If you are looking for a refreshing cocktail to keep you cool in the summer, Prosecco makes for a great choice. The Italian sparkling white wine is very good on its own, yet there are also other great drink varieties that use Prosecco as its key ingredient.

There is the Bellini, which combines Prosecco with peach purée; the Rossini, which uses strawberry purée; and of course the Mimosa, made with Prosecco and fresh squeezed orange juice.

My version of the Rossini that I am sharing with you today uses fresh raspberries and a splash of simple syrup in place of strawberries. After just a few pulses in your blender, you have a sweet, refreshing and delicious cocktail to enjoy during these hot summer evenings.

Cheers!

Raspberry Rossini
makes two drinks

1/2 cup fresh raspberries
1 oz simple syrup
1/2 cup crushed ice
Prosecco

Purée the raspberries, simple syrup and crushed ice in a blender until well combined and slushy. Fill two champagne glasses 2/3 full with the raspberry purée. Fill the remainder of the glasses with Prosecco. Gently stir to combine. Enjoy!


prosecco

Share

Grill-Roasted Red Peppers

June 23, 2016 Menu No Comments

Here’s a fun recipe that I picked up from America’s Test Kitchen. I was especially happy to learn this recipe because we have an electric glass top stove in our house, which obviously is not appropriate for roasting red peppers over an open flame. Now that I was introduced to this grilled version, I am looking forward to many jars of home-made roasted red peppers this summer season.

Traditionally, you would roast a red bell pepper over an open flame, making sure that the pepper gets charred evenly on all four sides. Once charred, you place the peppers into a paper bag or a sealed container to cool, then simply peel off the blistered, charred skin and voila…roasted red peppers! The secret to this unique recipe is roasting the peppers with a bit of olive oil and fresh garlic in a covered aluminum tray on the grill prior to sitting them over the open flames. This step actually steams the peppers, causing them to flatten out and become much more pliable. When it’s time to grill the peppers over the open flame, they will actually lay flat on the grill, which means you only have to grill two sides of the pepper instead of four. You can re-use the foil covering from the roasting pan to wrap and cool the peppers prior to peeling the blistered skin. And be sure to reserve the oil and garlic from the roasting pan, as you can add it to the roasted peppers as a marinade for additional flavor.

Step 1 - remove the cap, core and seeds from 2 to 3 red bell peppers. Place in an aluminum tray, drizzle with 1/2 cup olive oil. Add a few cloves of garlic, whole or minced, to the tray. Cover with foil.

Step 1 – remove the cap, core and seeds from 2 to 3 red bell peppers. Place in an aluminum tray, drizzle with 1/2 cup olive oil. Add a few cloves of garlic, whole or minced, to the tray. Cover with foil.


Step 2 - place the covered tray over direct high heat. Lower the lid on the grill, let roast for 20 minutes. Carefully remove tray and foil covering when done.

Step 2 – place the covered tray over direct high heat. Lower the lid on the grill, let roast for 20 minutes. Carefully remove tray and foil covering when done.


Step 3 - remove the peppers from the tray, reserving the foil covering and the oil and garlic marinade. Lay the peppers over direct high heat. Grill for 20 minutes, or until both sides of the peppers are charred and start to blister, flipping occasionally.

Step 3 – remove the peppers from the tray, reserving the foil covering and the oil and garlic marinade. Lay the peppers over direct high heat. Grill for 20 minutes, or until both sides of the peppers are charred and start to blister, flipping occasionally.


peppers_05

Step 4 – wrap the charred peppers in the aluminum foil, or in a sealed container or paper bag, let cool for 1 hour. Once cooled, peel off charred skin, slice peppers into strips and mix with oil and garlic marinade.

Share

Recent Comments

Archives

powered by
Socialbar