
Breakfast Polenta Pizza
I am often asked when an Italian breakfast will be featured on my food blog. A true Italian breakfast is very simple, usually consisting of a café e latte or a cappuccino, bread, some pastries and biscotti and maybe some fruit…which doesn’t really leave me with much to discuss. I have, however, always had the intentions to put some sort of breakfast meal together using Italian inspired ingredients. I’ve talked about breakfast strata in the past (you can visit my recipe by clicking here), and of course there are the meat pies and frittatas that are enjoyed during the Easter season. Using the key ingredients from the Easter pies as a starting point (meats, cheeses and eggs), I decided to put together a breakfast pizza.
When I was a kid, breakfast pizza meant enjoying a left-over cold slice from the night before as I watched my Saturday morning cartoons. But for this recipe, I’m going a little more elegant and classy, starting with the crust. Instead of a traditional bread crust, I’m making a crust out of polenta (corn meal or corn grits mixed with hot water, salt, butter and parmesan cheese for additional flavor). Making a polenta crust may sound intimidating, as polenta usually involves a good 25-30 minutes of consistent stirring. But for this polenta crust recipe, you actually only have to stir for about 5-7 minutes, until the polenta pulls away from the pot as you stir. The batter then gets poured onto a baking sheet and shaped into a crust. After baking the crust for 20 minutes, you are now ready to top your pizza with whatever toppings you like. Anything from traditional bacon, eggs and cheddar to sausage and peppers, to spinach, tomatoes and feta. Another ten minutes in the oven, and you’re ready to enjoy your breakfast pizza. This is a dish that allows you to be creative and to have fun. It’s also a good meal to get the kids involved…which as all parents know is always the trick to get your kids to eat something new! And be sure to leave your comments on this post to let us know what breakfast pizza topping you have come up with.
Breakfast Polenta Pizza
Step 1: The Crust
3 cups water
1/2 tspn salt
1 cup corn meal or corn grits (either will work)
1-1/2 tbspn butter
*Note – these measurements will make a crust that will fill a half of a 9×13 baking sheet. You can double the ingredients for a full pan
In a large pot, bring the water and salt to a boil over high heat. Gradually stir in the corn meal/corn grits. Reduce heat and stir frequently with a wooden spoon for about 5-7 minutes, until the mixture pulls away from the side of the pot. Stir in the butter until mixed in.
Carefully pour the mixture onto a 9×13 baking sheet that has been lightly greased and lightly dusted with additional corn meal/corn grits. Using a spatula, start to flatten out the batter and shape it into a square crust in the middle of the pan (see note above for measurements to fill the entire pan). Next, as the mixture starts to slightly cool, lightly oil your hands and continue to press the mixture into a crust shape, about 1/2″ thick. Be sure to add a slightly higher lip around the edge to prevent any toppings from running off. You can also make small divots in the crust with your thumb, which will also help contain any liquid toppings. When the dough is shaped, place the baking sheet into a 400˚ oven for 20 minutes. Remove from oven and proceed to add your toppings.
Step 2: The Toppings
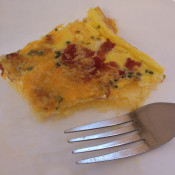
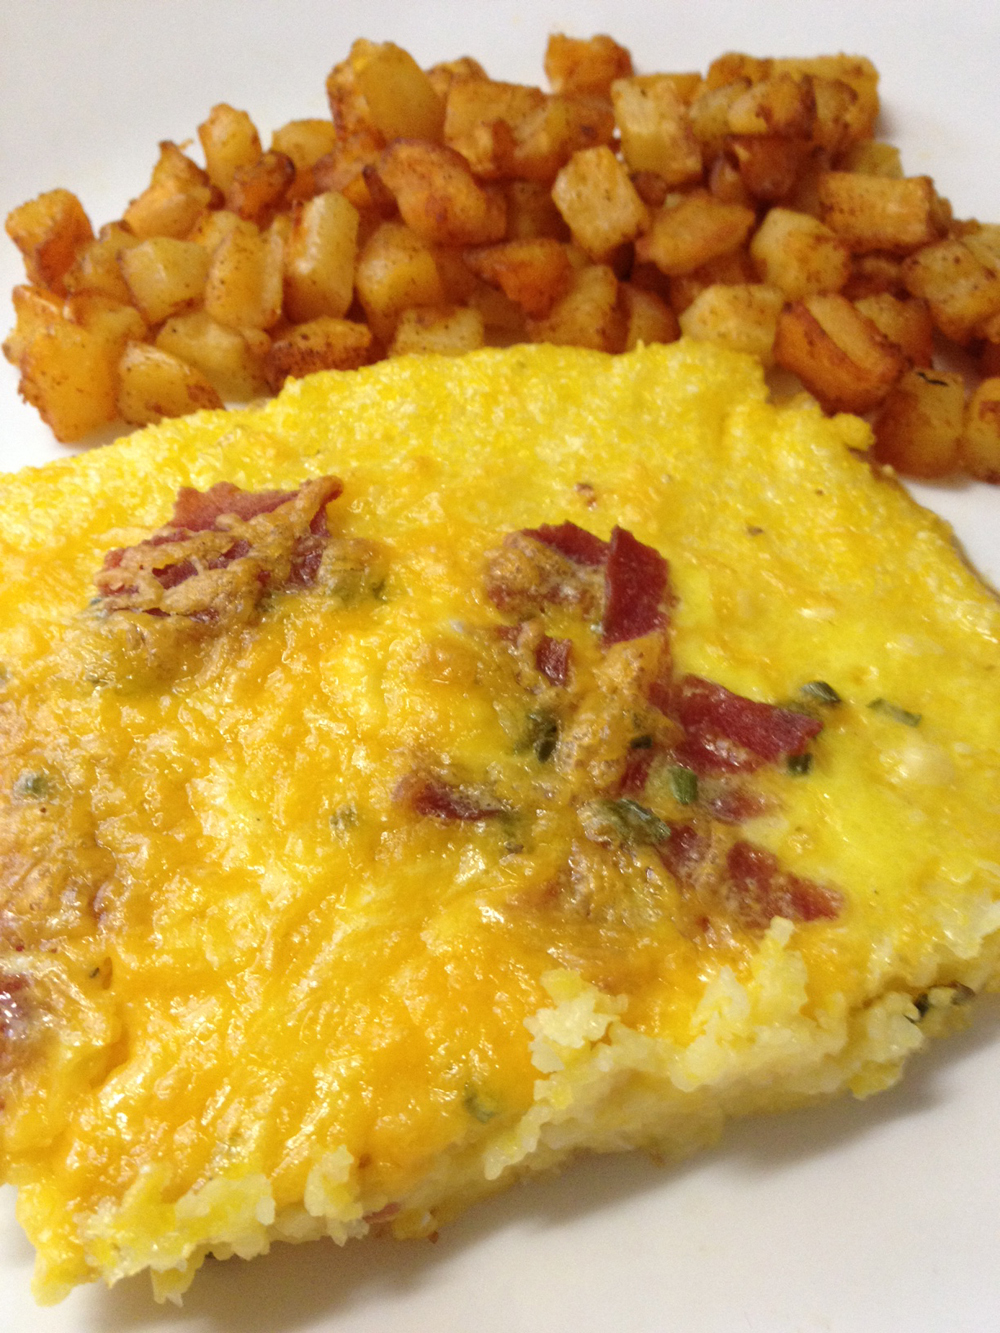
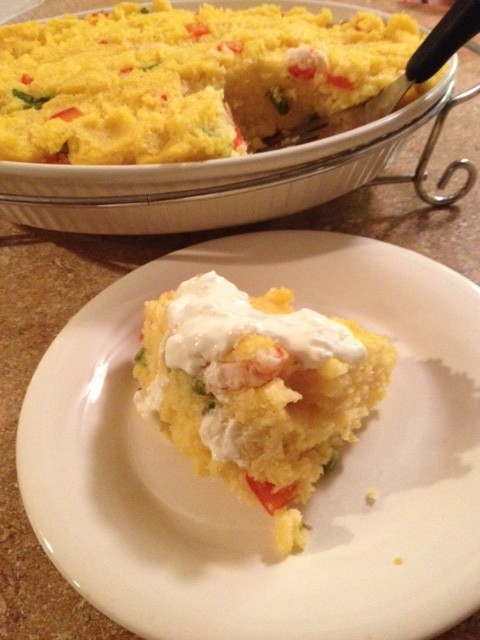
Once the crust is removed from the oven and is slightly cooled, it is time to add your toppings. For my first attempt, I kept it simple and added cooked bacon bits, topped with 3 beaten eggs and some shredded cheddar cheese. You can add whatever toppings you like. Peppers and sausage, and spinach, tomatoes and feta pies are next on my list. Be sure that your meat toppings are pre-cooked before adding them to the pizza. Whatever you choose, add the toppings to the polenta crust first, then add the beaten eggs, then top with shredded cheese if you wish. Three eggs will be enough for the smaller crust. Six eggs should be enough for a full size crust, but you can adjust accordingly. When the pizza crust is topped, place it back in the 400˚ oven for another 10 minutes. Carefully remove it from the oven, slice it up and enjoy.
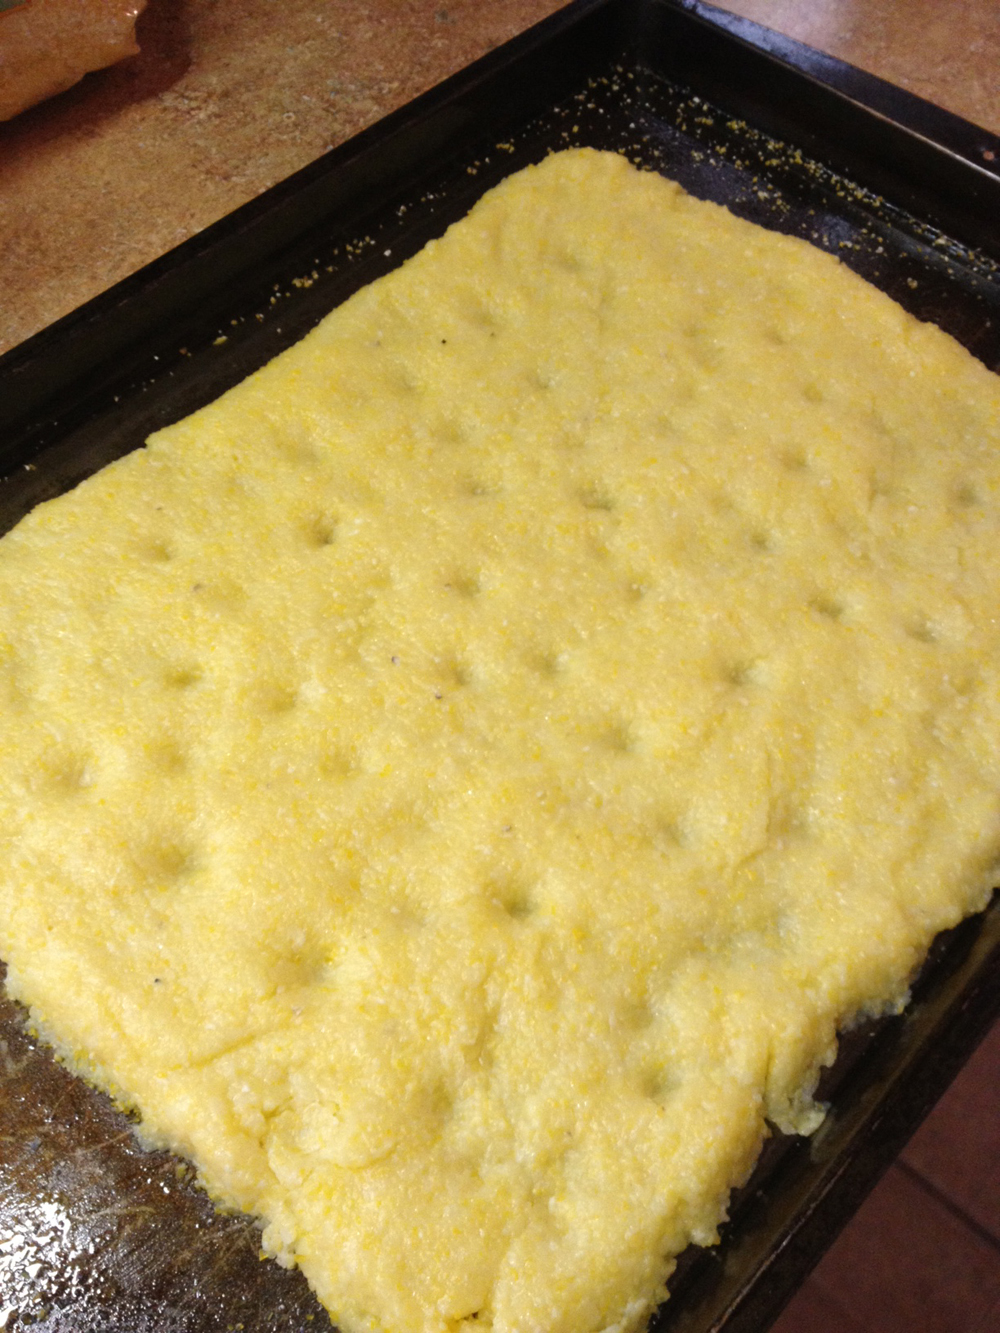
The polenta crust, shaped and ready to bake.


Recent Comments