
Cooking with Beer: Berry Weiss Rib Marinade
When purchasing a mixed case of beer, chances are that you will end up with a few bottles of a particular style that you may not find to be on your ‘favorites’ list. While giving away these unwanted bottles is always an easy option, I prefer to put them to a good alternative use…cooking with them! Heavier dark beers, such as porters, stouts and brown ales are good for winter time stews, soups and chili. Since we are currently in the summer season, which is highlighted by light beers and shandies, a good way to put these unfavorable bottles to use is by using them in a marinade.
Such was the case for me this past weekend, when I had a few extra bottles of a berry-flavored weissbier (a German-style white beer, also known as a wheat beer) on hand. I’m not a huge fan of fruity beers to begin with, and while I didn’t find this beer to be a total disappointment, it was still a bit too sweet and fruity for my preference. I did enjoy it a bit more with a meal than on its own, which made me think that it would be a good beer to use as a marinade. I immediately thought of using the marinade with ribs. I’ve used apple cider vinegar and cherry juice for other rib marinades, so I know that this would be a good use for the beer.
I found a basic beer marinade recipe and made a few adjustments to help better season the berry taste (adding some molasses for a slight sweetness and to add some body to the marinade, and some thyme, which is my favorite herb to use on ribs). I decided to use boneless country spare ribs for this recipe. I like the meatiness of country spare ribs and just find it easier to serve. My youngest daughter Ava also likes this style of pork ribs, so I knew that she would enjoy the dish as well. No worries, the alcohol does cook off when grilling! Any particular style of ribs would work well with this marinade.
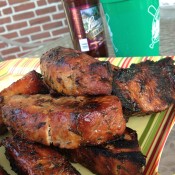
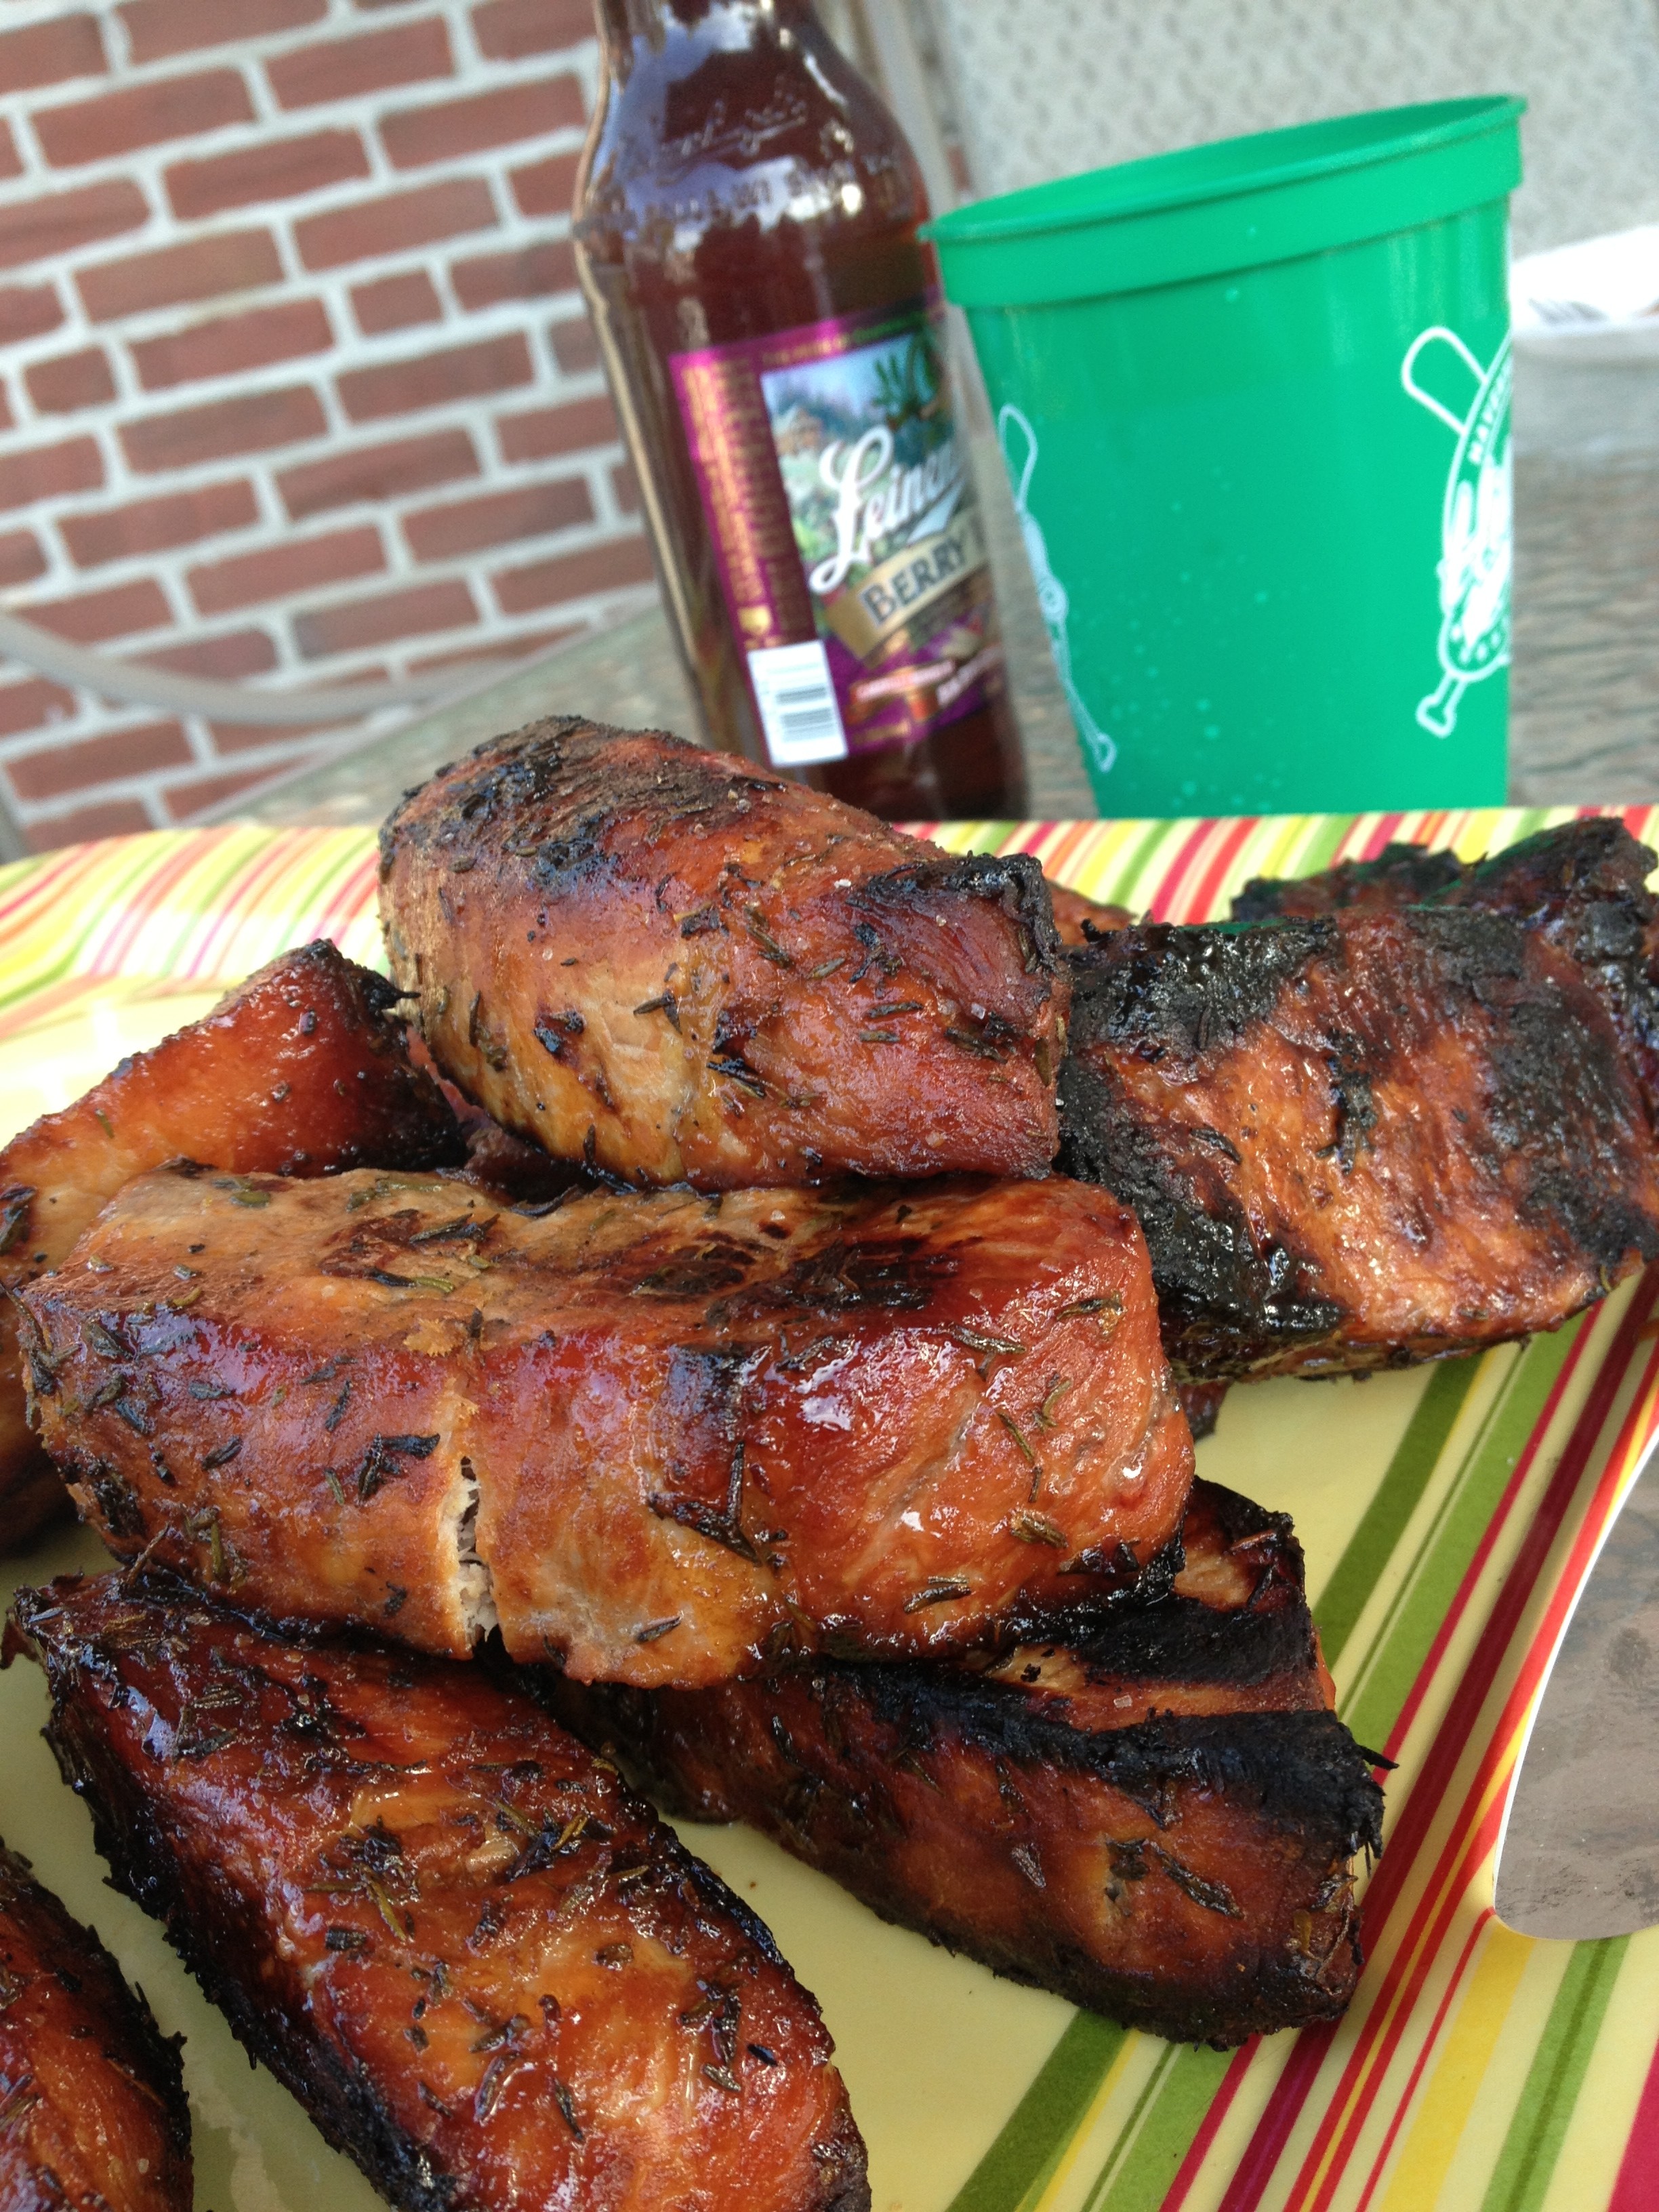
After letting the ribs sit in the marinade fora good 6 hours, they were plenty tenderized and absorbed a good amount of the marinade flavoring. I cooked them on low-indirect heat for a good 45 minutes, brushing them with some reserved marinade. When fully cooked, the ribs had a beautiful, slightly sweet glaze on them. Just enough to give the perfect flavor without being too thick and saucy.
If you’re not a fan of ribs, you can also use this marinade on chicken. Just brush it on as you would with your favorite barbecue sauce.
Berry Weiss Rib Marinade
1 12-oz bottle Leinenkugel Berry Weiss Beer*
2 teaspoons salt
2 tablespoons lemon juice
3⁄4 cup molasses
1 teaspoon dry mustard
1 tbspn dried thyme
1-2 lb boneless country spare ribs (5-10 pieces). You can use your favorite rack of ribs as well.**
Combine all ingredients in a bowl and mix well. Set aside a little less than 1/4 of the mixture for basting. Pierce rib meat with a fork to allow marinade to penetrate and tenderize the meat. Place remaining marinade in a plastic baggie with the ribs. Make sure that all of the meat is evenly covered. Refrigerate for at least 4 hours, up to 12 hours, flipping the bag occasionally.
Remove ribs from bag, discard used marinade. If you are using boneless country spare ribs, they may separate at this time, which again will make for easier cooking.
Pre-heat your grill on it’s highest setting. Once the grill is hot, set up an area where you can cook the ribs indirectly, meaning that they will not be sitting directly over heat. My grill is a three burner, so I turn my middle burner to the lowest setting and keep the two side burners at medium. I sit the meat over the middle burner, and try to keep the temperature at no higher than 350˚. Turn the ribs occasionally to allow even heating, brushing with the reserved marinade every time you turn them. Be sure to keep the lid closed otherwise. Cook until the meat reaches an internal temperature of at least 145˚. Remove from heat, let sit for about 3-5 minutes before serving. Crack open one of your favorite beers and enjoy!
*Although it was my choice, you do not have to use berry weiss beer for this marinade. Any medium-bodied beer will work well. A light beer may not give much flavor, and a heavy-bodied beer may taste too smokey.
** This marinade would also work well with chicken!
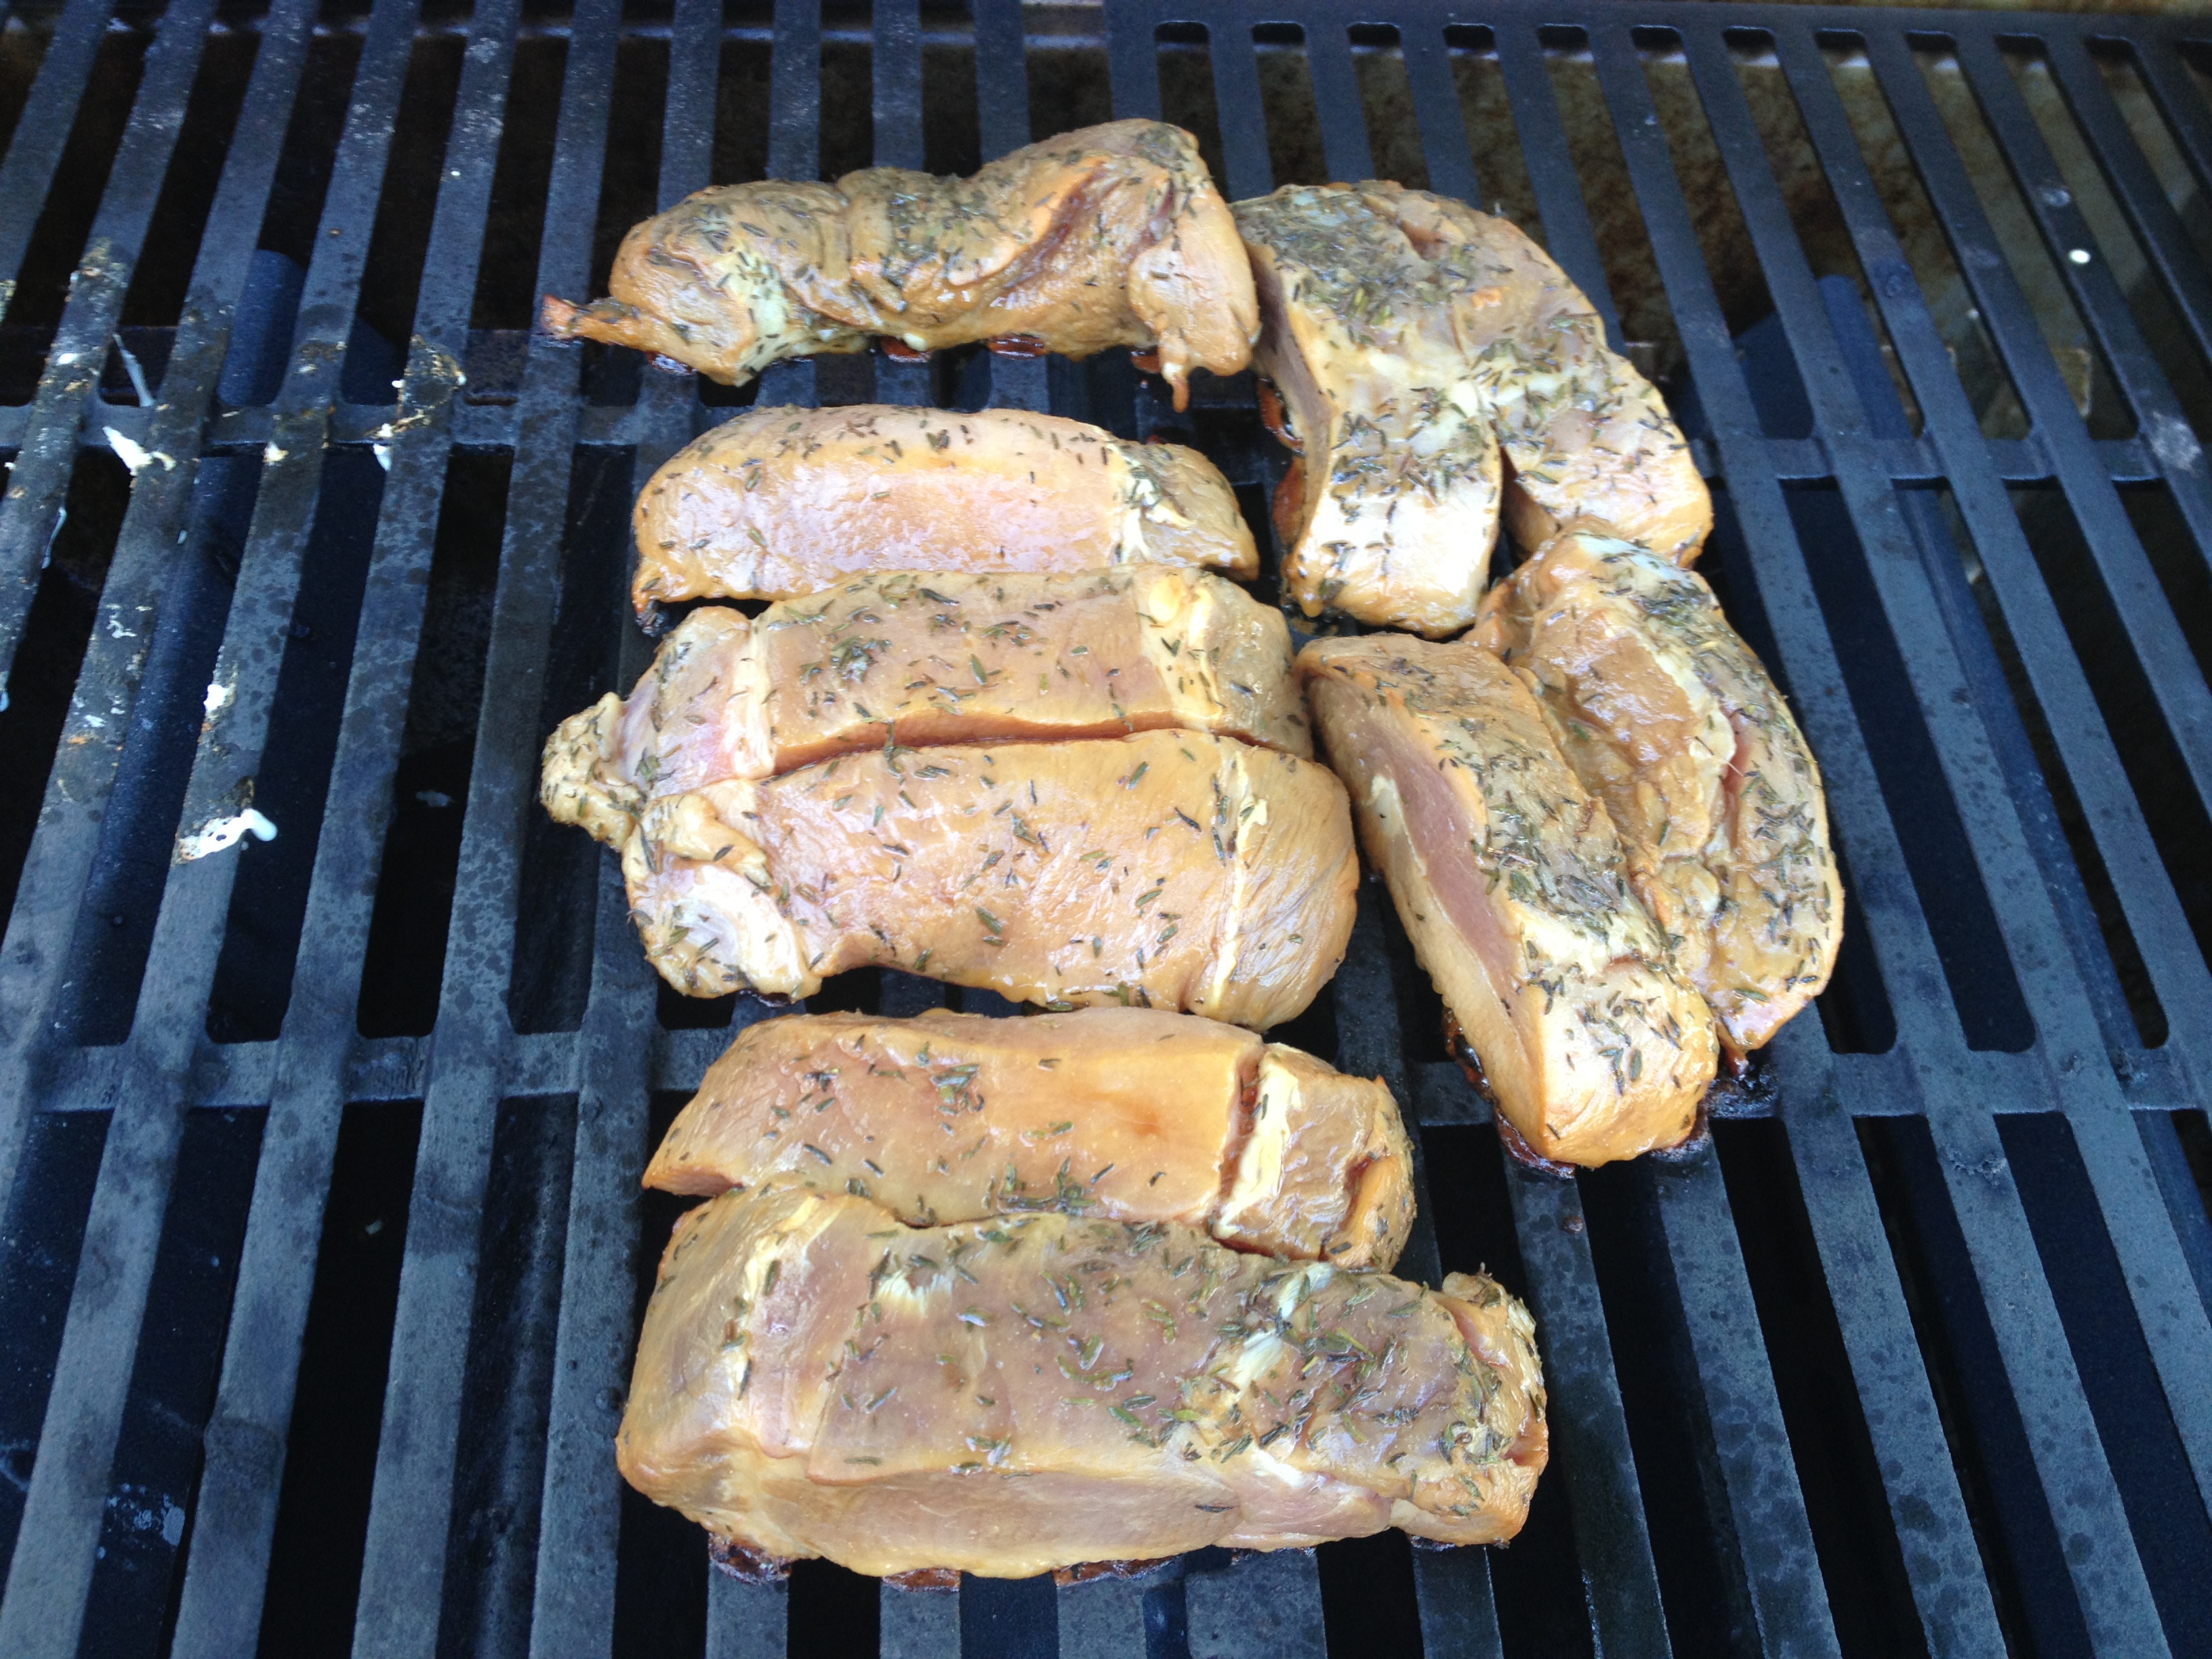
The ribs are placed in the middle of the grill over extremely low heat. The burner on both sides of the ribs are turned up to medium, to allow indirect heating.
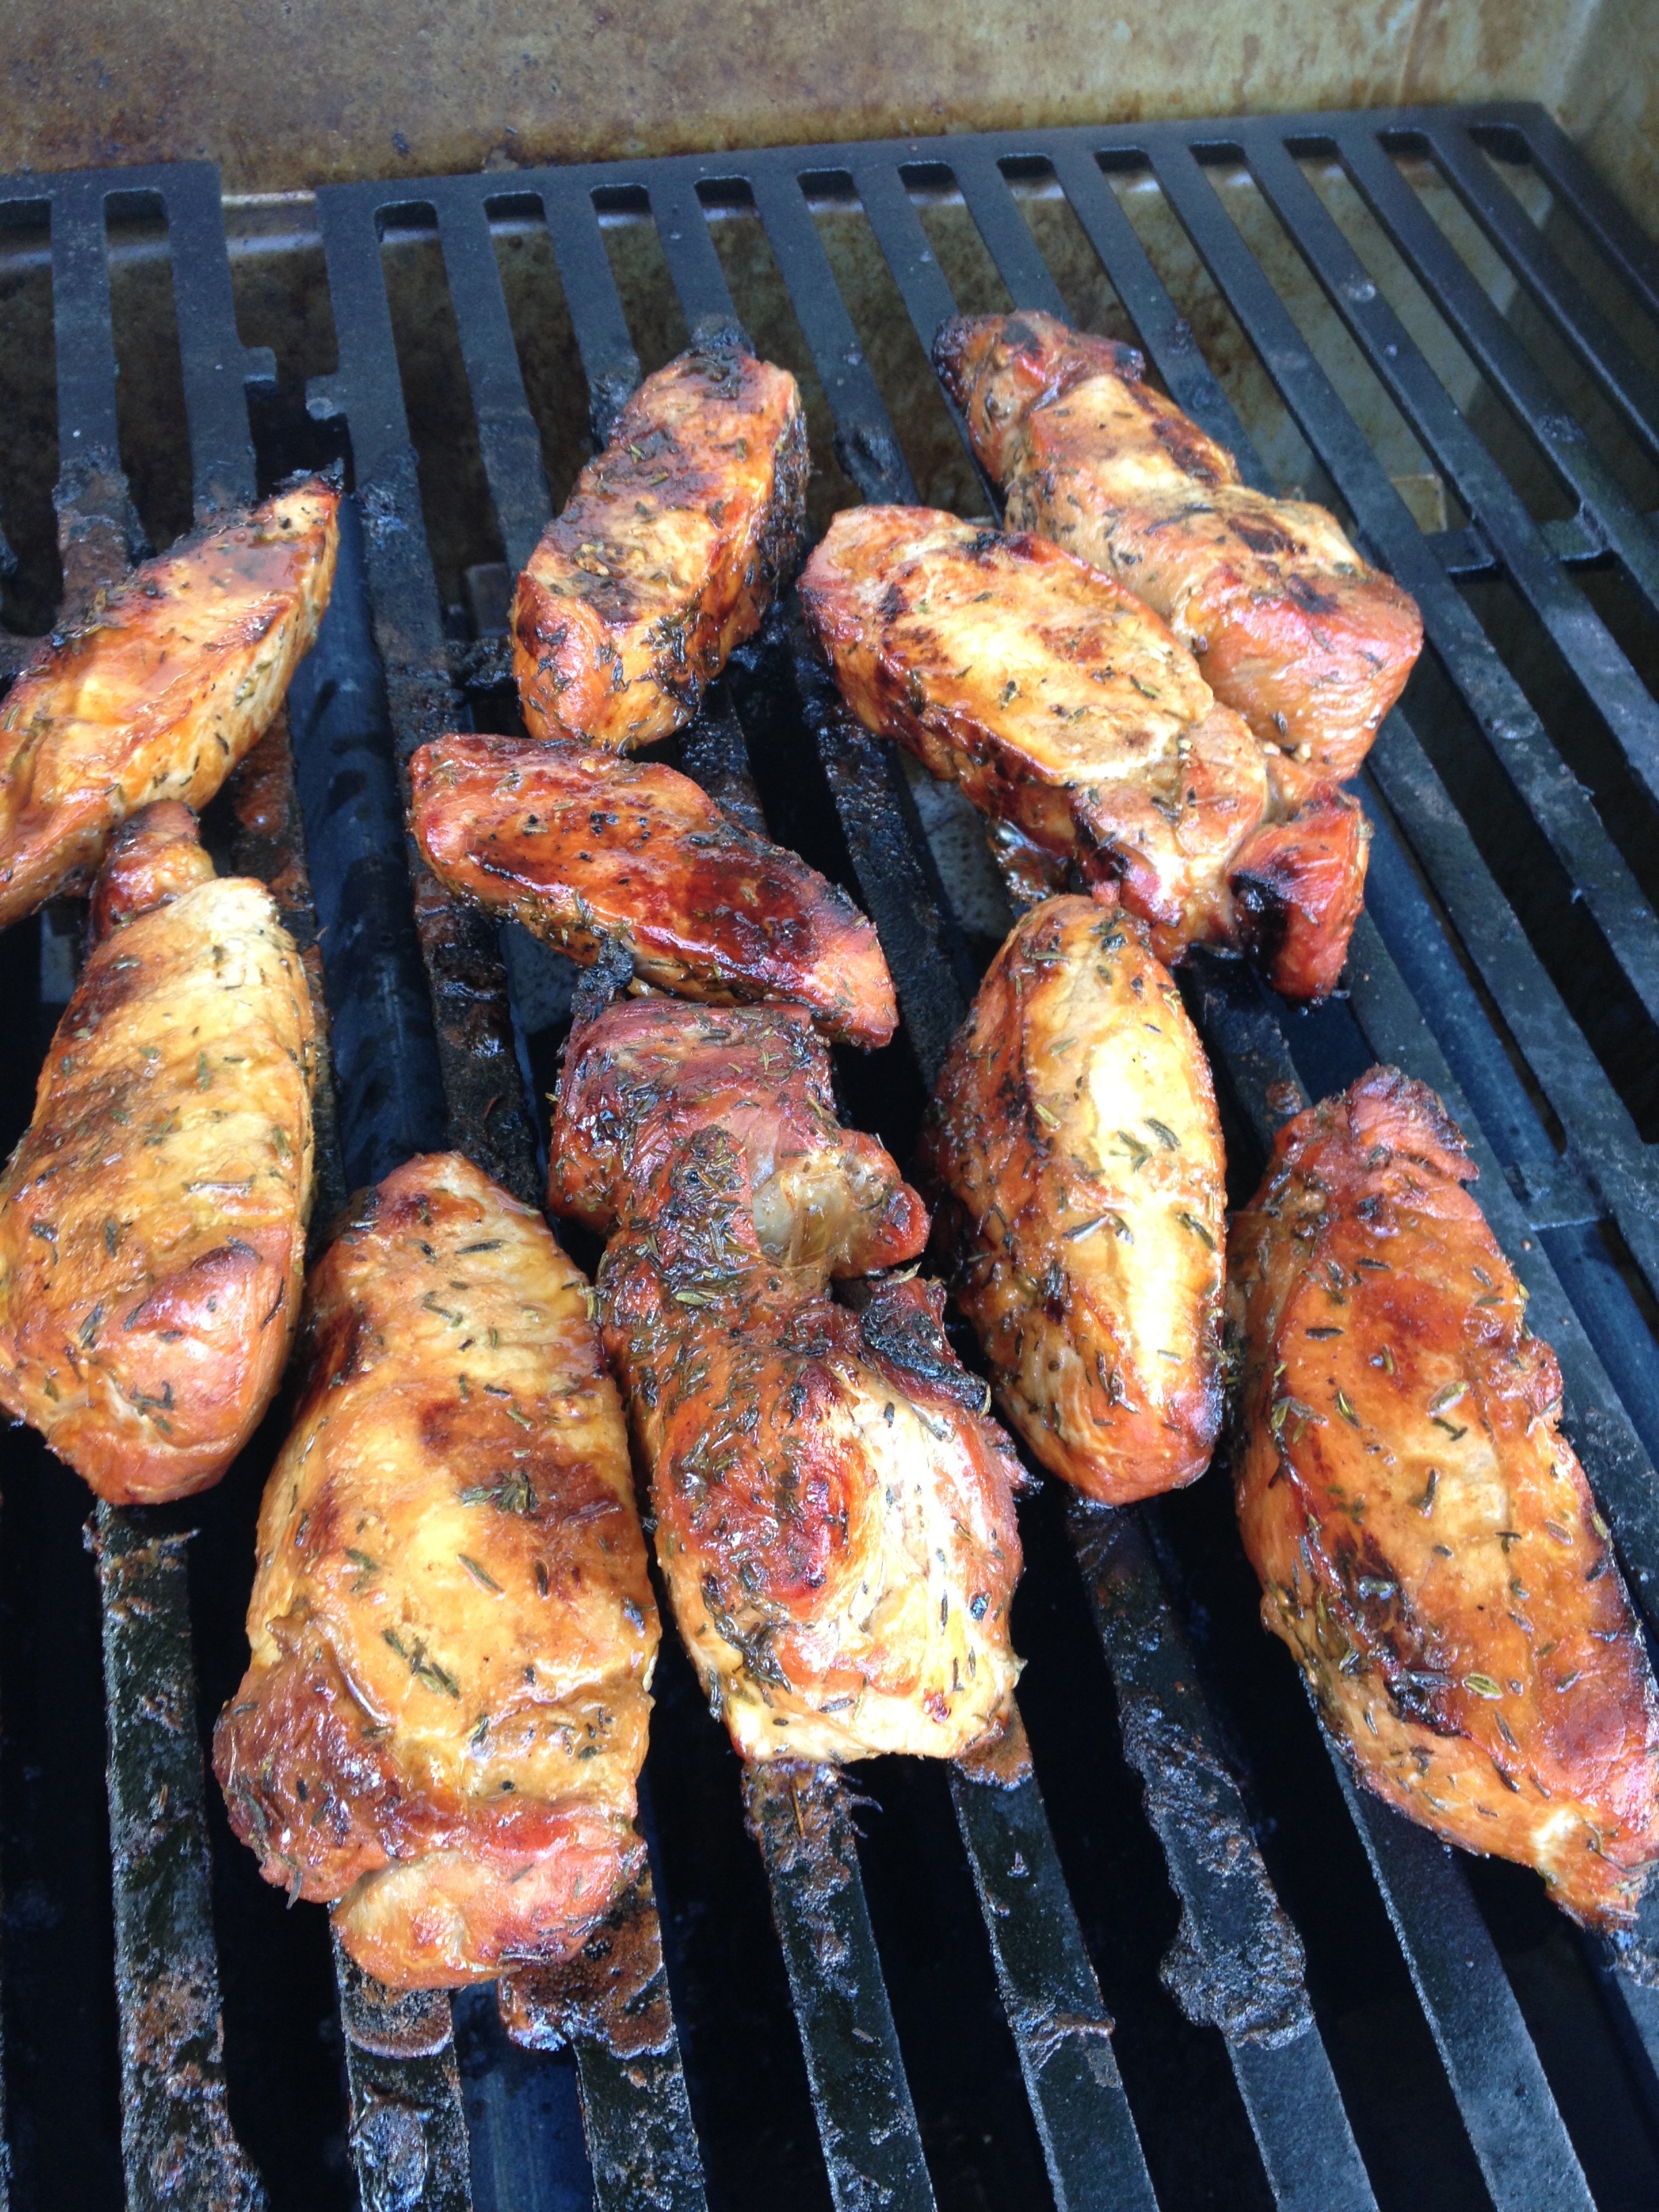
Be sure to brush the ribs often with reserved marinade, to allow for a nice and even coating.
Let cool for a few minutes after removing from the grill. Enjoy!

Recent Comments