Home » Dessert » Recent Articles:

Raspberry Lemon Love Cake

May 18, 2018 Dessert No Comments

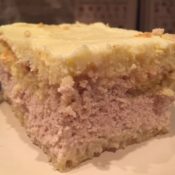
NOTE – this is not a light and fluffy cake recipe. The texture of any Love Cake will be a bit heavy and somewhat moist from the ricotta…and it is damn good!

Italian Love Cake has been a part of my Mom’s Easter pie tradition for many years. Made with layers of chocolate cake and ricotta filling with a chocolate whipped topping, this rich and decadent dessert never disappoints. What is really fascinating about this dessert is the assembly. The cake batter is poured into the pan first, then topped with the ricotta filling. As it bakes, the ricotta sinks to the bottom, raising the cake batter to the top, so both layers are accented with each other’s flavor during the transformation process. Pure magic!

Recently, I watched Valerie Bertinelli make a strawberry lemon version of Love Cake, using a strawberry cake, ricotta and mascarpone filling, and a lemon mascarpone whipped topping. With the warmer weather heading our way, this sounded like the perfect dessert for a summer party. However, I decided to give this dessert my own little spin, and with a few ingredient swaps and some additional attention given during the baking process (more on that in a bit), I am happy to say that the cake turned out exactly as I had hoped!

Instead of using Valerie’s strawberry and lemon combination, I opted for raspberry and lemon, which happens to be one of may favorite summer combinations. I started by switching out the strawberry box cake for a lemon box cake (lemon cake has always been a guilty pleasure of mine). I then incorporated 6 ounces of puréed fresh raspberries and some lemon zest into the ricotta and mascarpone filling, which really added a nice, summery flavor. I kept Valerie’s lemon and mascarpone whipped topping as is, because it just sounded so perfect.

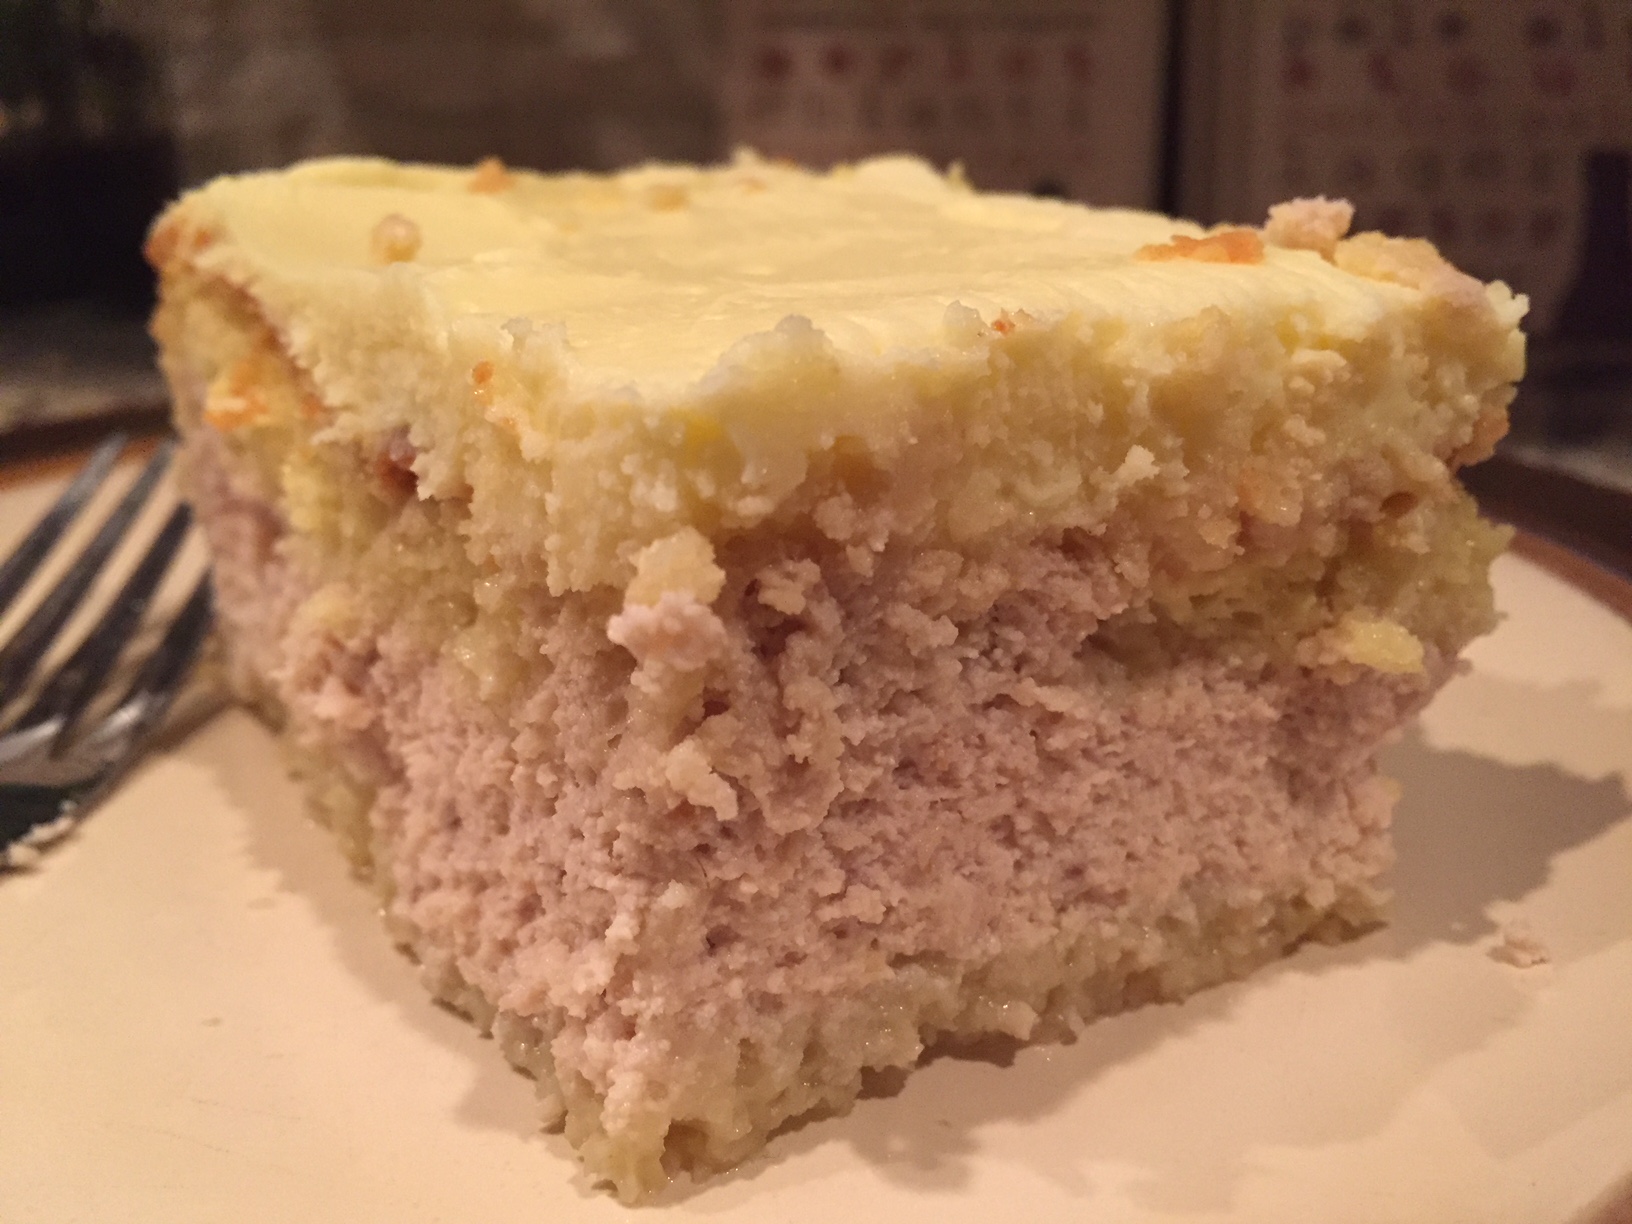
Giving a little extra love to the Love Cake (a.k.a. my center runneth over!)

To bake the cake, I followed the same steps as I would with a traditional Love Cake. The prepared lemon cake batter was poured into the tray first, then topped with the raspberry and lemon flavored ricotta and mascarpone filling, and into the oven it went. Before I go any further, I must explain to you the two steps that I took  that may (or may not) have altered things a bit.

  1. The directions say for you to pour the batters into a 9″ x 13″ pan. Because we wanted to bring only a portion of the dessert to my Mom’s house, I decided to pour the batters into two 8″ x 8″ pans, taking one with us and leaving the other at home.
  2. As I mentioned, I decided to add 6 ounces of fresh raspberry purée to the ricotta and mascarpone…which, in turn, is adding an additional 6 ounces of liquid to the recipe.

How did these two steps possibly alter the recipe, you ask?  The direction for the original recipe calls for you to bake the cake for 50-60 minutes, or until the entire cake is set and a skewer piercing comes out clean. After a good 60 minutes in the oven, the centers of both 8″ x 8″ pans were still very loose. My first thought was that splitting the pans wasn’t a good idea. Then I thought that adding the additional 6 ounces of liquid to the mix could have been the culprit. Both suggestions are feasable. But as I went back to the original recipe to see if any steps were missed, I noticed that some of the reviews had the same complaint. Their centers had also runneth over! Now I’m not blaming Valerie for this, as I am a fan of both her cooking show and her recipes, and the cake does contain a fair amount of wet ingredients. Also, not everyone’s oven may be calibrated exactly the same. Really, I just don’t want to upset Valerie!

To ensure that the center would finish baking without having the already baked outer portions burn to a crisp, I removed both pans from the oven, covered the outer edges with aluminum foil so that only the soft center was exposed, and popped them back into the oven for an additional half hour. Success!!!

Long story short, a little extra love may be needed for this recipe…but oh, it’s worth it!


Raspberry Lemon Love Cake

Adapted from Valerie Bertinelli’s Strawberry Lemon Love Cake

Preheat the oven to 350 degrees. Spray a 9-by-13-inch baking pan (or two 8″ x 8″ baking pans) with cooking spray.

Prepare the cake batter according to the package directions and pour it into the prepared pan(s). Set aside.

Combine the ricotta, sugar, vanilla, eggs and 4 ounces (1/2 cup) of the mascarpone in the bowl of a stand mixer fitted with a paddle attachment. Beat on medium speed until smooth, scraping down the sides of the bowl with a rubber spatula as needed. Fold in the puréed raspberries and lemon zest. Gently scoop the filling onto the cake batter, covering it completely.

Bake until a skewer inserted in the center of the cake comes out clean and the lemon cake layer has risen to the top, 50 to 60 minutes.

*NOTE – if the center of the cake is not fully set after 60 minutes, remove the pan(s) from the oven and  cover the outer edges with aluminum foil. Return the pan(s) to the oven for an additional 20-30 minutes, or until the center is fully set. 

Cool completely on a rack.

Beat the remaining 12 ounces mascarpone in a medium bowl with an electric mixer on medium speed until smooth. Gradually add the milk, beating until smooth. Add the pudding mix and beat until smooth. Let stand until thickened, about 5 minutes. Spread the frosting over the cooled cake(s).

Refrigerate until ready to serve. You can top the cakes with additional raspberries and lemon zest to really impress!

Share

Celebrating Cinco de Mayo on Derby Day!

It’s Cinco de Derby! Or is it Derby de Mayo? Whatever you prefer to call it, this Saturday will prove to be a day full of fun festivities and fancy hats to honor both The Kentucky Derby and Cinco de Mayo. Of course, both of these events are celebrated with tasty theme-related food and drink. Having the opportunity to celebrate both events on the same day raises the bar for creative party planning. Bourbon margaritas, anyone?

While my initial plans were to put together a tasty hybrid dish to represent both party themes, my research just brought up way too many fantastic food and drink options that honor both the Kentucky Derby and Cinco de Mayo.

The links below will be sure to place your Derby de Mayo celebration in the winner’s circle. And a Cucina Domenico blog post wouldn’t be complete without some kind of Italian inspiration. Click on the links blow to get your party started!

Cinco De Mayo recipes

Kentucky Derby recipes

Italian Guacamole recipe

Italian-style Quesadillas recipe


Share

Foiled! Tips and Recipes for Grilling Foil-Wrapped Packs

Quick-hit videos and recipes for foil-wrapped packs have recently taken social media by storm. Just this past week alone, I’ve watched at least three new recipe videos for foil-packed meals on the grill…and this was after I made a delicious foil wrapped lobster tail, baby potatoes and corn on the cob meal on the grill for my birthday last weekend!

Foil-wrapped packs are assembled by placing a single-serving of ingredients onto large sheets of aluminum foil. The foil sheets are then folded up into sealed packets, then cooked either on the grill or in the oven. There are many benefits to preparing foil pack recipes, especially if you are preparing the foil packs on the grill. Because all of the ingredients are contained (including your main dish, sides, herbs and spices), you do not have to put any effort into brushing, seasoning, stirring or flipping anything during the cooking process. All of the ingredients get the work done on their own! The foil packs also make for a fun presentation when serving them to your friends or guests, so it cuts back on post-dinner clean up. Since everything is contained within the foil packs, there is also less chance of flare-ups caused by drippings.

Seasoned vegetables, ready for the grill.

fresh salmon with asparagus in foil paper, ready for cooking.

Baked mexican chicken fajitas with spanish rice.

The recipes that you could make in a foil-wrapped pack are virtually endless. At the end of this article, there are links to some of the foil-wrapped recipes that I have made. I also have links to articles from tablespoon.com and foodnetwork.com, offering up 75 different foil-wrapped recipes. From appetizers, vegetables, seafood, pasta and fajitas, to roasted garlic, mussels, meatballs, popcorn and chocolate marshmallow banana boats….the list is just amazing! Again, many of these recipes could also be made in the oven, so the fun does not have to stop when grilling season comes to an end. But don’t worry, we have plenty of grilling time ahead of us!

A few things that you should keep in mind when preparing foil-wrapped packs:

• Be sure to use heavy aluminum foil (non-stick is preferred), or double up on the sheets if you are using thinner foil. You do not want any of your food to poke through or rip the foil at any time.

• If some of your ingredients naturally take longer to cook than others, you should prepare the items that take longer prior to adding them to the foil pack. A perfect example is potatoes. Even when cut down to small pieces, potatoes could take a while on the grill. If you are adding them to a pack with chicken, the potatoes should have enough time to cook on the grill. However, if you are adding potatoes to a pack with fish, the fish will cook much quicker than the potatoes. You will be better off preparing the potatoes ahead of time, then adding the cooked (or semi-cooked) potatoes to the pack.

• Always be very careful when removing the cooked foil packs from the grill, and especially when you unfold the cooked packs. The cooked food will be hot, and steam will be released when the packs are opened. Depending on the meal that you have made, there may also be hot oil in the pack that can burn you. Take your time removing and opening the packs, and be sure to use oven mitts.

• Most of all, be creative and have fun!


Recipe suggestions:


Grilled Tilapia Tacos

Grilled S’mores Sandwiches

Lobster Tail Foil Pack

Pack it Up! Pack it In! 15 Foil Meals for the Grill

50 Things to Grill in Foil


Images courtesy of istock.com

Share

Lemon Mascarpone Whipped Cream

May 25, 2017 Dessert No Comments

Memorial Day weekend is here once again, and it is time to start thinking about light and refreshing sweet summer recipes! Today, I’m sharing with you a super easy dessert recipe that can be used in many creative ways. We’re starting off with a basic home made whipped cream. Next, we’re going to build up the creamy texture by adding mascarpone cheese, which is a delicious Italian style cream cheese. To finish it off, we’re adding some fresh lemon juice and lemon zest. You can use this citrusy light whipped cream as a topping for pancakes or waffles, as a dip for fresh fruit and graham crackers (you will not believe how good this tastes with fresh strawberries and blueberries), as an icing for a spongy summer cake…or let’s be honest, you can even eat it on its own by the spoonful!


Lemon Mascarpone Whipped Cream

1/2 pint heavy whipping cream
1 tablespoon powdered sugar (plus extra if needed)
1 teaspoon vanilla extract
1/4 cup mascarpone cheese
1 teaspoon lemon zest
1 tablespoon lemon juice

Combine cream, powdered sugar and vanilla extract in a chilled mixing bowl. Using a hand mixer or a stand mixer, mix together until soft peaks start to form. Continue to mix, adding the mascarpone cheese a little at a time. Adding all of the mascarpone cheese at once will cause splashing. Continue to mix until stiff peaks form. Fold in the lemon zest and lemon juice. You can add additional powdered sugar if you prefer the whipped cream to be sweeter. Cover and refrigerate until ready to use.


Share

Recent Comments

Archives

powered by
Socialbar